
mmayo
Member
Here are some photos to make one end grain cutting board that measures about 12" x 16". There are many chances in an item like this to have fatal errors; luckily this one survived.
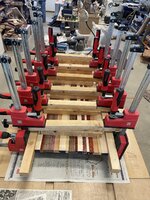
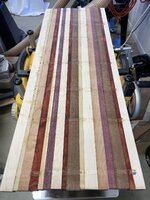
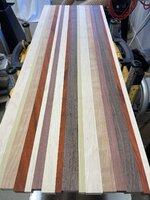
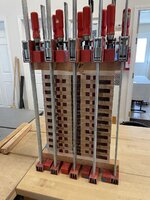
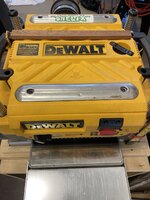
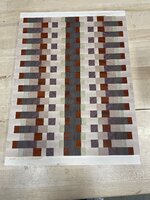
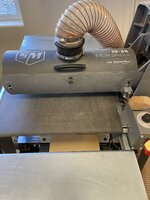
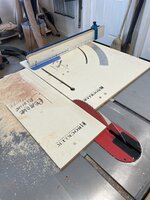
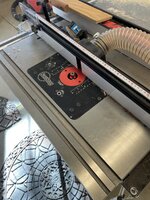
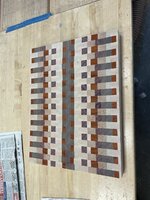
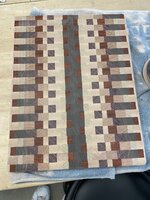
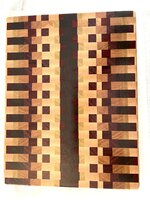
Various machines were used. Strips are cut on a carefully aligned table saw with a glue line rip blade. The placement of the colored strips matters! Numerous clamps and cauls are used to form a 36" x 13" panel of multicolored woods. The flatter the better. After removing the clamps the glue is scraped off with a scraper and the panel is fed through a planer fitted with spiral carbide cutters. This must be very carefully done with tiny cuts each time. No rushing. The flattened board is the result. Strips are cut at 1-1/2" wide. These are alternated to show the eventual pattern. This step is always rewarding if done right. Those strips are glued up with serious clamping pressure and cauls to spread the clamping pressure. After removing the clamps, glue is again scraped off and note the addition of sacrificial maple end caps. These keep the end of the end grain from damage by the planer. The rule is NOT to cut end grain on a planer, but if carefully done - it is magical. A brief couple of passes through the drum sander smoothed the board after the planer. Multiple passes are not recommended as the paduak and purple heart clogs up the sandpaper quickly. A Rockler sled helped to trim the rough cutting board into a smooth rectangle. The edges were routed to round them. Hand sanding with two different electric sanders using grits from 100 through 320 made the board very smooth. Finally a home brew cutting board conditioner rich in beeswax seals the board and gives it the deep rich color.
This is my best cutting board and sells well.
Best of luck when you make one and have a great holiday.
Attachments
-
 IMG_4248.jpeg491.5 KB · Views: 1,380
 -
 IMG_4251.jpeg362.2 KB · Views: 298
 -
 IMG_4252.jpeg324.7 KB · Views: 278
 -
 IMG_4261.jpeg385.7 KB · Views: 274
 -
 IMG_4266.jpeg492.2 KB · Views: 279
 -
 IMG_4267.jpeg305.3 KB · Views: 285
 -
 IMG_4268.jpeg438.5 KB · Views: 280
 -
 IMG_4270.jpeg383.7 KB · Views: 297
 -
 IMG_4271.jpeg357.9 KB · Views: 272
 -
 IMG_4272.jpeg413.3 KB · Views: 283
 -
 IMG_4273.jpeg429.2 KB · Views: 278
 -
 IMG_4274.jpeg479.7 KB · Views: 300
 -
 IMG_4276.jpeg343.8 KB · Views: 320
")