qquake
Member
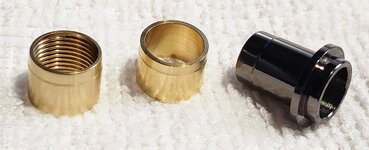
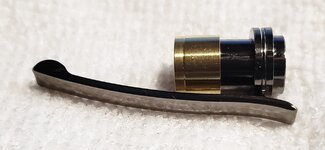
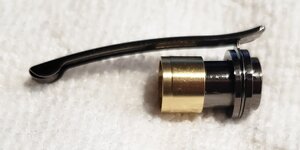
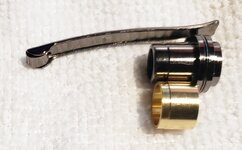
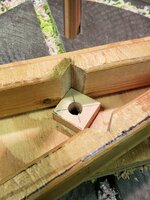
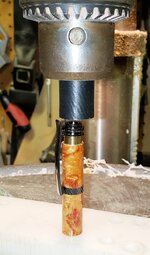
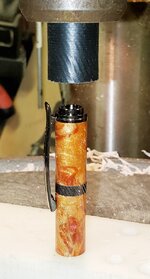
I was looking at the instructions for the Pluma pen, and I'm confused. It says, "Press the Clip Assembly Coupler (E) flush, tapered end first into the open end of the Blank/Tube (C) assembly. Next slide Clip (F) onto Transmission Coupler (H) followed by the Trim Ring (G) and press the assembly into the open end of the Blank/Tube Assembly (C)." So are you supposed to press H in on top of E, pushing E farther into the tube? It doesn't make sense to me.
 www.woodcraft.com
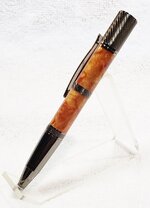
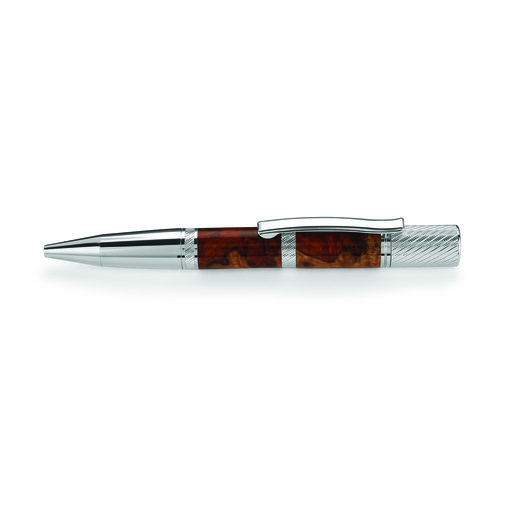
WoodRiver - Pluma Pen Kit Chrome
The sleek, smooth, refined lines of this pen and its distinct feel in your hand are sure to make this one of your favorite pen kits.