PhotonFanatic
Member
I am attempting to make a pen, using as few parts that I can not make myself. However, I have zilch experience making pens, so I am quite unfamiliar with many of the components and how they might actually be installed in a pen. 
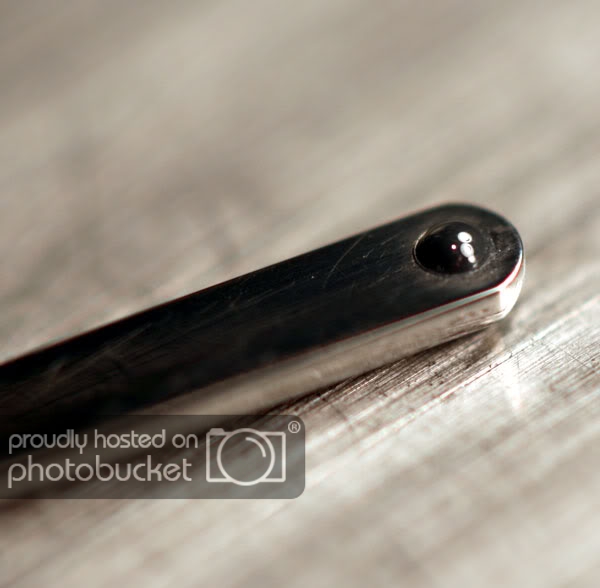
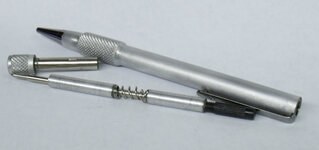
Like this twist mechanism from Richard Greenwald:
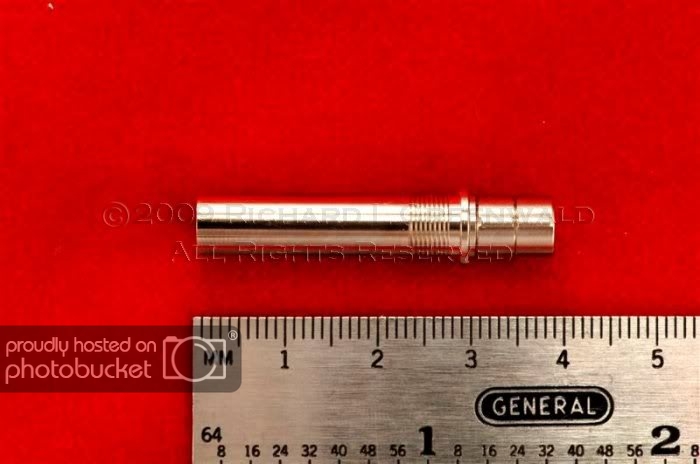
I will be using a Schmidt 9000 EasyFlo cartridge, and I think I have figured out how the cartridge inserts into the mechanism, i.e., from the left in the photo above.
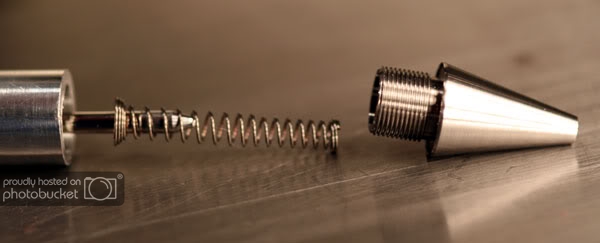
So, threading the mechanism into the main body of the pen isn't a problem, that I can do. But, what is the function of the widest part of the mechanism, just to the right of the threads? Should that be recessed into the body, or allowed to just sit on the top edge of the pen's body?
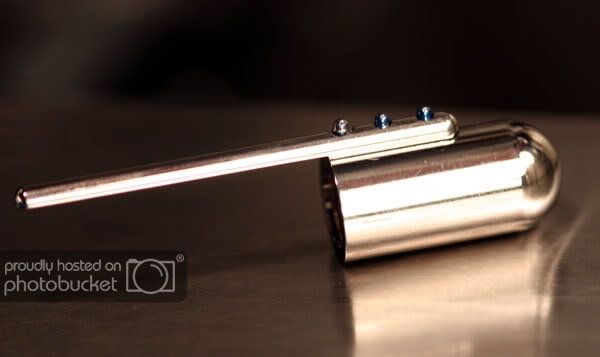
And the top of the mechanism--what are those three ridges called? Now I can see that the very top of the mechanism turns clockwise to advance the pen. The pen that I am trying to complete would basically have four pieces--the tip, the body, the cap and an integrated clip that is attached to the cap. Question is, what is the best way to insert the very top of the mechanism into the cap?
Should I just bore out a hole and then perhaps mill three grooves for the ridges to fit into? Or is there a better way that I really have no clue about? :biggrin:
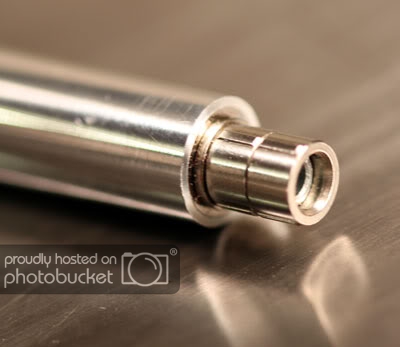
Like this twist mechanism from Richard Greenwald:
I will be using a Schmidt 9000 EasyFlo cartridge, and I think I have figured out how the cartridge inserts into the mechanism, i.e., from the left in the photo above.
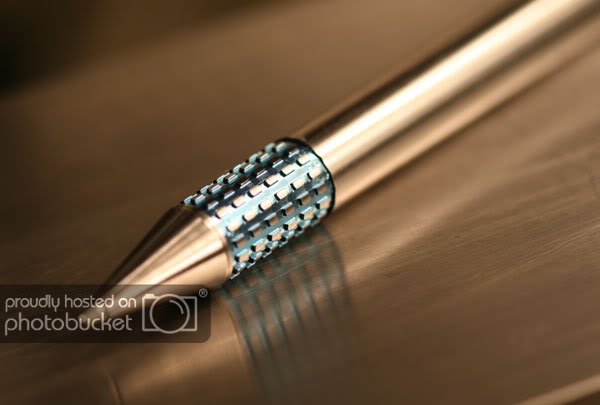
So, threading the mechanism into the main body of the pen isn't a problem, that I can do. But, what is the function of the widest part of the mechanism, just to the right of the threads? Should that be recessed into the body, or allowed to just sit on the top edge of the pen's body?
And the top of the mechanism--what are those three ridges called? Now I can see that the very top of the mechanism turns clockwise to advance the pen. The pen that I am trying to complete would basically have four pieces--the tip, the body, the cap and an integrated clip that is attached to the cap. Question is, what is the best way to insert the very top of the mechanism into the cap?
Should I just bore out a hole and then perhaps mill three grooves for the ridges to fit into? Or is there a better way that I really have no clue about? :biggrin: