These are Italian Badger Hair shaving brushes made from crosscut Chokte Viga, with Rose Engine embellishments - one with laminated guitar pick-guard acrylic.
Your work is great as usual. Have a question for you about the pickguiard material. I am loking for some for another project and was wondering what thickness this stuff is and have you found a reasonable place to purchase it??? The places I have found seem expensive. Thanks in advance.
Over the top and outa sight! Words escape me! Love the pickguard version. What an inspiration you are to us to improve our skills. Keep showing us your work.
Thanks Ed. One other question, what type glue do you use when layering the material???
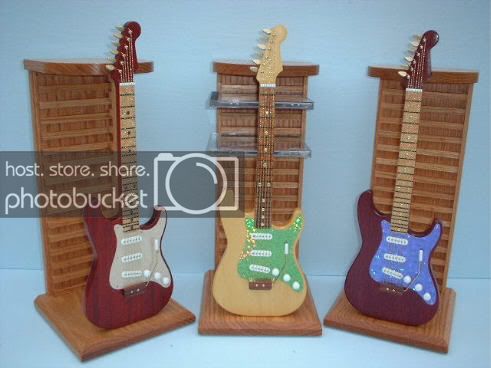
I have been looking for something like that because the plastic sheets I have been using I can not find and here is a photo of what I want to use them on. They are CD racks that I make. I know it is not turning related but your use of that material struck me. Thanks again.
There are dozens of color layer combinations available.
As for gluing pick-guard to wood, first make sure the surface is very flat, light sand the acrylic side that will mate, apply medium thick CA to one part and accelerator to the other and press together for 20 seconds or so...and you are ready to go.


")