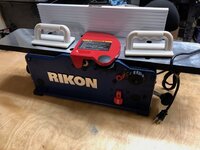
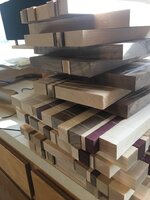
I recently purchased the Rikon 6" Bench Top Jointer. I bought it from Rockler while it was on sale as part of the Black Friday specials. I plan to use this to help with my box making and segmenting work. I hope to streamline my process a little from what I have done in the past.
If you own this product, what are your top tips for setup and use? I am most curious about how you set the fence angle and how well it has held the angle over time. Did you set and do you use the hard stops at 90 and 135 degrees?
For those that are interested, I made an unboxing video that you can find here:
https://youtu.be/EHxqnfy1Iww
Not a fan of a bench top jointer but that is a story for another time.
I do not know this jointer but like all other jointers there are basic rules and things to check for. I do not know if this is a 2 blade, 3blade or helical head but no matter what first thing is to make sure the blades are secured tightly before starting. Not sure if they use jib screws or something else but make sure blades are bottomed out and seated properly and tight. Make sure the blades are facing the same way. The motor spins toward the infeed table so blades are top up in the back of the holder.
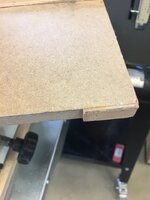
Next make sure the infeed and outfeed are coplaner in that they are flat and match front to back and side to side. To do this raise the infeed table level to the outfeed table and lay a straight edge rule or piece of aluminum across both tables and all points should touch all the way across. There are screws for adjustment somewhere on the tool and you need to read instructions to do this. As I said these are basic setup rules. Now lower the infeed table and make sure the table lowers equally and the same space is equal throughout the table. Yo do not want a dip in front or rear of the table or it will cause snipe.
Next you mention preset stops. Take a square and lay on the table and adjust the fence to the square and set your stops. I never trust them when doing exact work. I always check even though the stops are preset.
Now if all is setup right the blades should be set evenly across the table. There are tools to use to test this and to set blades if changing. But a simple test is a straight stick of wood. and some magnets. I have a couple jigs but there are many of these type videos on the net for simple jigs. Here is one.
www.youtube.com/watch?v=pxKgFSEtSxc
Other notes:
- Never take too much off in one pass.
-Slow even doward pressure and keep flat against fence and keep feed rate constant and no stopping
-Apply pressure to infeed table and switch to pressure to outfeed table when you get board pass the blades.
-Always use push pads and do not let hands travel over blades
-Make sure the blade guard works properly
- All wood will have grain and you will notice if you plane one way you may get chip out and if you reverse the feed you will get a smooth cut. Gets tricky with burl and wild grain woods so it may come to a trial and error thing.
-Most tables come with machine marks in them and I always find this helpful in that it slows the feed rate and yes a bit more drag but I work with that to may liking. Some people will wax the tables and make them slick. If you do be careful of wax used so it does not contaminate the wood and also does not make to slick.
-Be careful when using these type tools because they have tendency to move. yes they have rubber feet but they are so light weight they will move. Would be wise to anchor to a table or have stop blocks set up around the tool to keep it from moving.
-Also they will tip and this is one reason I do not like them so do not lean on edge of tables to make them unsturdy.
_Good luck and work safely.