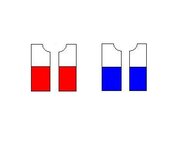
Or you could cut each of the corian pieces as shown buy the blue lines and glue the narrower pieces bake to back on the long edge (see next graphic). Then cut them in half again as shown in the next graphic. Then flip one of each and glue it together as shown in the next graphic. That will give you a blank made up of four long thin segments. You can turn it like that, or do something different. Like cut it into smaller pieces and stagger the layout as you glue them back together. That would give you make something like the Sierra shown last.
Yes, I know, kids, I actually shared something.

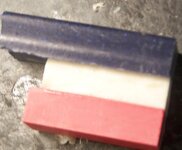
I spent some time turning today and couldn't help myself.