Well i've been working at making a pool cue pen all week and boy did i waste a lot of wood trying to make points in the cue. Still can't do that yet but I did finish one that i think looks okay, not great but okay.
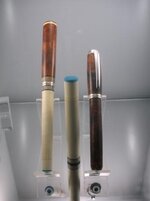
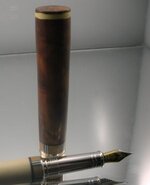
The first picture shows the pool cue pen (jr gent) with the lower barrel for my next one (gent regular size) and a closed end Jr Gent of Amboyna Burl, just for scale. The lower barrel for the gent looks like I just cut the end off of a pool cue shaft, it's the exact size of a real cue shaft end.
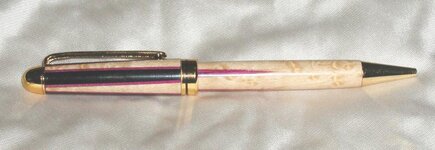
The completed pen was made from a maple pool cue shaft blank from a cue supplier. It has a alt ivory ferrule with a small piece of a blue acrylic blank Dawn sent me free with an order. It looks so real makes you think chalk will come off of it if you rub it on your clothes. To get the shaft taper to scale I drilled it with a 7mm bit to hold refill (pump wont fit) and cut off about 1/2 inch of the tube that came with the kit to hold the nib.
The ring is home made using pickguard and some wood I had lying around. The butt is finished with ca/blow and the shaft is finished with friction shallacwax.
The butt end is solid afrezila(sp) with yellow pick guard sandwiched between brass for the butt end with a small slice of the afrezila as the butt cap.
Still not overly happy with it but I'm getting closer.
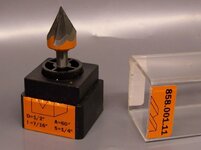
Looking for any tips on how to do the points. I've just about reached the conclusion I need a router of some kind to do it.


