Hello,
I feel bad I have so many questions but there is so much to learn when you start down this path. I tried a lot to get rid of it but no matter what I do I get lines in my alumilite blanks. They are faint but they are there.
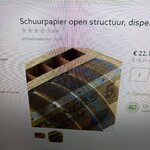
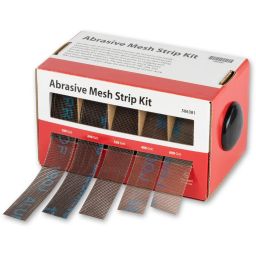
I was wondering if its the sanding paper I use. Its the open kind I took a photo of the paper and added it.
I use 600 grit paper only and then micromesh. I'm still wondering about a finish after that but if the lines would be gone I think it would be sufficient.
Sorry about the bad photo, my phone does not have a great camera unfortunately.
Could I use renaissance wax after micromesh? I still have some from my metal detecting days. I used it to polish the roman coins I found.
Greetings Niels
I feel bad I have so many questions but there is so much to learn when you start down this path. I tried a lot to get rid of it but no matter what I do I get lines in my alumilite blanks. They are faint but they are there.
I was wondering if its the sanding paper I use. Its the open kind I took a photo of the paper and added it.
I use 600 grit paper only and then micromesh. I'm still wondering about a finish after that but if the lines would be gone I think it would be sufficient.
Sorry about the bad photo, my phone does not have a great camera unfortunately.
Could I use renaissance wax after micromesh? I still have some from my metal detecting days. I used it to polish the roman coins I found.
Greetings Niels