glycerine
Member
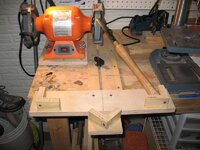
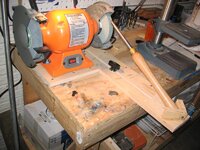
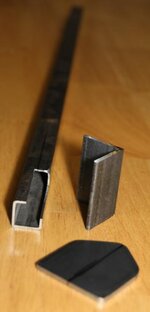
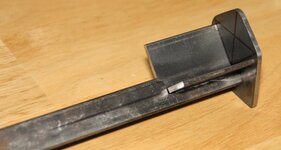
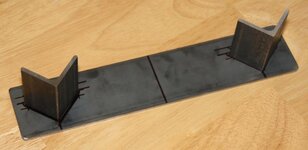
I'm making a grinding jig similar to the Wolverine. I have some ideas on how to make the base, but wanted to hear what others have done or even see some close-ups of how the actual wolverine base works.
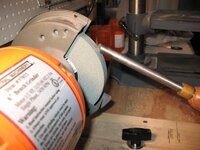
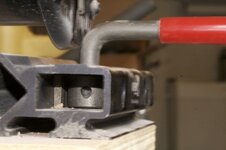
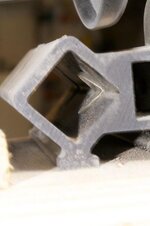
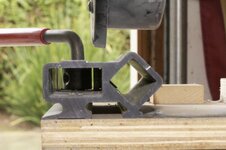
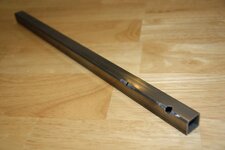
I made my V-arm with the square tubing oriented so that the hole in the base will be diamond shaped and not square. I believe this is how the original Wolverine jig is positioned...
I made my V-arm with the square tubing oriented so that the hole in the base will be diamond shaped and not square. I believe this is how the original Wolverine jig is positioned...