sorcerertd
Member
When I apply friction polish, I usually end up with rings. Any tips? Am I applying to much friction (pressure)? How warm does it really need to get?
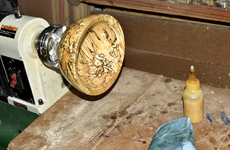
I am applying with cotton flannel. So far, I tried some paste stuff that I didn't like at all. The Aussie Oil gives a nice, rich finish, and has been my go to. I recently bought some Pens Plus as it seems quite popular around here.
I mostly use friction polish for odd shaped things where CA is next to impossible (IMO) and larger pieces.
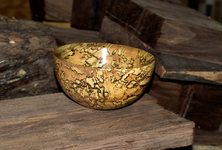
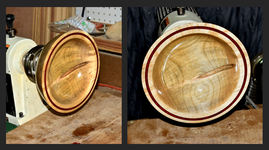
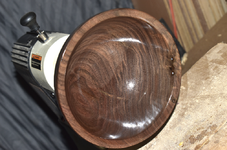
While soliciting general usage tips and tricks, what really prompted this post is a bowl I am working on. It's "done", except I am not happy with the finish. There are visible rings, especially noticeable on the outside, and a seemingly bare spot in the center on the inside.


I am applying with cotton flannel. So far, I tried some paste stuff that I didn't like at all. The Aussie Oil gives a nice, rich finish, and has been my go to. I recently bought some Pens Plus as it seems quite popular around here.
I mostly use friction polish for odd shaped things where CA is next to impossible (IMO) and larger pieces.
While soliciting general usage tips and tricks, what really prompted this post is a bowl I am working on. It's "done", except I am not happy with the finish. There are visible rings, especially noticeable on the outside, and a seemingly bare spot in the center on the inside.