papaturner
Member
Thanks for the encouragement Scott.
creativewriting you`re right I`m hooked on aspects of pen turning.:biggrin:
creativewriting you`re right I`m hooked on aspects of pen turning.:biggrin:

This is clay, and your second attempt???Scott Thanks for starting this thread,I`ve been folowing it with great interest. I`ll send you a bill for the new hobby expense.:biggrin:
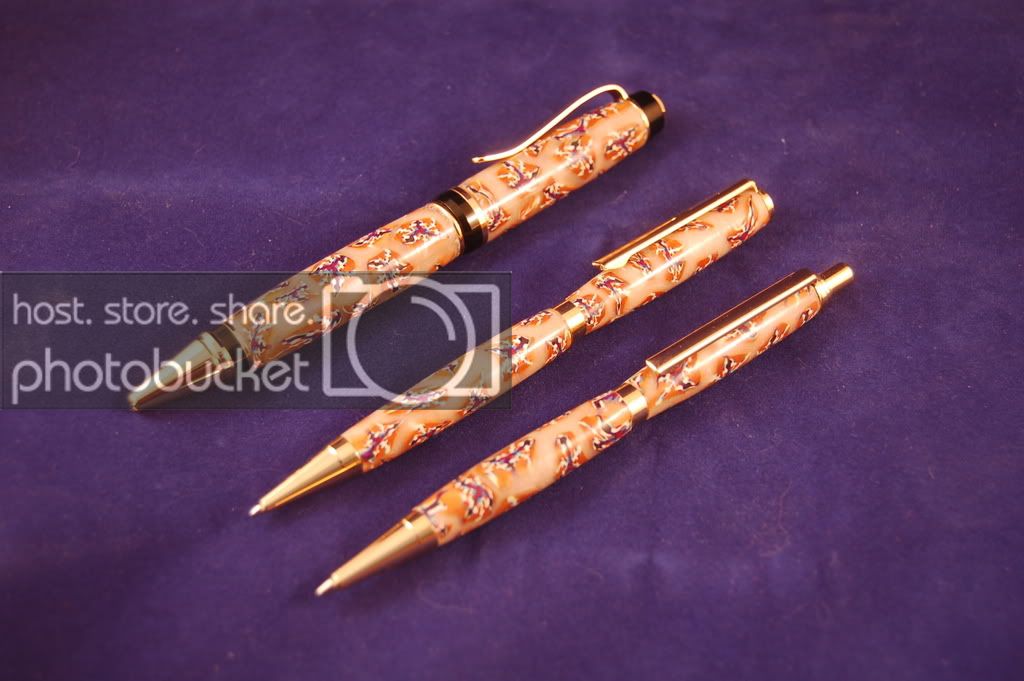
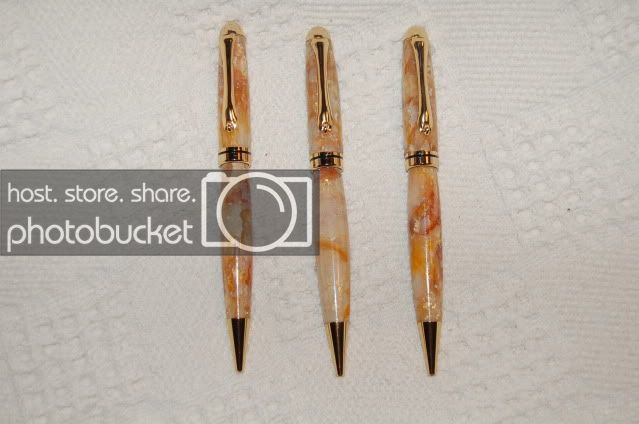
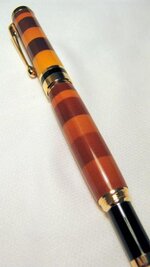
Hope you don`t mind but here is my first pc pen after about two other failures.
Comments and recommendations welcome.

well, just tried turning some, it was too soft and came apart everywhere it was folded over-also very hard to knead that stuff!
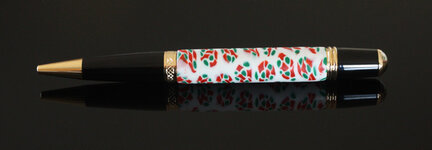
OK well I've done it, made my first Poly Pen. Quite happy with the results. It was made with generic Polymer Clay from the $2 shop what has a fairly matte finish. I wanted a Christmas theme, and also wanted to do as little finishing as possible out of the oven.
Thanks again for the inspiration guys, or I may never have tried.
Russell.
To a degree yes. I made the background, cured the piece in the oven, then carved the design. Once the design is carved I backfilled with raw cobalt blue and cured the piece in the oven again. Once it was cooled I put it back on the lathe and turned it back to the original shape. Finished with CA.
 . I know it sounds funny, but many of the artist I know have a problem with SIII getting mushy and some of us have found that we tend to produce a little more heat when kneading, transfering that heat to the clay. It is like kneading soft butter, frustrating
 . Premo and the new Studio have become my favorites. The Premo will go on sale for a buck about once a month. The darn Studio does not, but it is worth the little bit extra. My mom worked with Fimo and Sculpy for 20 years so I think it really comes to personal preference. Glass Attic has a great review of all the clays and goes into great detail about the physical properties of all the clays (cured and uncured).
Ok I have to ask how did you get the colors the way they are? That is a awesome pen!!
Skeet, looks great. The glow in the dark clay is the one clay I don't think I have used (Ultra Light as well). How soft does it get after kneading?
Now is the time to go. In our area Premo is 4 for 5 bucks. Great time to stock up.I think I'm going to have to take a trip to Michaels
You guys are building one terribly interesting thread. I think I'm going to have to take a trip to Michaels.
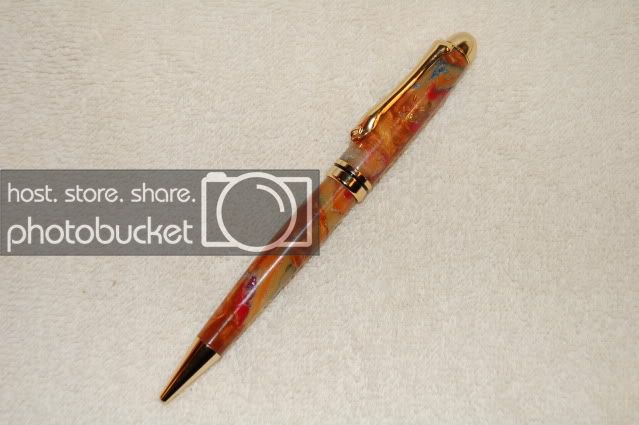
My favorite ones seen in this thread are . . . shoot! How can I pick from these beauties. Papaturner came out with a stunning pen that looked as good to me as some of PR Princess' PR.
PaulD, fascinating work! Geez, what a great new way to go! Thank you all a bunch!
PaulD, fascinating work! Geez, what a great new way to go! Thank you all a bunch!
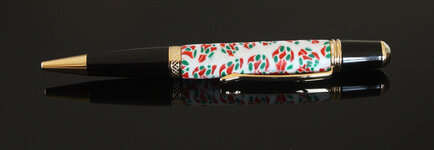
Okay, I'm in. Here is my first attempt at a PC pen. It is just a simple candy cane design just to familiarize myself with the process. There are a couple mistakes but I think it came out pretty well considering I was just winging it. Picture taken with my cell phone so it is not the best, not that I could do much better with my digital.
And they are fun to do!! What I like about the Mokume is that there is no right or wrong. You stack different colors, add in inclusions, and slice. With each slice you get something different then the last.Mokume ganes are by far the best selling polymer pens I have done
When i put my fittings in they cracked. How can i stop it from cracking? Any ideas?
No it was a wall street II. I baked the tubes inside. it turned really goood. It did not feel to tight when inserting the fitting. i will have to try again.
Nice job Smokey. Looks like you got a little pink from the red clay mixed into your white. That happens when you don't really clean off your hands, pasta machine and any other tools between working with the various colors. Red is notorious for mixing into where it doesn't belong. Soap and water for the hands and at least paper towel for the tools is generally adequate, although many swear by handwipes.
There is only one type of translucent and that is translucent. You can alter the look by adding other colors, inks, and inclusions. It doesn't take alot to shade the translucent clay so start with small pieces and work your way up.
![112209_2200[00].jpg](/data/attachments/16/16799-1ff4c4f2822a287c0c878716bcdfa9a3.jpg?hash=H_TE8oIqKH)