
gwlundgren
Member
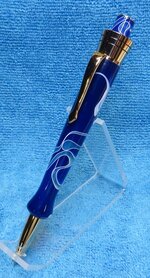
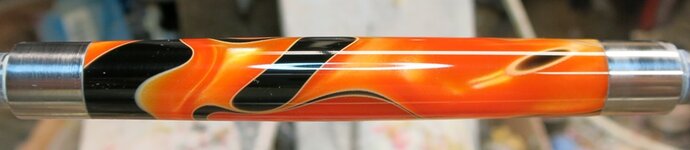
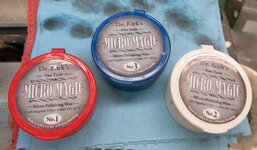
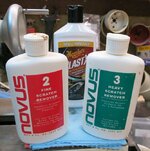
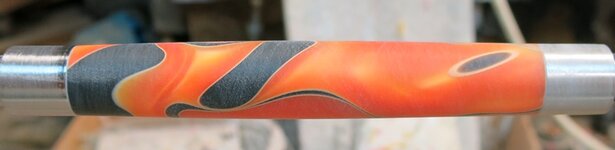
I'm relatively new to turning acrylics/plastics.
I've kept my acrylics shapes fairly simple due to the difficulty of getting them smooth and shiny.
Working with the little square wet sanding pads can leave grooves, lines, and ruts in the shapes.
Is there a way to get these smoother?
Thanks! Gary
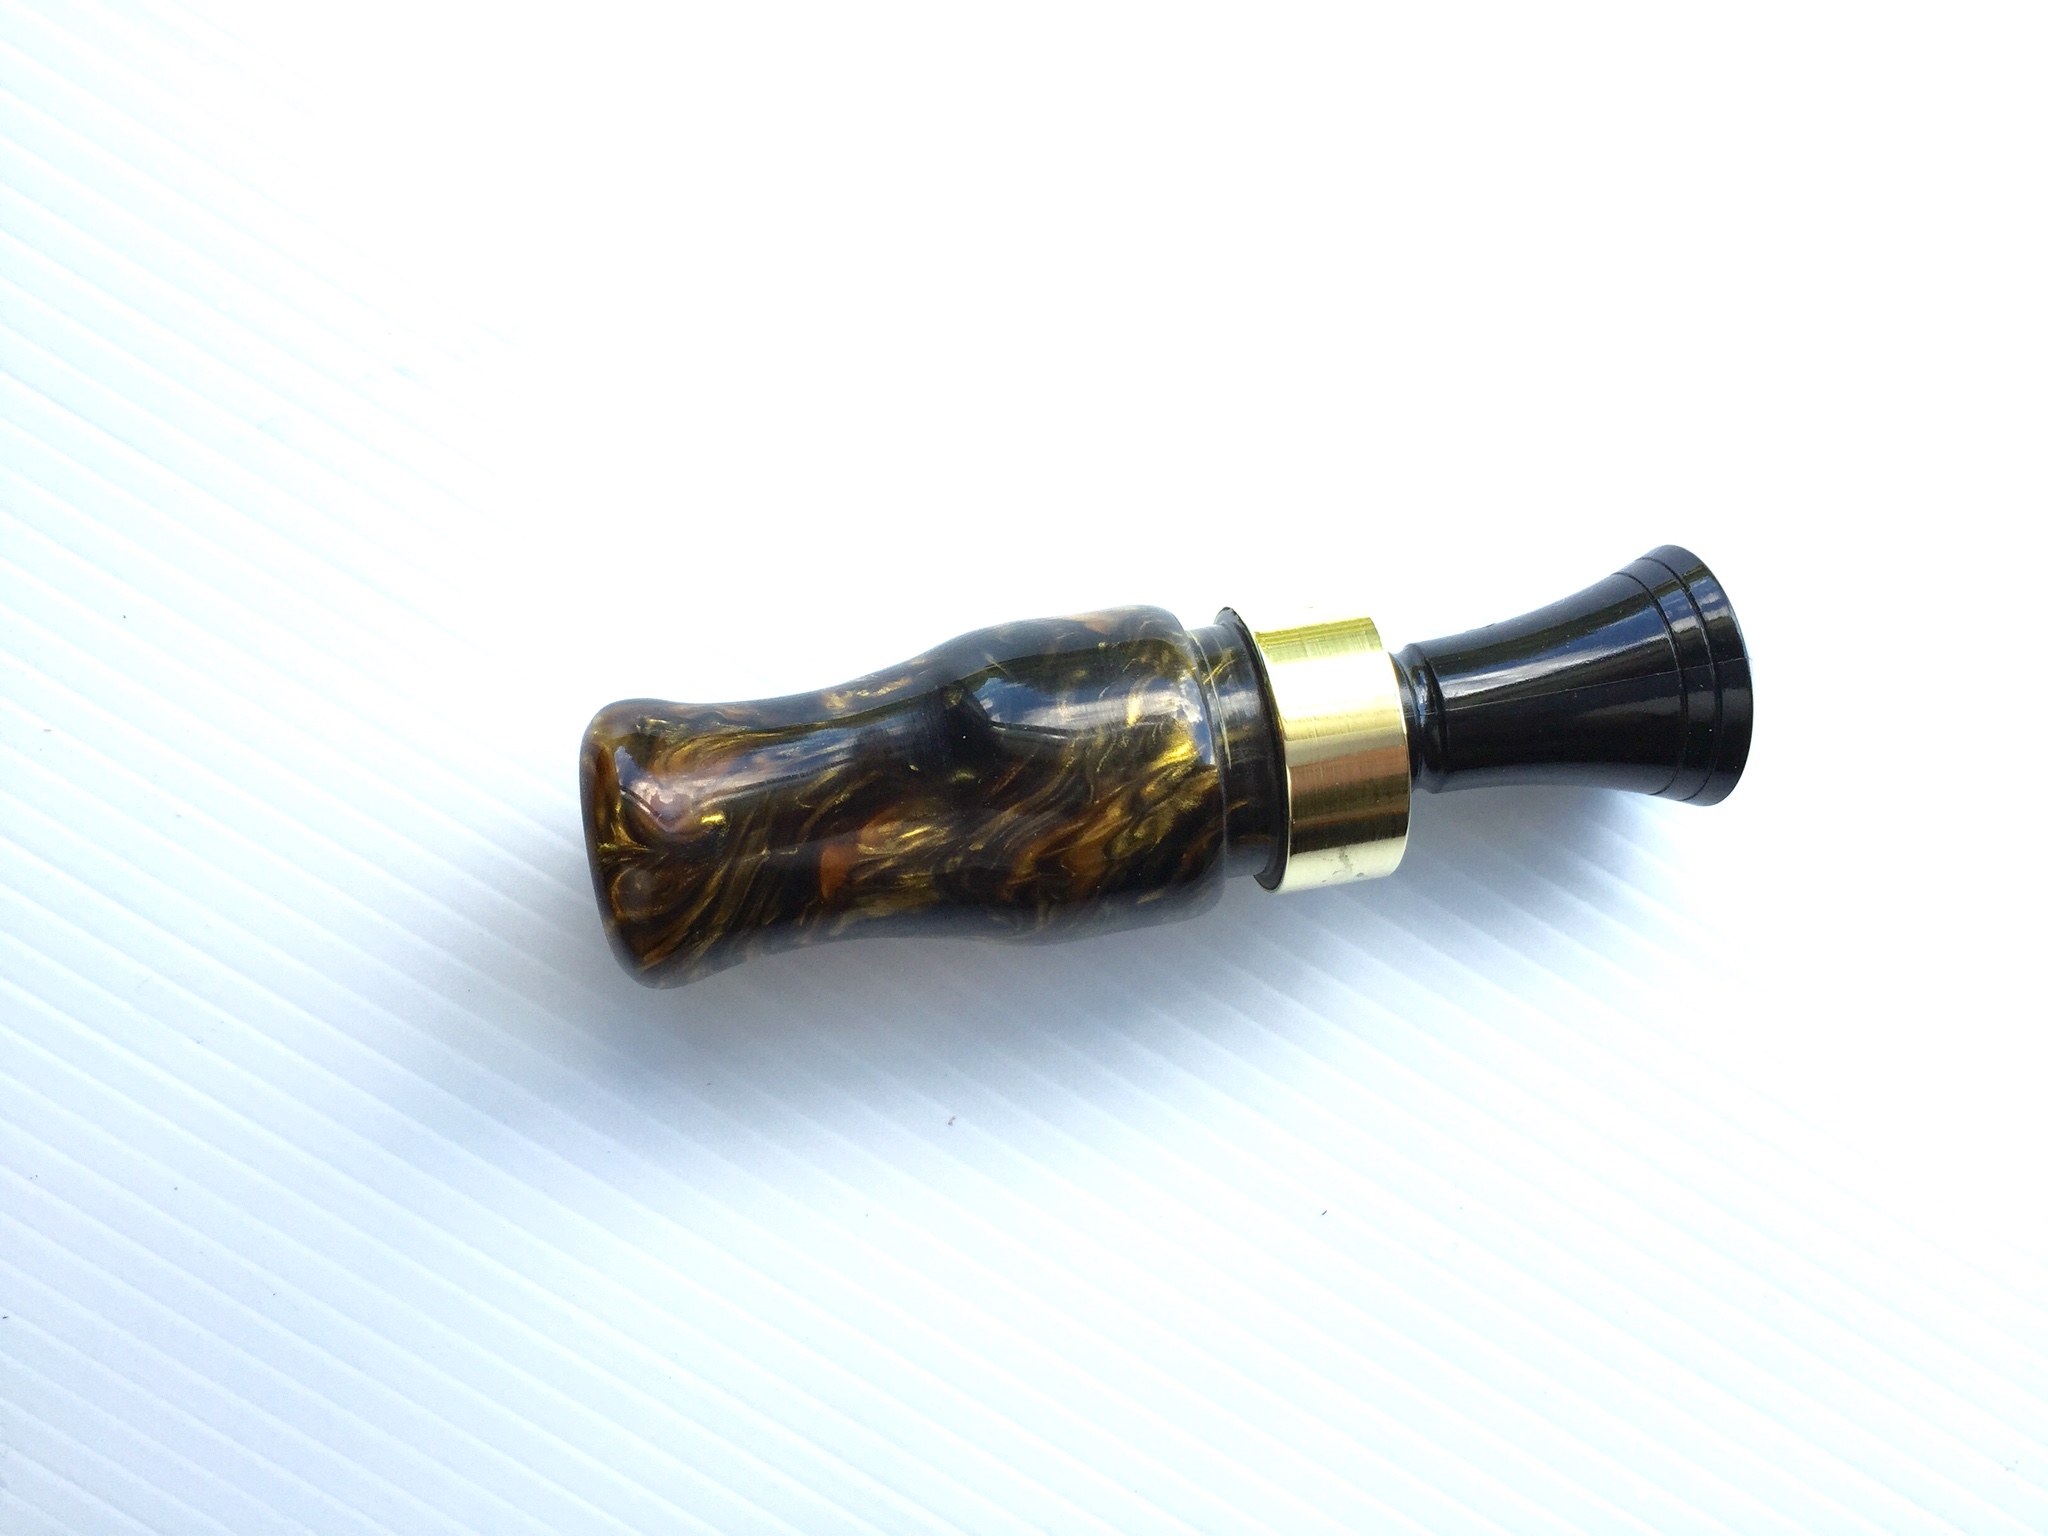
I've kept my acrylics shapes fairly simple due to the difficulty of getting them smooth and shiny.
Working with the little square wet sanding pads can leave grooves, lines, and ruts in the shapes.
Is there a way to get these smoother?
Thanks! Gary


")