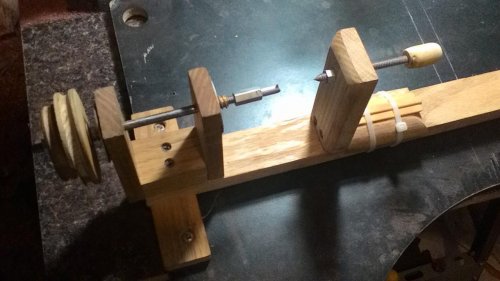
For this contest there will be only one round of voting. Please choose your top three pens.
Entry 1
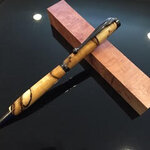
Spalted Hackberry
Entry 2
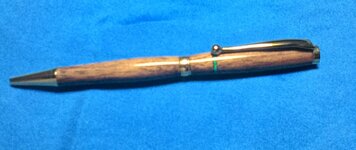
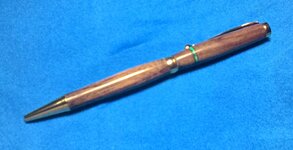
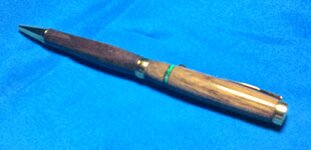
Slimline Funline in economy gold finish, with American Walnut and a Malachite stone inlay.
Entry 3
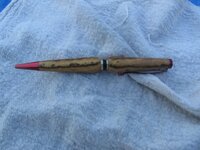
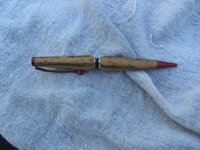
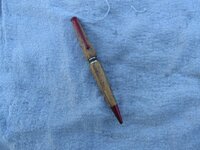
This pen is a gift to the wife. Slimline pens do not fit her hand and fatlines are to bulky so this pen is somewhere in between. It was sanded and burnished and then paste wax was used for the final coat.
The best part is that she says "It fits my hand."
Entry 4
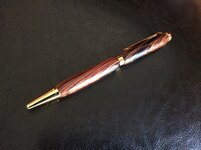
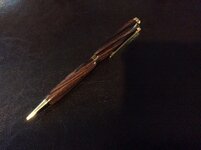
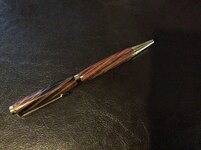
This is a Legacy Slimline Pen kit. The wood is cocobolo. I like the color and grain that this wood provides.
Entry 5
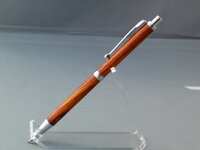
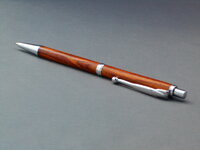
Blank is Cocobolo (I still have scars from the rash it gave me) turned at max speed using the large skew. Sanded to 400 and hit with Myland's Friction Polish.
Entry 6
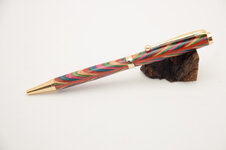
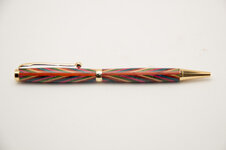
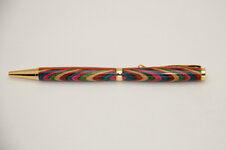
It's a Dymondwood blank from Berea that was ripped, rotated and glued back up with a piece of Padauk to break up the uniform pattern of the blank. Finished with Mylands friction polish
Entry 7
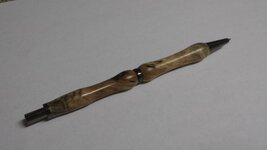
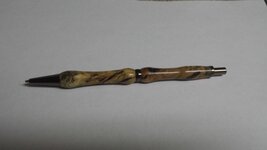
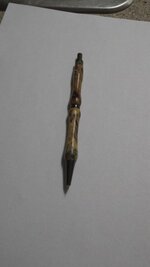
The blank was buckeye burl, and the kit is a gunmetal slimline pencil kit.
Entry 8
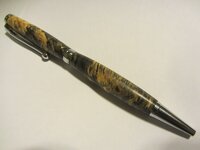
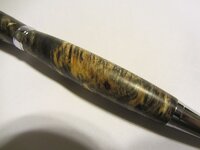
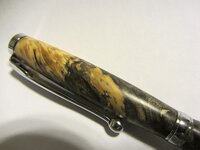
I bought the buckeye burl blanks from IAP member rockb. As soon as I received them, I figured out that I wouldn't be able to use them for pen turning because they're too lightweight and porous. So what do I do? Build a vacuum chamber and enter the field of wood stabilization of course. This is my first pen that I have turned using starting with the stabilization process. Chrome slimline funline pen kit. Pens plus friction polish finish. Left it matte.
Entry 1

Spalted Hackberry
Entry 2


Slimline Funline in economy gold finish, with American Walnut and a Malachite stone inlay.
Entry 3


This pen is a gift to the wife. Slimline pens do not fit her hand and fatlines are to bulky so this pen is somewhere in between. It was sanded and burnished and then paste wax was used for the final coat.
The best part is that she says "It fits my hand."
Entry 4


This is a Legacy Slimline Pen kit. The wood is cocobolo. I like the color and grain that this wood provides.
Entry 5


Blank is Cocobolo (I still have scars from the rash it gave me) turned at max speed using the large skew. Sanded to 400 and hit with Myland's Friction Polish.
Entry 6


It's a Dymondwood blank from Berea that was ripped, rotated and glued back up with a piece of Padauk to break up the uniform pattern of the blank. Finished with Mylands friction polish
Entry 7


The blank was buckeye burl, and the kit is a gunmetal slimline pencil kit.
Entry 8


I bought the buckeye burl blanks from IAP member rockb. As soon as I received them, I figured out that I wouldn't be able to use them for pen turning because they're too lightweight and porous. So what do I do? Build a vacuum chamber and enter the field of wood stabilization of course. This is my first pen that I have turned using starting with the stabilization process. Chrome slimline funline pen kit. Pens plus friction polish finish. Left it matte.
Last edited:

