keithkarl2007
Member
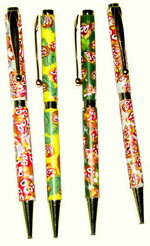
How the heck do you keep the flowers uniform through the cane, or even shape them like that  you've more patience than i have :biggrin::biggrin:
you've more patience than i have :biggrin::biggrin: you've more patience than i have :biggrin::biggrin:
REmember I DO NOT OWN A LATHE and have never turned anything except a hotdog")
the clay has to be rolled out with a rolling pin or a pasta machine numerous times to "conditiion" the clay.
I have never massaeged clay
you know there isnt a nice way to explain all this to a guy without laughing!!!
As for temperature I have a thermometer in my oven to keep a close eye on the temperature as it fluctuates.. Try again!!!!!!!!!!
If you wanted to do that you will need to use Kato clay. I have never used vaseline to condition the clay, zips mouth shut. As for turning on a lathe, as I said in the begining I have never turned pc on a lathe, my only suggestion is the clay is not strong enough.
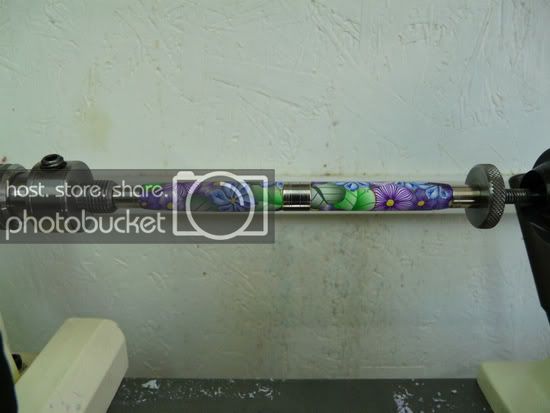
I didn't set out to follow the instructions. I just wanted a block of hardened clay that I could carve up onthe lathe. I'm also not following "traditional" pen making instructions. I made my own tools, so I have two sizes of mandrel - one for turning without tubes and one for turning with tubes.
I did form the tube directly onto the mandrel. The engineer in me leads me to believe this might make a difference to the direct heat applied to the tube.
What difference with Kato clay make? What exactly is going on here?
Vaseline is your friend if your clay is a bit old.
Yeah, but this stuff has never made it as far as the lathe. It's crumbling in my hands. I'm quite sure I could folow your instructions and my clay would still crumble! I reckon it must be just too old. (And my oven is crap.)
... I don't know if clay could turn without chipping out, sanded to shape yes, but I doubt turned. Turning clay is an interesting thought tho, Seeing how Toni does not own a lathe and can not give info on this and you are obviously looking to turn clay, (your thinking outside the box here is how great new processes get started) I hope you keep us up to date and give us a tutorial when (not if) you figure it out. I will be waiting to see the results.
Clay, on its own, will not hold up to turning or threading.
If you just want to turn a chunk then roll it into a sausage shape (technical lingo), cure it, drill, and glue in the tube. Doing this you should have no problem.
The clay needs the support of the brass tube.
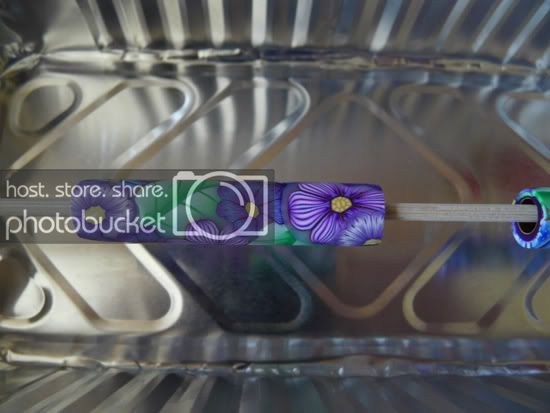
 I was wondering, are the leaves and butterflies different canes or is everything just one cane cut thinly.
 dont see one happening dont own a video camera, that could be dangerous!! LOL
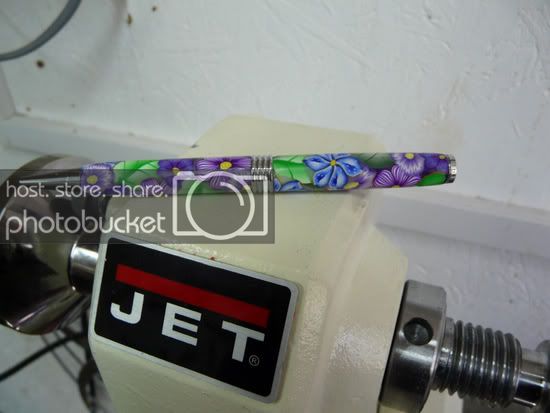
You are making me blush!! Thank you!!Her canes are just off the wall beautiful!