KMCloonan
Member
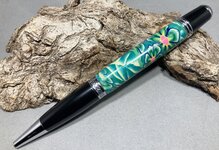
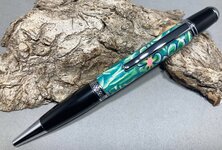
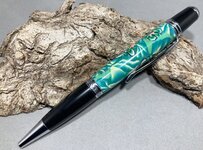
I used prefabricated Canes from PSI for this pen. Basically, I rolled out a thin mat of neutral Gray clay, pressed the tube-specific "cookie Cutter" into the clay to give me the outline I needed to stay within, then sliced thin slices of a flower cane and a leaf cane, then laid them inside the outlined shape. Once I had the space covered, I used a roller over wax paper to smooth out the sheet to a single thickness. This step of the process always stretches the shapes you lay down - I guess there's a learning curve for how much or how little to flatten/stretch the clay.
Anyway, once the clay was smooth and flat, I cut out the rectangle, rolled it onto a tube worked to hide the seam, then cooked it in the toaster oven at 275F for about 20 minutes. After it cooled I started to turn it, but the clay felt too soft, (even though it had cooled from the oven), so I doused it in CA, which made it harder, and then it turned pretty well. Then multiple coats of CA and micromesh, then polish with Meguiar's plastic polish
I do feel that this was almost too simple. Although it looks ok, it's really just some clay slices smooshed together and flattened. There was really no artistry or skill involved. (Not like Toni's pens which are works of art). But it's all part of a learning curve.


