Andy I am working on the cap for the pen so when I get complete I will show it.
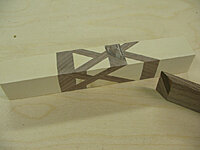
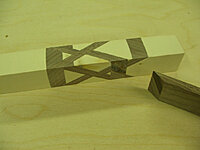
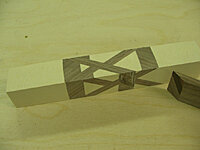
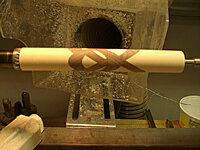
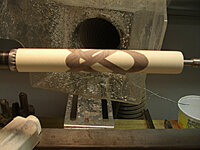
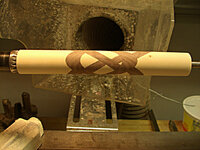
Now to sum up my input into this thread I will show the photos of the blank I made up using the cut all the way through and using an infill other than size of blade. I used a tablesaw to cut blank with a 3/32" blade. The blank is maple and the infill is 1/4" walnut. I show in first photo my system of clamping these type blanks with the use of an aluminum angle to keep 2 sides as straight as possible. The tip I wanted to include was to make this work you need to cut the end of infill the same angle as the blank. In this case I cut this so called knot using a 60 degree sled in that I wanted to stretch it out knowing the thick infill will take up alot of the space. As it turns out Ken was right in that the infill still needs to match the kerf of the blade. Now we have proof and it is documented here forever. This knot turned out to be nothing but a mess and no good use at all. I first show various sides of blank glued up and right away you see the misalignment when glued back together. Now I have no capabilities to make videos so I turned the blank down to see it in its round form and it is as bad. I show various sides while on the lathe. I will keep the photos in thumbnail size so as to not overwhelm the thread. But you get the jist.
To sum this up it was fun to banter about the long standing segmented Celtic Knot. I believe all info ever needed to make these is now in this thread so future generations can be linked to it. As I said earlier I learned a few things and hopefully added a few details too. Have done about 5 or 6 over time I will stick to the cut partially way through method but now know when I need to cut all the way through what needs to be done. All those who want to try, have fun and enjoy the journey. Just another segmented blank. If I can be of help just ring. Happy turning and be safe.

") heard across the pond. Anyway till later happy turning.
heard across the pond. Anyway till later happy turning.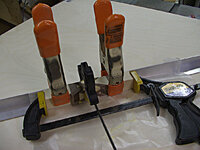

")