I don't have the ability to make this a PDF file, so if someone wants to...feel free!
Disclaimer(again): I don't own any of these programs, nor am I paid to tell you about them....I just happen to use them and they work for me. You can play with the free stuff, but it will leave a watermark over the photo until you 'pay for it' on the PhotoMatix, but Picasa stuff is free!
Links to the programs I use:
Picasa3:
Picasa
PhotoMatix Light:
Download HDR Photography software Photomatix
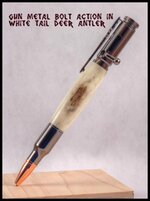
This is my method of presenting photo's of the item(s) I make. The simple title should read: HDR your pens!
Step one:
This is the part that may take you a few tries to get right. But basically, you need to take three photographs of your item without moving the camera(this is very critical-a solid mount will give you the best results)!
I like to use the f/45 setting on the camera(it gives the best depth of field inside my light tent-or in other words...'everything should be in focus'). With the camera mounted on the tripod and the f/stop set, I take three photo's, only changing the EV setting in between(do this carefully to keep the camera from moving).
Here is the result of the three photo's:
Photo #01:
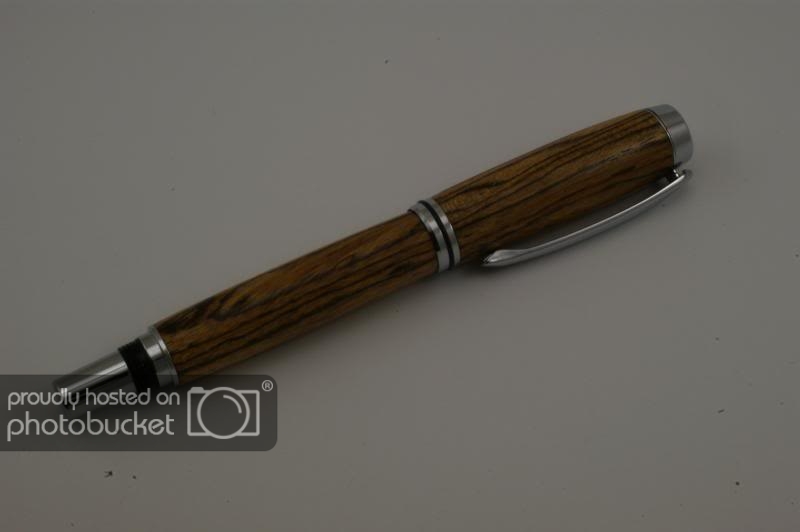
The above photo is the result of:
f/45
EV-1.0
(2second shutter delay used)
exposure time 0.6s
Photo #02:
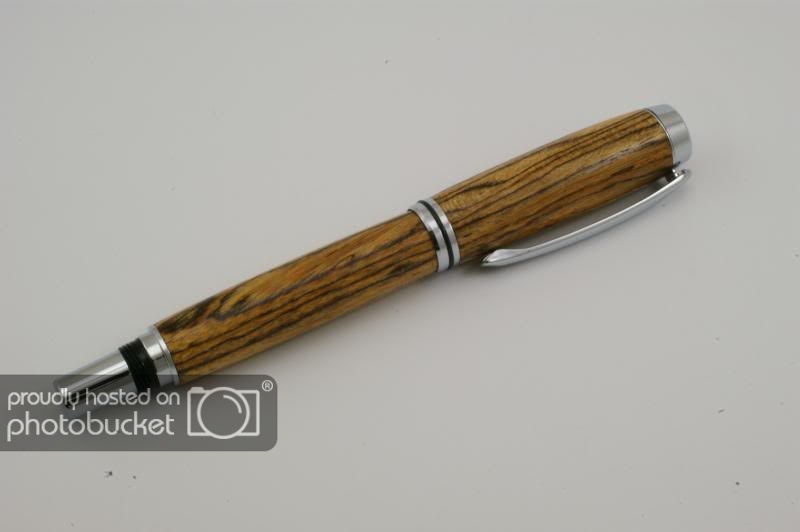
The above photo is the result of:
f/45
EV+0.3
(2second shutter delay used)
exposure time 1.6s
Photo #03:
The above photo is the result of:
f/45
EV+1.6
(2second shutter delay used)
exposure time 4s
(I know it would have been a good idea to copy/paste the complete EXIF data file(but it would have been huge and probably confusing for a lot of people) But you can see from the limited data I did use that the only thing that changes is the EV setting, and the exposure time.
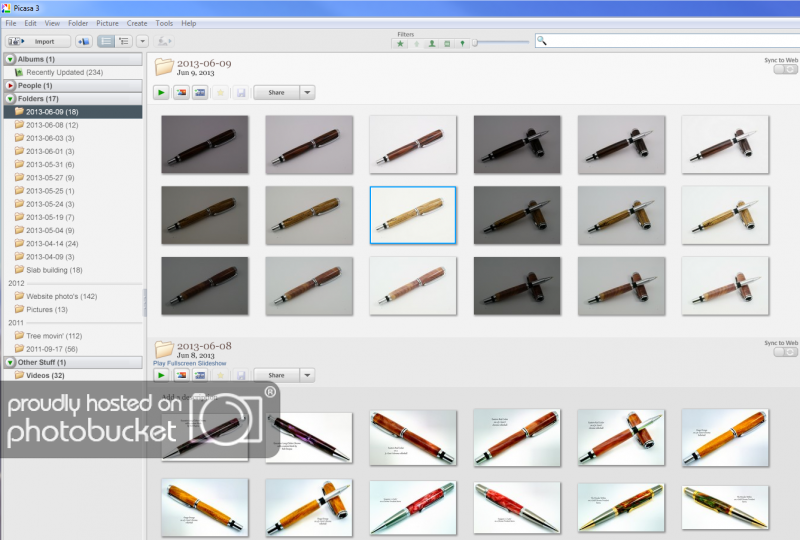
Here's a screen shot I took from my screen showing all the photo's I took this morning using the pretty much the same setting for each. EV-1.0, EV+0.3, and EV+1.6
(Note: You can take as many photo's with different EV settings as you want, it will give you 'smoother transitions'. But the downside is you have to be more careful to keep the camera still!)
Photo #04:
Don't worry, after you run the original photo's through the software you can delete the files to reduce the number of photo's you have in the computer!
The next step is to open the program called PhotoMatix Light 2.0, and then select the photo's that I showed above:
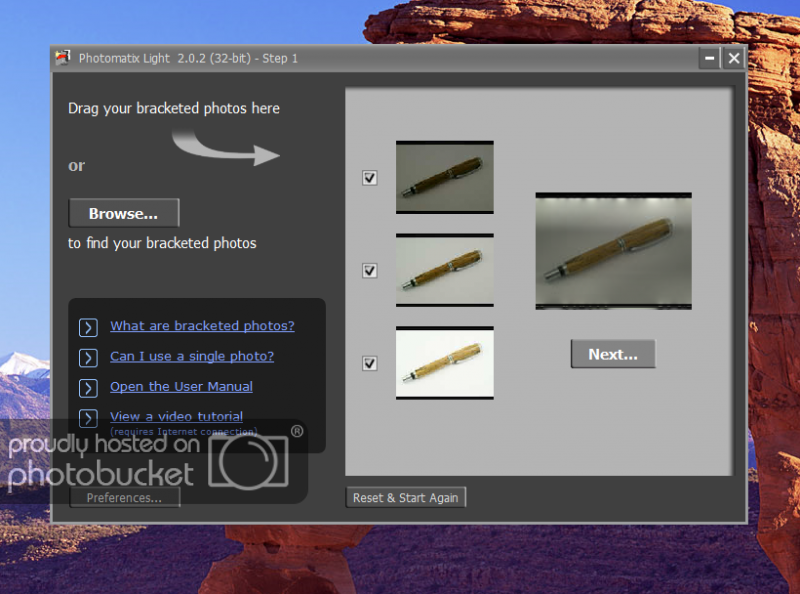
From this shot you should be able to see the 'NEXT' button under the larger photo to the right. You will need to 'click' on that to go to the next screen(you can also 'de-select' photos on the left side of the screen to adjust the outcome).
The next photo is the actual merge screen(I call it that, cause I'm not sure of the actual name for it):

This is where you can play around with different 'sliders' and preset options. I use the Exposure Fusion defualt setting, unless I what to 'blow-your-mind' with some 'grunge' stuff(it doesn't look too much like the pen anymore, but it's fun to play with). Anyway, this screen shot should show the 'Process & Save' button(lower left)....you'll need to click that. When prompted you can save it as a file with any name you choose.
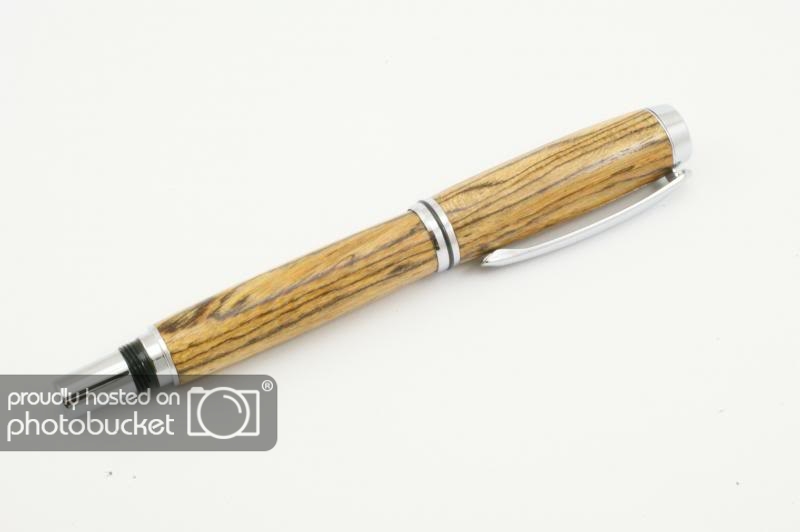
Here is the original 'Saved Photo':
At this point I reopen Picasa3 and make the corrections.
Here's a screen shot showing two extra photo(one of which we all going through-I just happened to do two sets cause I didn't know which one I was going to use):

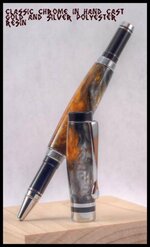
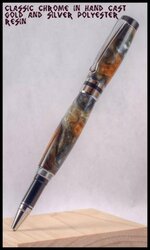
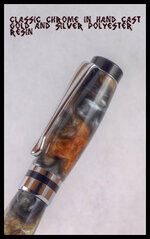
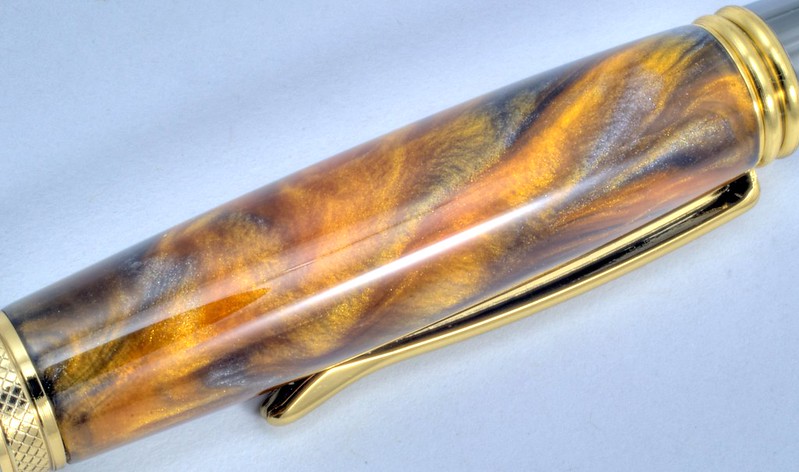
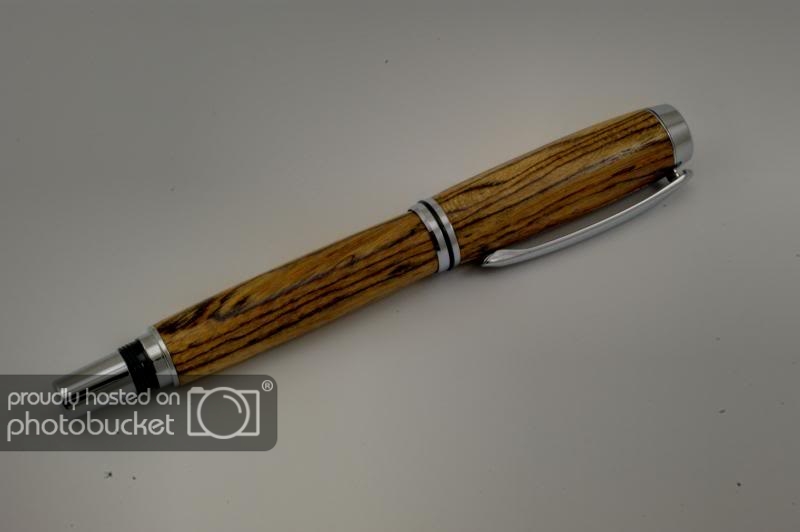
I use only minimal adjustments for 'Fill Light'(to try to re-produce the actual color of the background), then I hit the "I'm Feeling Lucky" option. After that I generally remove the fuzzies in 'Retouch', 'crop' it to show more detail, adjust the 'Sharpen' somewhat.....you get the idea, common stuff you probably already do. And the ending result is:
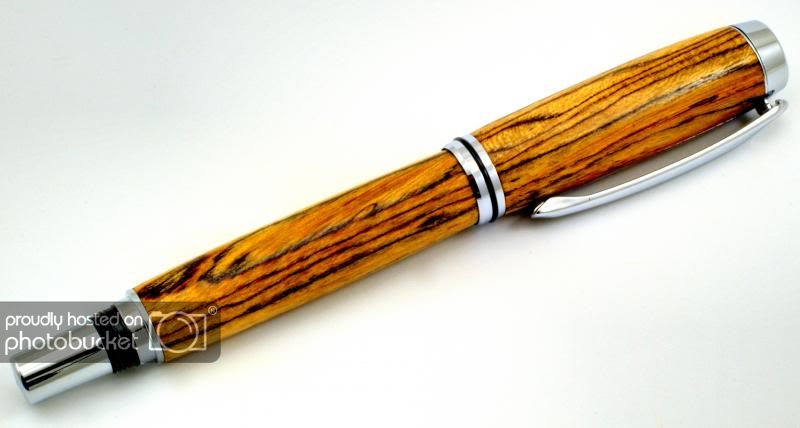
Of course you can add 'text' in the photo or anything else for that matter. I use to put a border on the photo using Adobe Lightroom to give the photo the 'off the page' look, but I haven't done that for quite sometime? This whole process(the three photo's and then the processing) takes about 4-1/2 minutes, but improves the light seen(or not seen) in the photo.
Scott (step by step) B

") and pretty pen photographs.
and pretty pen photographs.