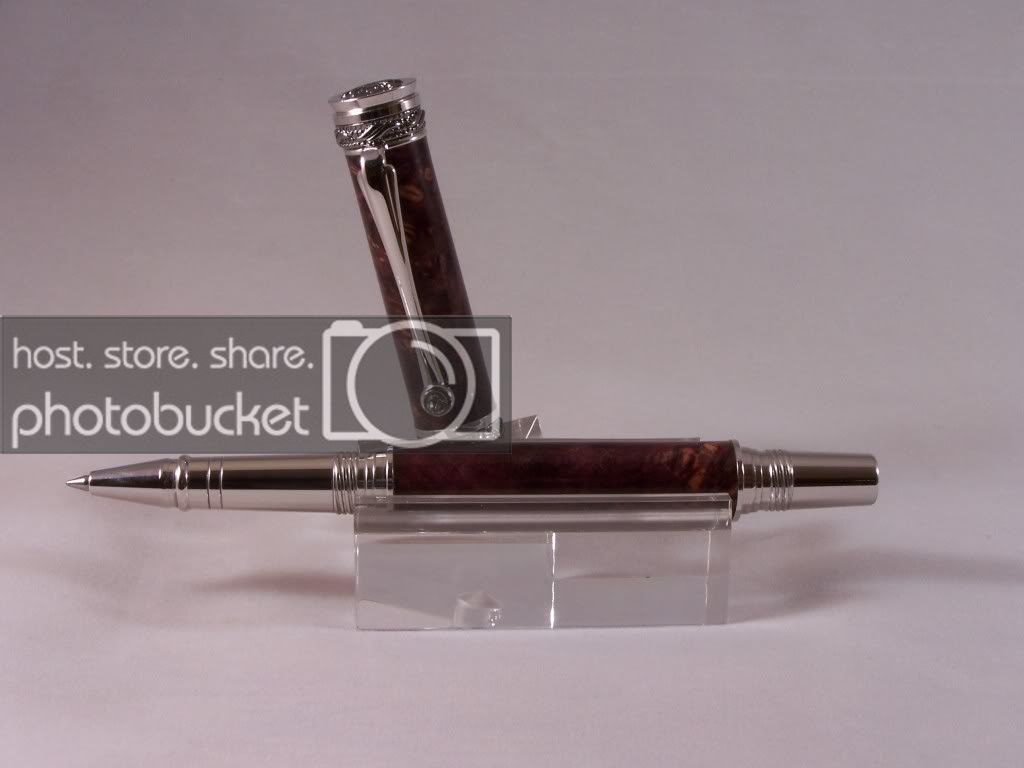
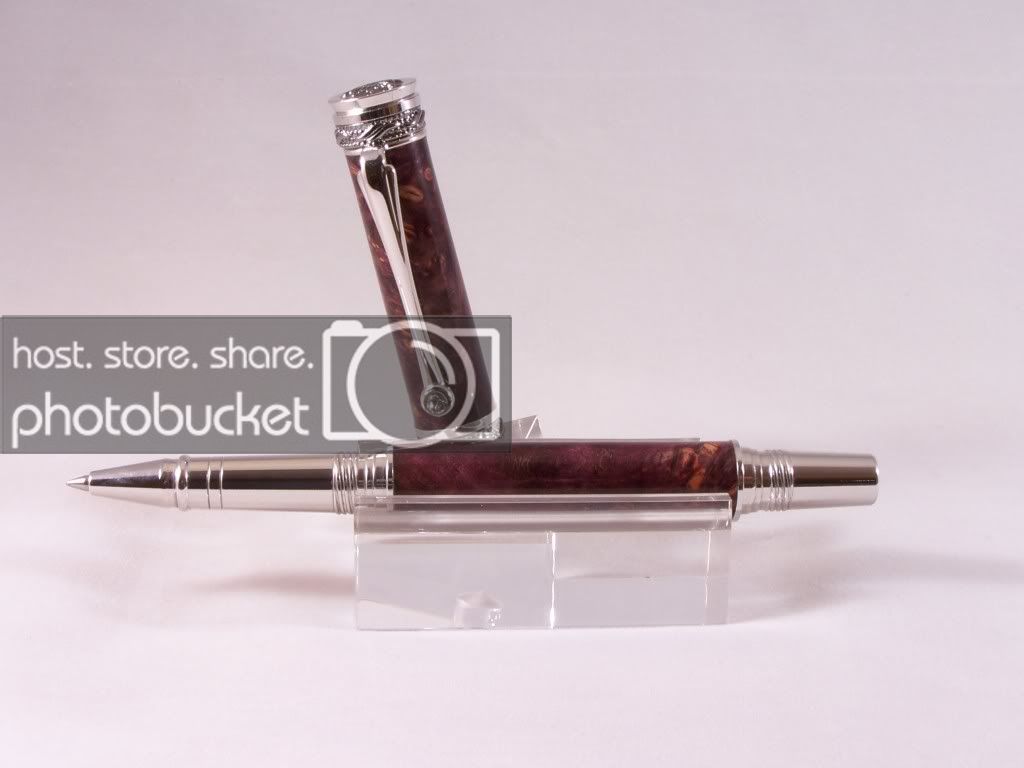
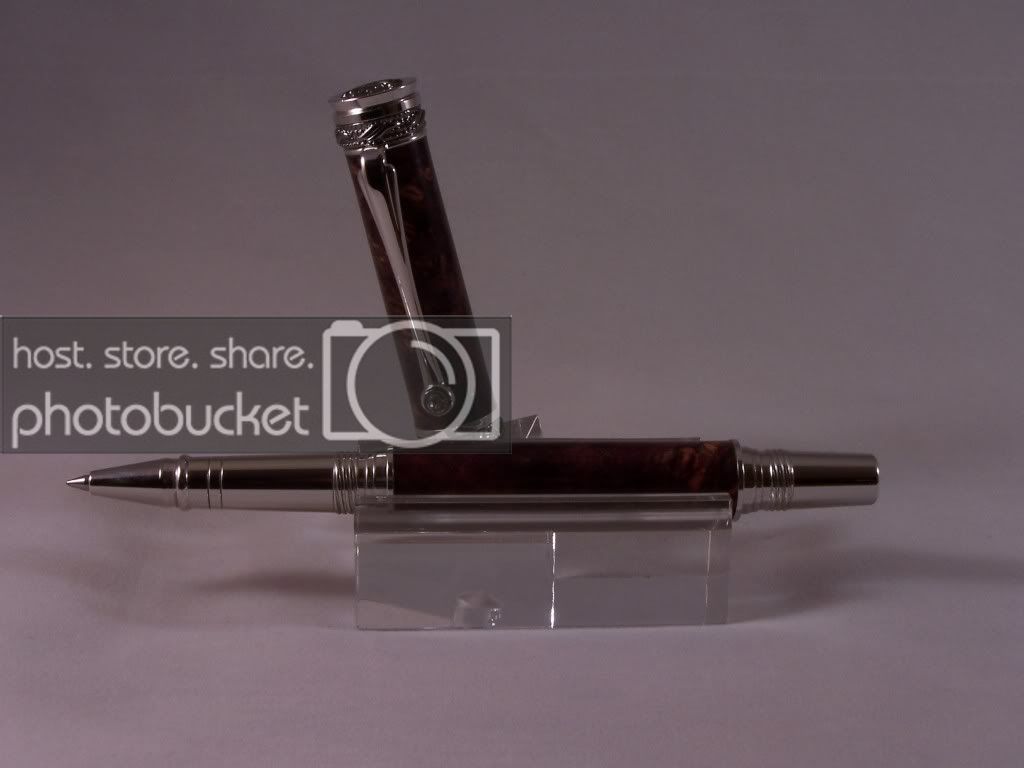
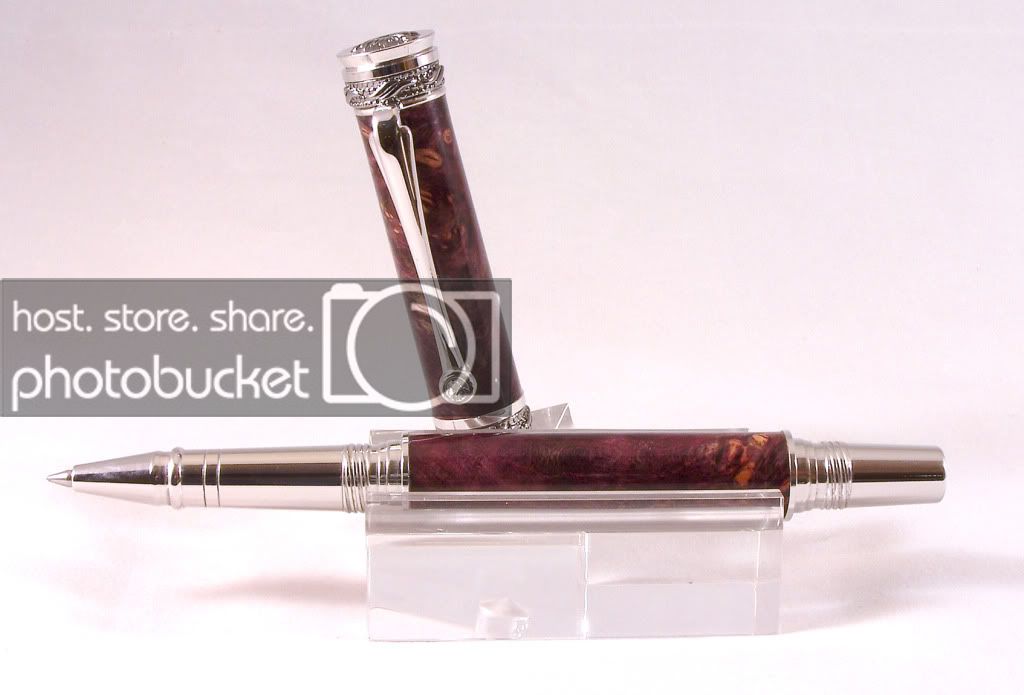
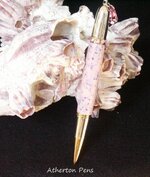
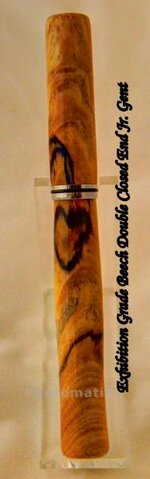
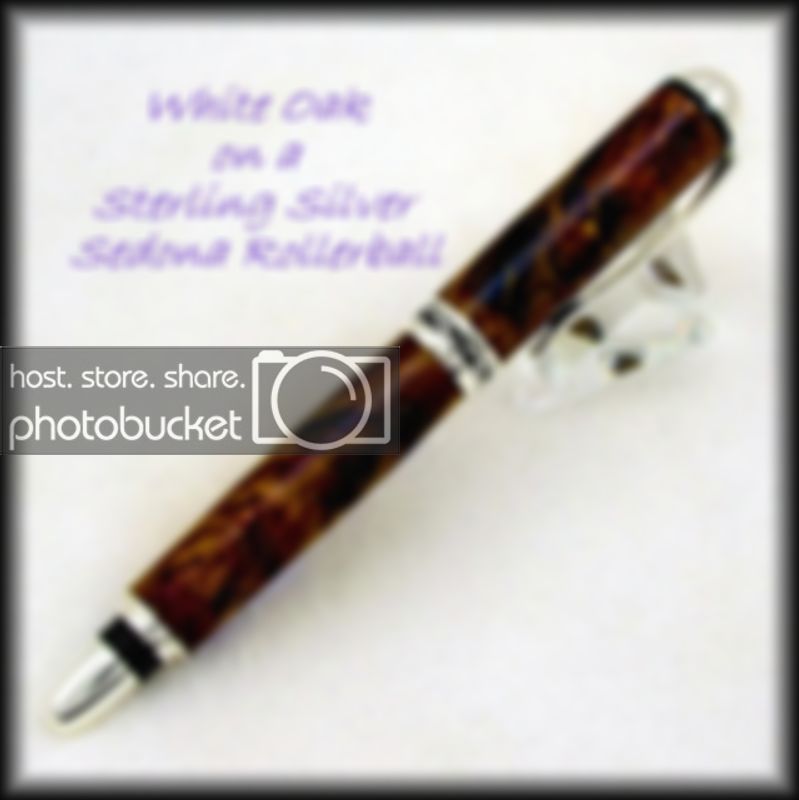
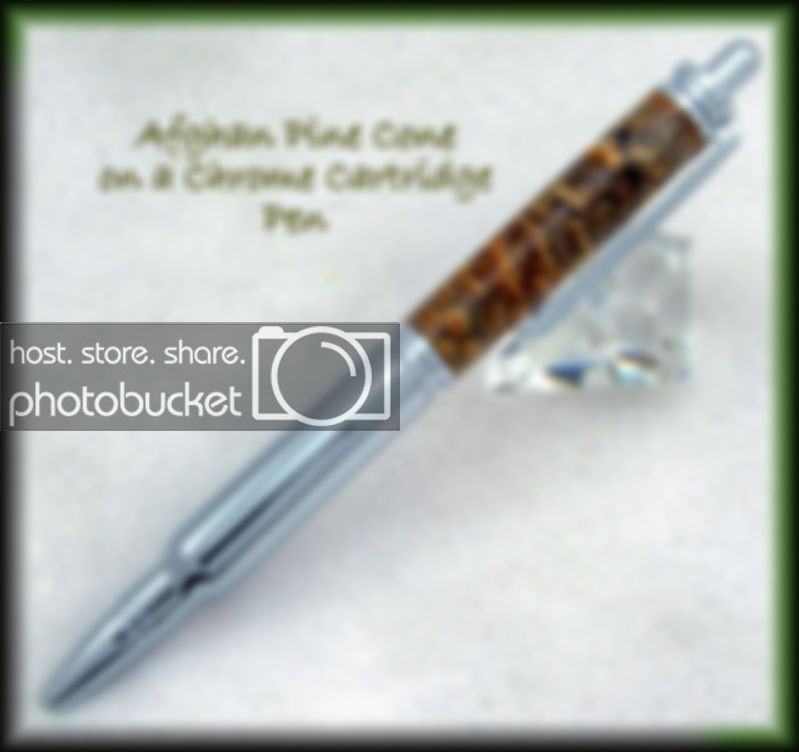
My method of photo'ing a pen

Signed-In Members Don't See This Ad

Atherton Pens

Member
Joined
Sep 27, 2010
Messages
307
Location
Powder Springs, GA
Thanks for sharing this. I guess I'll have to get a better camera! My old Minolta doesn't allow EV changes.
Gary
 

Attachments

  • PinkDiva.jpg
    PinkDiva.jpg
    46.3 KB · Views: 269

toolcrazy

Member
Joined
Dec 23, 2006
Messages
5,408
Location
Port Orchard, WA
Just found this site and watched the tutorials for using it...

http://www.hdrsoft.com/

It is designed specifically for hdr photography and can stand alone or be intregrated into photoshop. Not sure if the cheaper version will integrate into elements or not but that would be ok anyway.

I think I will have to own it :)

If you can't afford the above program. This program was rated #1 for HDR in the shareware category.

http://www.hdrlabs.com/picturenaut/
 

SDB777

Member
Joined
Feb 6, 2010
Messages
6,620
Location
Cabot, Arkansas USA
Thanks for sharing this. I guess I'll have to get a better camera! My old Minolta doesn't allow EV changes.
Gary

Actually all cameras have EV's...some just are not labeled as such. To change the EV value on a camera without the setting, it's nothing more then changing the shutter speed.

1/125 would equal EV = 0
1/60 would equal EV = 1
1/250 would equal EV = -1

Just remember to keep the Aperature constant!


Scott (had plenty of Minoltas) B
 

Spec Grade

Member
Joined
Oct 14, 2009
Messages
78
Location
Maryland
Anyone else have questions?
Scott (gonna make a pen now) B

My only comment is thanks for the info. I will have to try it. And, this thread should be pegged so it's easily found.
Oh yeah, you take great pics of your pens as well.
 
Joined
Aug 9, 2010
Messages
66
Location
Round Rock, TX
Thanks for the tips, I haven't been able to do anything with the software because of not having a tripod but still learned from what you had to say. Now that I have a tripod I'm going to be integrating the software and see what I come up with!
 

Rmartin

Member
Joined
Jan 14, 2007
Messages
1,263
Location
Columbus, Ga, USA.
How about 4 photos. All of the same pen but with different backgrounds. Opinions on which works best would be appreciated.


I think number 2 shows the best truest color of the pen parts, but I love love number 3! The mirror effect is fantastic. Is it on a mirror? Where does the background color come from? Very nice!
 

DavidSpavin

Member
Joined
Jul 13, 2007
Messages
107
Location
Norfolk, United Kingdom.
I think number 2 shows the best truest color of the pen parts, but I love love number 3! The mirror effect is fantastic. Is it on a mirror? Where does the background color come from? Very nice!

Its actualy a piece of gold mirror card I stole from my wife's craft box, the last picture is on the same type of card only silver in colour. :)
 

SDB777

Member
Joined
Feb 6, 2010
Messages
6,620
Location
Cabot, Arkansas USA
Here's the latest bunch...

This one is a three frame interlaced using the standard 'default' setting:

WhiteOakonSterlingSedobaRB001.jpg


Not sure how many times someone has wondered why dark timber never appears as it looks when photo'd. This one looks just like this photo!


This next one is five frames interlaced using the same standard 'default' setting:

AfghanPineConeChromeCartridge.jpg


The file is a little larger and took a few more seconds to load into PhotoBucket, but I'm thinking it's a little smoother? Still looks good enough to make me want to go and make another!


Feel free to ask questions, or if you need to vent about this type of photography.....

Scott (here to help) B
 

dgelnett

Member
Joined
Feb 8, 2011
Messages
108
Location
Highland Village, TX
Have you ever tried to scan a pen with a copier on the computer? Someone suggested that to me and when I tried it the color and lighting came out great but the focal point is right on the glass. So as the distance between the pen and the glass increased so did the out of focus. To bad there is not a way to change the F-stop.
 

its_virgil

Member
Joined
Jan 1, 2004
Messages
8,127
Location
Wichita Falls, TX, USA.
First thing you'll need is a good, solid tripod.
This is a really good point. Solid = no shaking. Shaking = blurry pictures.
Excellent point.

But the good thing is, you don't need a super-wizz-bangin' camera. I've used anything from a 3.1M Kodak C330, 14.0M Kodak C1485IS, 10.0M Canon SX10IS, or even my 14.1M Sony a350 w/50mm f2.8 EX Macro lense....anything works as long as you can manipulate the EV setting.
And another excellent point. Many posters in the SOYP forum are forever apologizing for the camera not being the newest and greatest. Newest and greatest is not needed. Learning to use the camera one has is the important part.

Thanks for the post. You have given some excellent information and gotten many of us to look at our old camera in a new light. Now, where is that sony mavica and the floppy disks? ....Oh no, my computer will not accect a floppy disk.:biggrin::biggrin:

Do a good turn daily!
Don
 

jbswearingen

Member
Joined
Dec 10, 2008
Messages
752
Location
Bowie, MD
Here's my first attempt at it. Easy peasey!

White tail antler:

DPP_0336Small.jpg


Camera is my five year old Canon Rebel XTi, OEM lens.
 
Last edited:

SDB777

Member
Joined
Feb 6, 2010
Messages
6,620
Location
Cabot, Arkansas USA
Hasn't been bumped up for awhile, and someone new just might get a few good tips....never know?!?!?


Anyone else tried this method? Got any more photo's using this method, I'd be happy to look too!


Scott (thanks for looking and happy photo'ing) B
 

butchf18a

Member
Joined
Dec 3, 2010
Messages
503
Location
woodland, wa
:rolleyes:SBD777 is correct in that Photomatix Elements (formerly Photomatix Light) is good, quickly downloadable program. It is not however free. You download a trial version which will put a Photomatix label over your photo until you pay the $99. Still it's a good program. Of course most any decent editing program will have HDR capabilities, admitedly not as simplified as PE. Check your software before you dish out another $100. That said.....

to avoid ghosts, a sturdy tripod is invaluable. If your camera has exposure compensation capabilities, use it. I've had good results with EV=0 +/- 2.0 as well as EV=0 +/- 1.0.
 

SDB777

Member
Joined
Feb 6, 2010
Messages
6,620
Location
Cabot, Arkansas USA
:rolleyes:SBD777 is correct in that Photomatix Elements (formerly Photomatix Light) is good, quickly downloadable program. It is not however free. You download a trial version which will put a Photomatix label over your photo until you pay the $99. Still it's a good program. Of course most any decent editing program will have HDR capabilities, admitedly not as simplified as PE. Check your software before you dish out another $100. That said.....

to avoid ghosts, a sturdy tripod is invaluable. If your camera has exposure compensation capabilities, use it. I've had good results with EV=0 +/- 2.0 as well as EV=0 +/- 1.0.


Thankfully, I never stated that any of the programs that were used in this quick 'tip' were free. I just stated that I didn't have any 'ties to them'....
And the latest version of say, Lightroom 3 is going for almost $300 and CS5 will set you back about $400....that said the $99 for Photomatix seemed like a deal(at least to me). True, maybe not for everyone....but if your using Picasa3(free), it doesn't have a way to 'blend an HDR'.


Setting just the EV to +2.0 will severely 'blowout' anything white or shiney. And with nothing to bring the photo 'back to neutral'....you'll just have a 'blah photo'.
I do complete agree with the tripod though....rock solid is best!


Scott (nothing is really free) B
 

SDB777

Member
Joined
Feb 6, 2010
Messages
6,620
Location
Cabot, Arkansas USA
How about a bump for those that are just joining up here....


Remember, I'll answer any questions you might have about getting the photo's looking good!


Scott (trying to help) B
 

Knucklefish

Member
Joined
Dec 18, 2010
Messages
351
Location
Little Rock, AR
Noise reduction?

Scott, do you use the "noise reduction" feature in photomatrix? I read the user guide and don't understand what it does.
Also heres my first try. Ignore the background, etc. I shot this with out any added lighting, just set the lightbox near the window.
John
 
Last edited:

SDB777

Member
Joined
Feb 6, 2010
Messages
6,620
Location
Cabot, Arkansas USA
This with the new camera John?

The exposure values are perfect in showing the grain of the wood, and I'm not see those super blown-out shiny spot and no shadows. We just need to bump you towards the white background a little(it is white, right?)


Scott (thumbs up) B
 

Knucklefish

Member
Joined
Dec 18, 2010
Messages
351
Location
Little Rock, AR
not exactly...

Actually, the background is white (material) but i used cheap walmart bulbs which made it look yellow. Bsea (Bob) advised that I need a bulb that has a "color of light" of 5000+. The bulbs i bought are "everyday light" and the packaging isnt very descriptive. I need to find the better bulbs, any suggestions where i can get them?
I have also posted some other pics under "show off your pens" forum if you would take a look i would appreciate it.


This with the new camera John?

The exposure values are perfect in showing the grain of the wood, and I'm not see those super blown-out shiny spot and no shadows. We just need to bump you towards the white background a little(it is white, right?)


Scott (thumbs up) B
 
Last edited:

SDB777

Member
Joined
Feb 6, 2010
Messages
6,620
Location
Cabot, Arkansas USA
Ace, HomeDepot(seem to have a LOT of them), Lowes.....

Don't want them 'curly-fry' lightbulbs, "Daylight" bulbs work too.


You using Picsas3? After your photo is saved(photomatic), try just hitting "I'm Feeling Lucky"


Scott (we'll get you there) B
 

Knucklefish

Member
Joined
Dec 18, 2010
Messages
351
Location
Little Rock, AR
yes, yes and yes

Yes, this is from the new camera using Photomatix and then Picasa3.
I'll try the feeling lucky thing.
Do you do the "noise reduction" thing at the very end of Photomatix?

John

Ace, HomeDepot(seem to have a LOT of them), Lowes.....

Don't want them 'curly-fry' lightbulbs, "Daylight" bulbs work too.


You using Picsas3? After your photo is saved(photomatic), try just hitting "I'm Feeling Lucky"


Scott (we'll get you there) B
 

rizaydog

Member
Joined
Oct 1, 2010
Messages
1,741
Location
Wellsboro Pennsylvania
I have a few questions about this.

What does merging the 3 photos do exactly? I assume it improves the quality but by what criteria?

After I turn something this weekend, I am going to try this method of photoing. I have photoshop cs5 that has an option called photomerge which will combine multiple photos. It also has a merge to HDR pro option that I will try too.

I have a kodak z740. It's not a great camera. We have had it for many years. It works great for gen picture taking. After reading this post, I looked at it and it has the ability to switch to PASM.
I assume I would set in on the "M" for manual.

There is a changable option "f", which I guess is the f-stop. It ranges from 2.8-8.

When I change that setting, there is a number that I can't change in red that ranges from -6.5 to -12. As I move the camera around, this red number changes. I don't know if that is something to do with the light or distance.

The only other thing I can change is something that ranges from 1/1000 - 8". Not sure what this is.

There seems to be something on my screen called ISO 80. This number doesn't seem to change when I change the settings.

Any thoughts on this from the pros?
 

azamiryou

Member
Joined
Aug 14, 2010
Messages
1,015
Location
Silver Spring, MD USA
What does merging the 3 photos do exactly? I assume it improves the quality but by what criteria?

I believe what HDR does is not simply combining the three (or more) photos. Instead, it looks for detail in the same area in the different photos. The output for that area comes mainly from the photo that has the most detail in that area. There's probably some algorithm to "blend" the different photos, but not evenly.

I have a kodak z740. It's not a great camera. We have had it for many years. It works great for gen picture taking. After reading this post, I looked at it and it has the ability to switch to PASM.
I don't know this camera, but PASM is almost certainly 4 modes of operation:


  • Programmed - fully automatic, the camera decides the shutter and aperture
  • Aperture override - you set the aperture, the camera sets the shutter speed
  • Shutter override - you set the shutter speed, the camera sets the aperture
  • Manual - you set both the aperture and the shutter speed

I assume I would set in on the "M" for manual.
For single shots, 'A' mode can work for you. For HDR, you'll need to use 'M' mode.

There is a changable option "f", which I guess is the f-stop. It ranges from 2.8-8.
That's aperture. A higher number lets less light into the camera, but also gives you more depth of field. If that's gibberish to you, all you really need to know is: for pens you want it as high as it can go - 8 for you.

When I change that setting, there is a number that I can't change in red that ranges from -6.5 to -12. As I move the camera around, this red number changes. I don't know if that is something to do with the light or distance.
That's probably the exposure (EV). This tells you how the exposure will be for the current aperture, shutter speed, and lighting. Under ideal conditions, the correct exposure is 0. -6.5 means your photo will be way too dark. As a starting point for HDR, you should take one photo at 0, another at about -1, and another at about +1.

As you set the aperture higher, EV will get lower, so you need to make the shutter speed slower (longer time) to let more light in and raise the EV back up.

The only other thing I can change is something that ranges from 1/1000 - 8". Not sure what this is.
That's shutter speed in seconds. 1/1000 means .001 seconds, 8" means 8 seconds.

There seems to be something on my screen called ISO 80. This number doesn't seem to change when I change the settings.
This is the "film speed" equivalent. It also factors into the exposure calculation - higher numbers are faster. Usually this is set somewhere in the camera settings. Leave it alone, though, 80 is a good setting for pen photos.

Any thoughts on this from the pros?
Your camera seems to have all the features you need! Here's how to get started:

Set up your pen just how you want it, and set the camera up on a tripod - basically get everything ready to take the shot, but don't take it yet.

For one good shot: set the camera to mode 'A', and set the aperture as high as it will go. Take the picture.

For HDR: set the camera to mode 'M', and set the aperture as high as it will go. Set the shutter speed so that the EV is 0. Take the picture. Adjust the shutter speed so that EV is -1. Take that picture. Finally adjust the shutter speed so that EV is +1, and take the third picture.

Some additional tips:
When taking pictures, use the camera's timer to prevent the image from blurring due to camera movement when you press the button. Some cameras have a short timer (3 seconds) for just this purpose, so you don't have to wait 10 seconds for every shot. If your camera has a remote control, that works, too.

Also, check your camera settings for something called "bracketing". If it has this feature, you can use it to have the camera automatically take the three photos with different shutter speeds, so you don't have to keep adjusting the shutter between shots.

Hope this helps!
 
Signed-In Members Don't See This Ad

rizaydog

Member
Joined
Oct 1, 2010
Messages
1,741
Location
Wellsboro Pennsylvania
Thanks for your help. I gave it a try this weekend. Here is what I got:

Manual11.jpg

Manual12.jpg

Manual13.jpg


Here is what it looks like after putting it into photoshops HDR:
1.jpg


What do you think?
 
Top Bottom