randyrls
Member
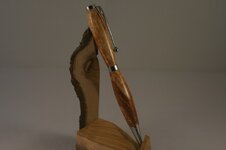
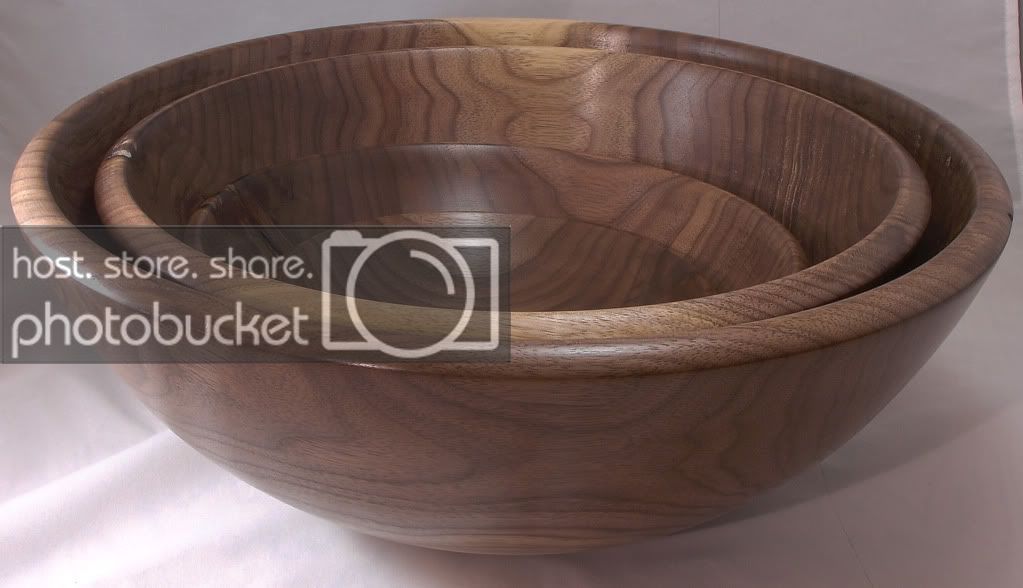
What do you think?
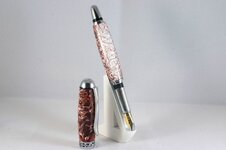
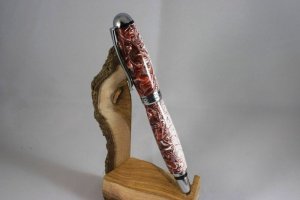
Excellent quality! but may be slightly under exposed. There may be a smudge on the tip of the pen. At this level of quality, you will see every imperfection.

What do you think?
What do you think?
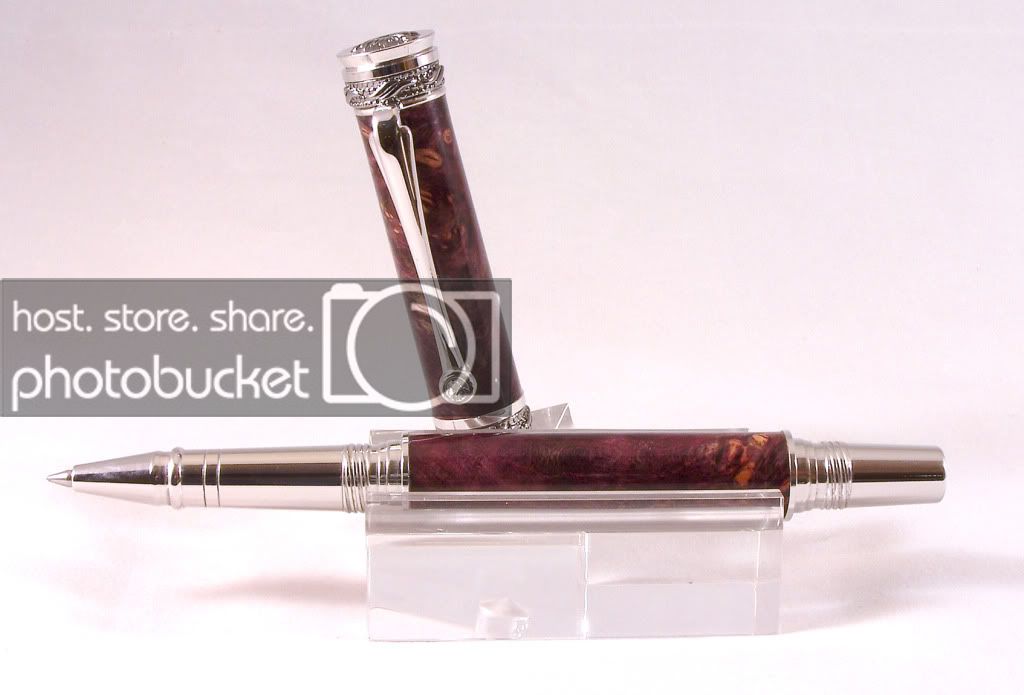
Thanks for your help. I gave it a try this weekend. Here is what I got:
Here is what it looks like after putting it into photoshops HDR:
What do you think?
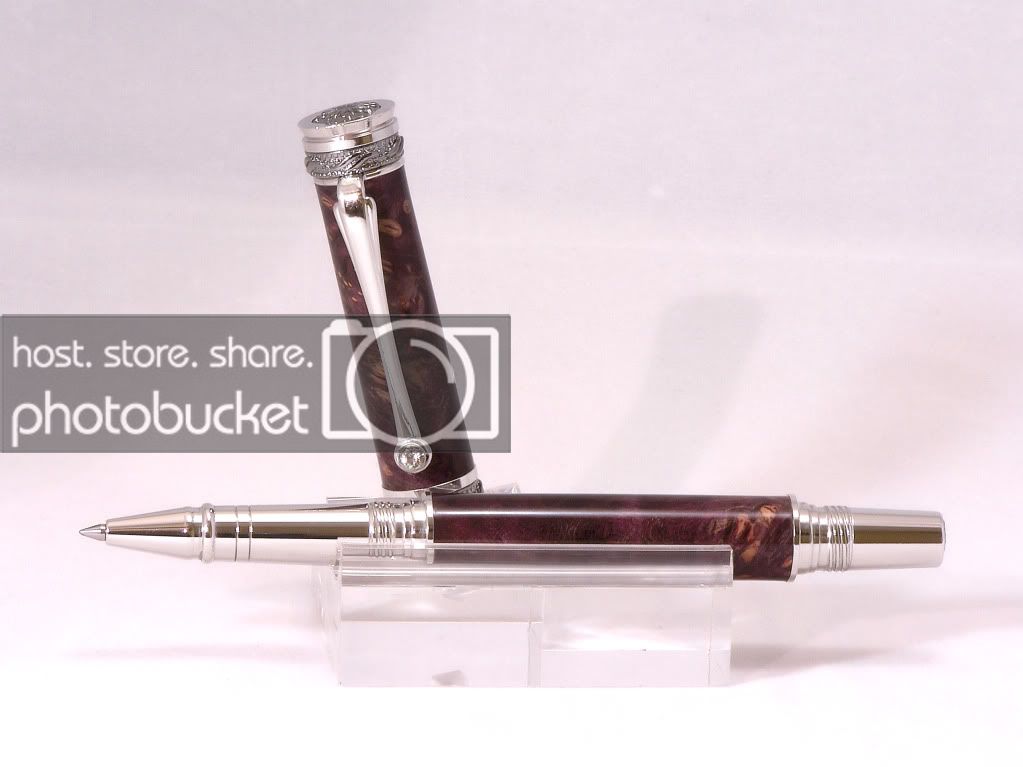
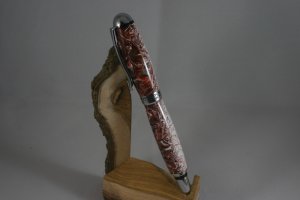
Below are my results of trying this method, although I only used -1 0 +1.
Below are my results of trying this method, although I only used -1 0 +1.
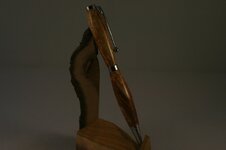
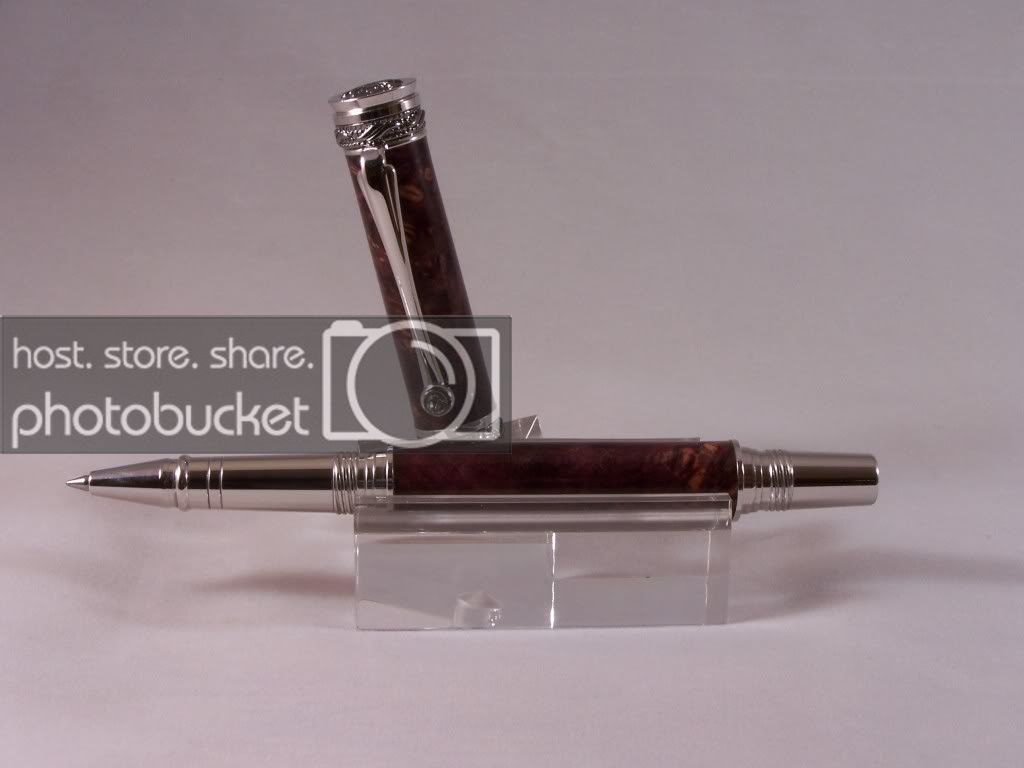
The result looks dark and underexposed to me, probably because the camera is compensating for the white background.
Since you like the +1 (and I agree it looks pretty good), use that for the middle. Leaving everything else the same, try taking a set at 0, +1, and +2 for your HDR image.
Read this and thought brilliant! Unfortunately my camera will only allow brcketing equal sides of zero.
")
Read this and thought brilliant! Unfortunately my camera will only allow brcketing equal sides of zero.
If your camera can do it (it probably can), you can bracket around something other than 0 using the manual mode. I don't know your camera, so the following may not apply - but try it and see.
Set the camera to manual mode.
Turn the bracket function on (set for +/- 1.0 EV)
Set the aperture to the highest number the camera will allow.
EV should be displayed somewhere on the screen; as you make the shutter speed longer, the EV will go up. Set the shutter speed so that the EV is +1.
Take the picture (the camera automatically takes all three).
Good luck!


I did the shots on F11. Is that still okay, or should I have increased it?
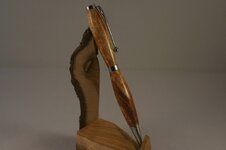
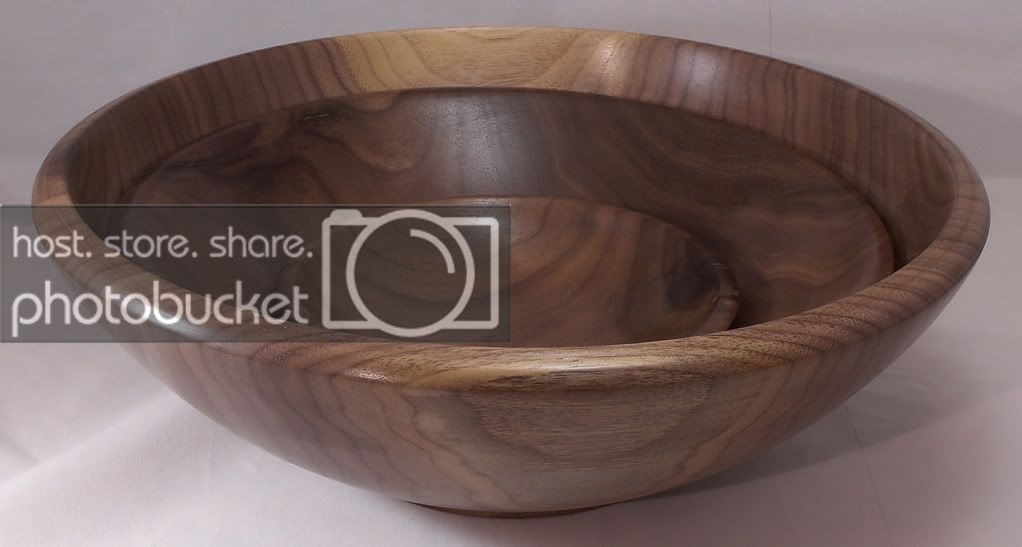
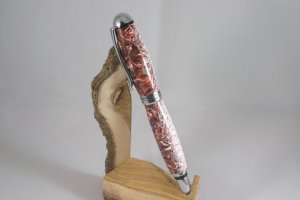
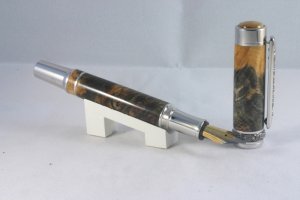
This picture is from the 3 bracketed shots merged:
View attachment 68867
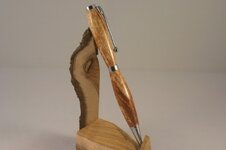
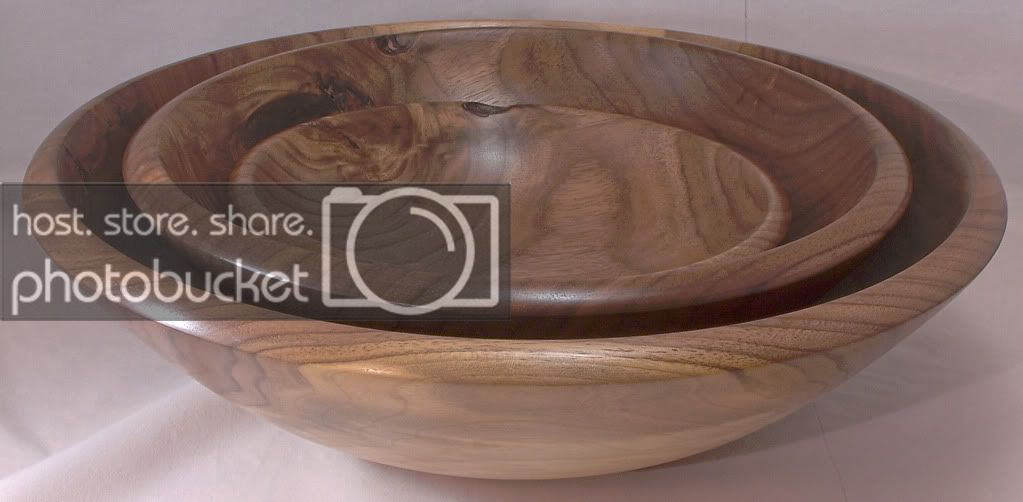
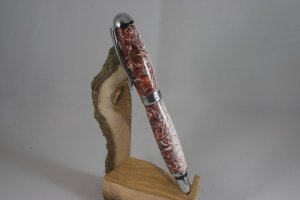
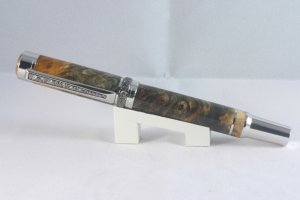
This is from 0 & +1. A tad over?
View attachment 68868
What do you think?


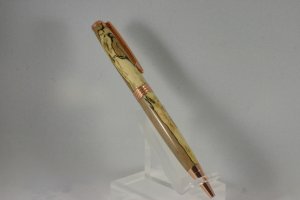
I tried playing with the contrast and brightness but when I improved the top half it was to the detriment of the bottom half.
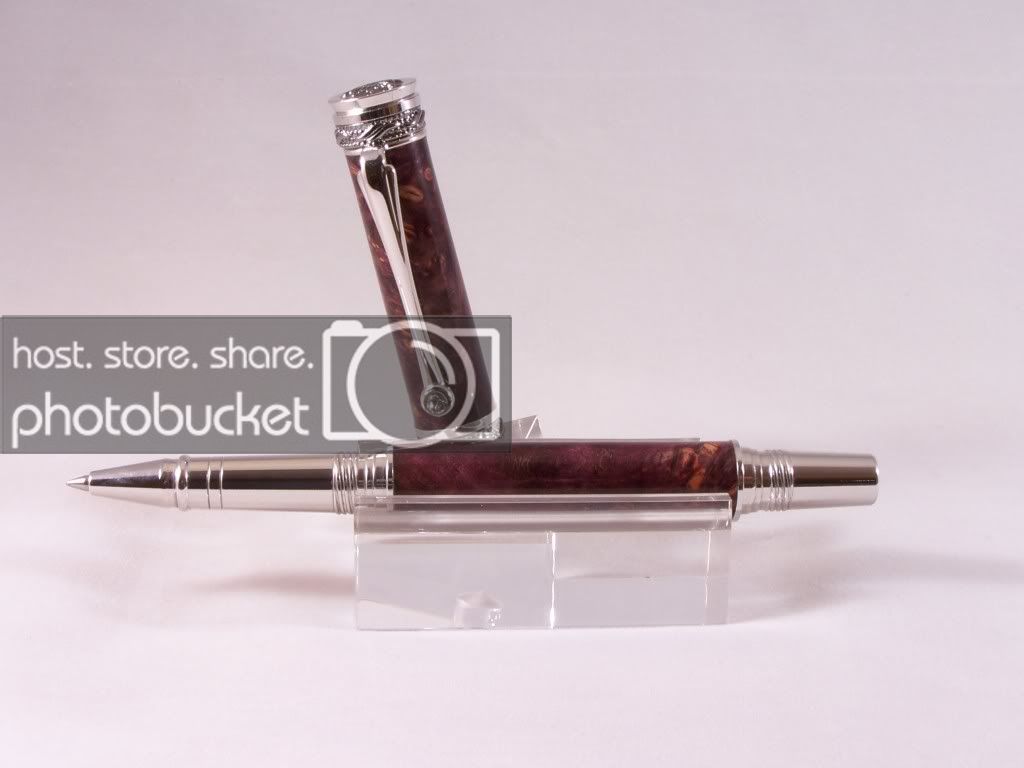
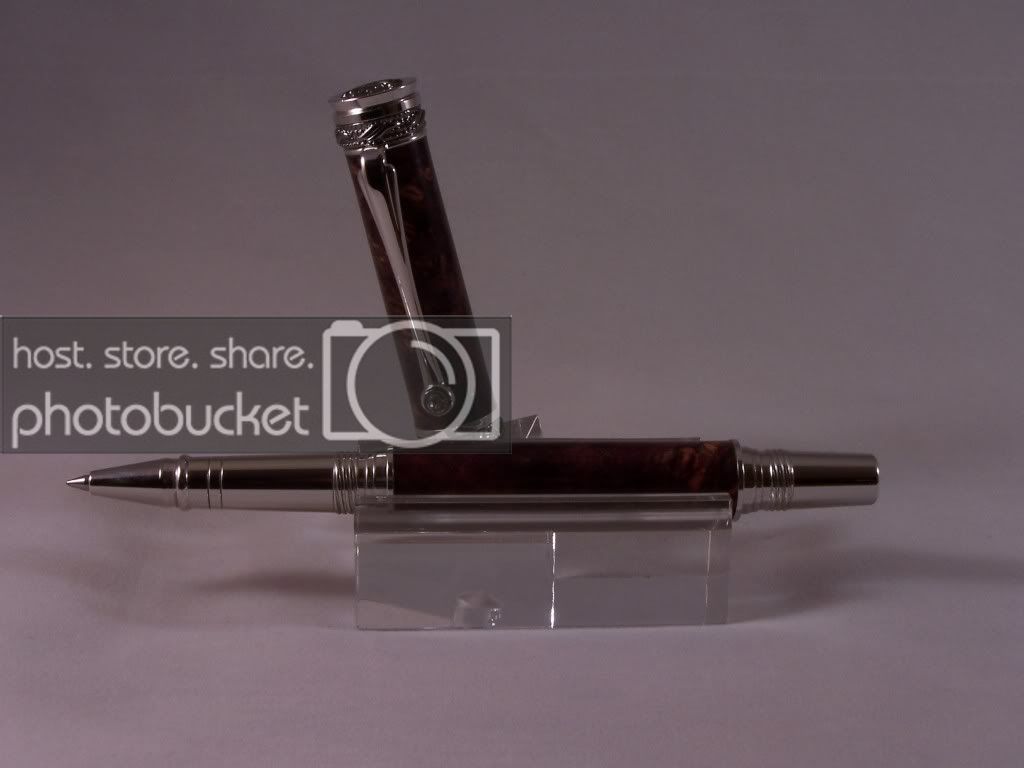
They keep getting better! That said, I think the contrast is too low on these. I used my software's "levels" function to adjust one (this gives better control than the regular contrast/brightness controls). What do you think?I think there is an improvement, but would welcome the comments from a trained eye!
All pictures are merged from the three bracketed around +1.


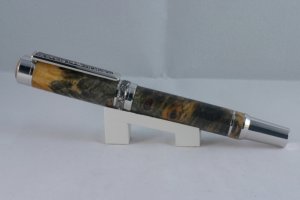
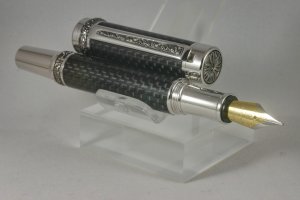
Twissy, really liking that fountain pen you have here. Awesome turningz!!!
Scott
I did get it to take 3 shots but they look all the same.
Thoughts???
- The bracketing features are enabled when the camera drive mode is set to continuous
- Subj. Dist. Bracket Value...[0 – 100]
- ISO bracketing value...[0 – 100]
- Bracketing types... Once the camera's limit is reached, subsequent exposures will occur at the maximum (minimum) setting.
I think it's only the TV and bracketing type +/- that I need to mess with?I think it's only the TV and bracketing type +/- that I need to mess with?
Sounds like you've recieved good advice. My canon requires 3 separate button pushes
Have a Sony, Canon, and cheap Kodiak that requires pushing the button three times also.
The Sony is supposed to do AutoBracketing, but it does it in .33/0/-.33 only. And that isn't enough information to bother with.