
Jim in Oakville
Member
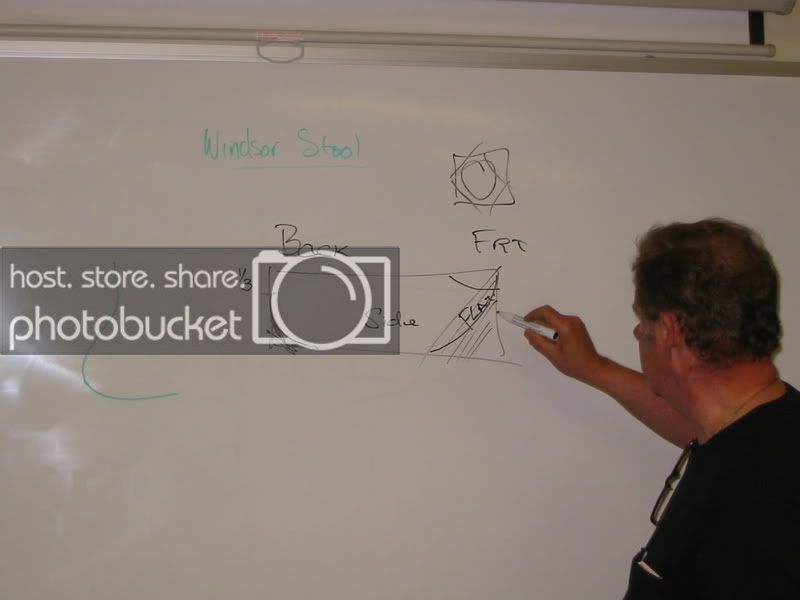
Last Weekend I took a class with John Robinson on making a Windsor stool, it was held at the Burlington Lee Valley store.
The class was actually a Friday night- all day Saturday class, we were 5 in the class. For those of you who do not know of John, he’s one of the best Windsor chair makers/teachers in Canada (he does teach in the US as well). John is an excellent teacher, always patient, full of funny stories and never allows any student to get frustrated.
Making the stool is also a good first step on the path to making a Windsor chair, many similar processes and tool work. John led us through the project, step by step, leading through demonstration and carefully explaining details as needed.
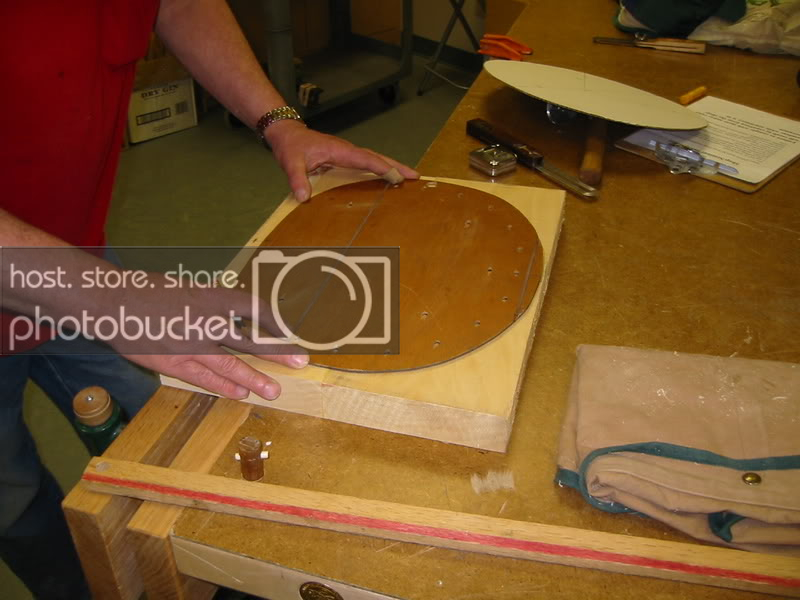
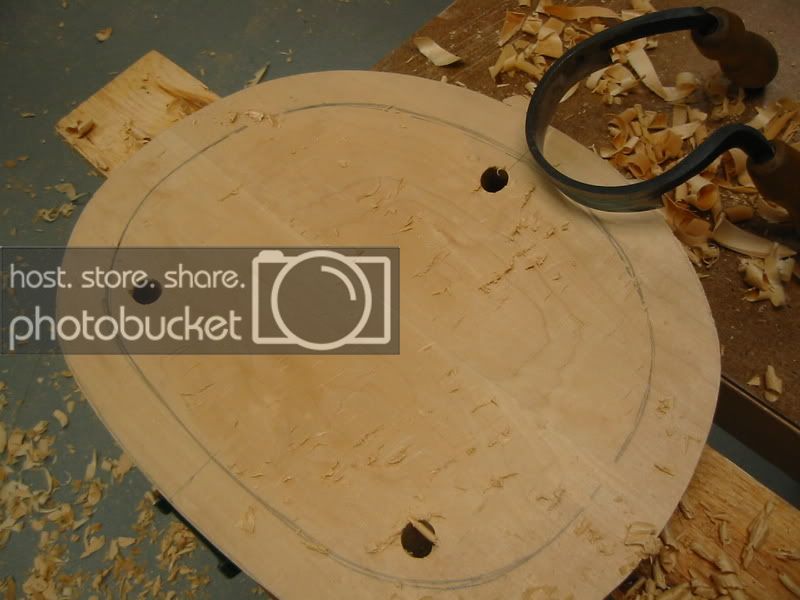
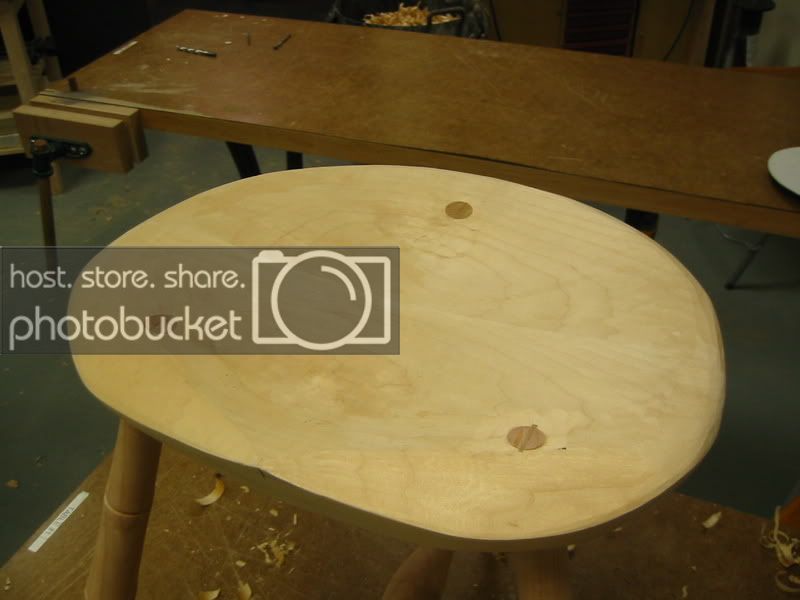
We started out first by laying out our seat base, marking and locating where the three leg holes need to be positioned. We drilled through the top and then reamed through the base.
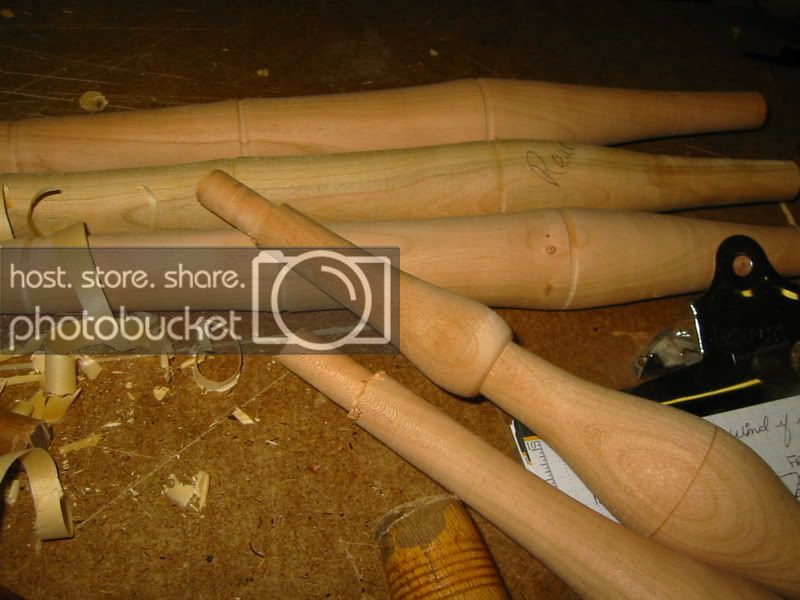
To enable some time John pre turned the legs and spindles for the class, he did say that if we had to turn them our selves that it might take an hour or so to do that.
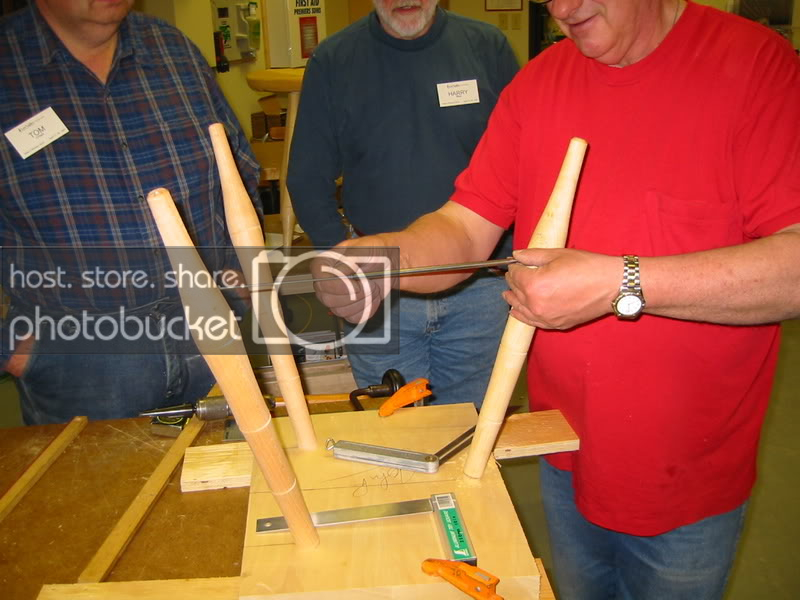
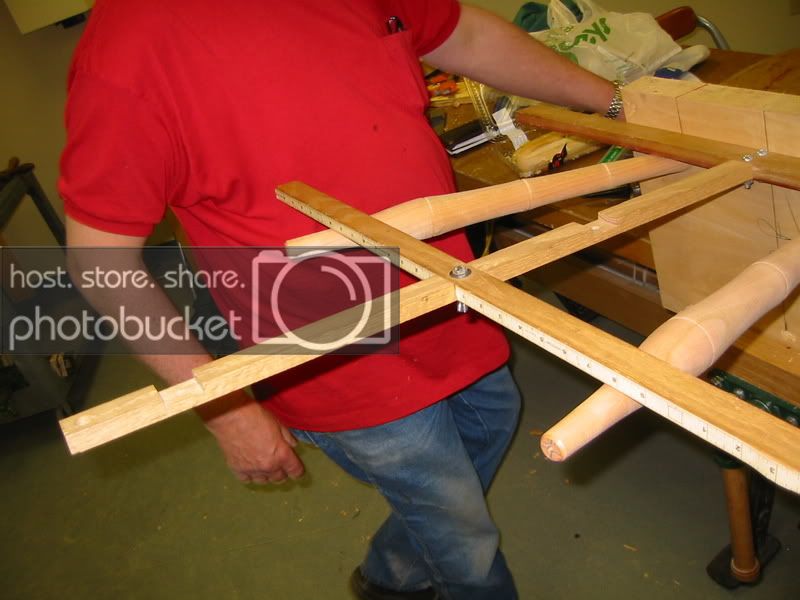
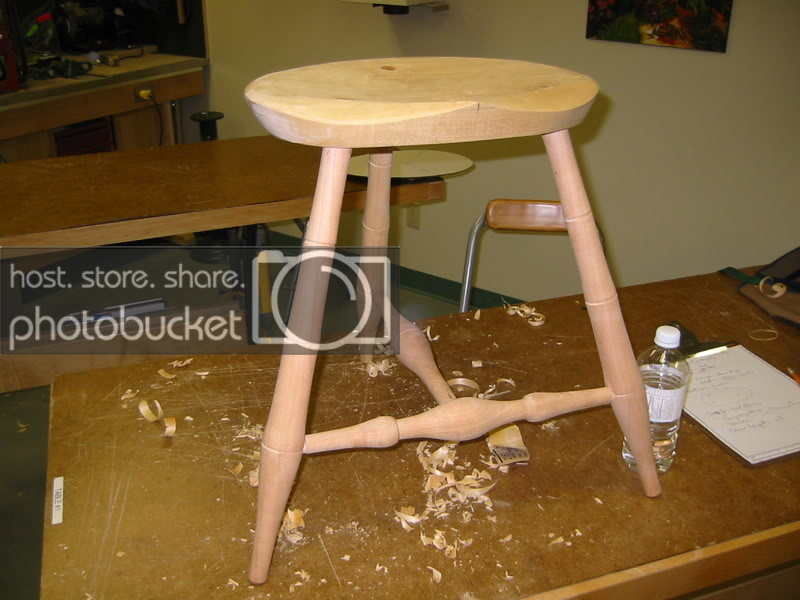
Once we had the leg holes drilled and reamed we used the legs to capture the rake and splay angles, trying to make a symmetrical structure by measuring with a set of winding sticks and a home made measuring gauge.

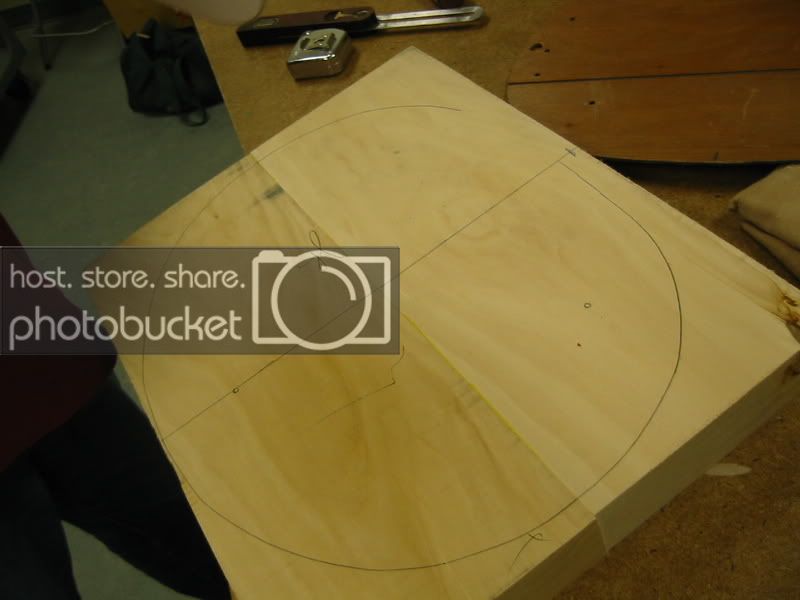
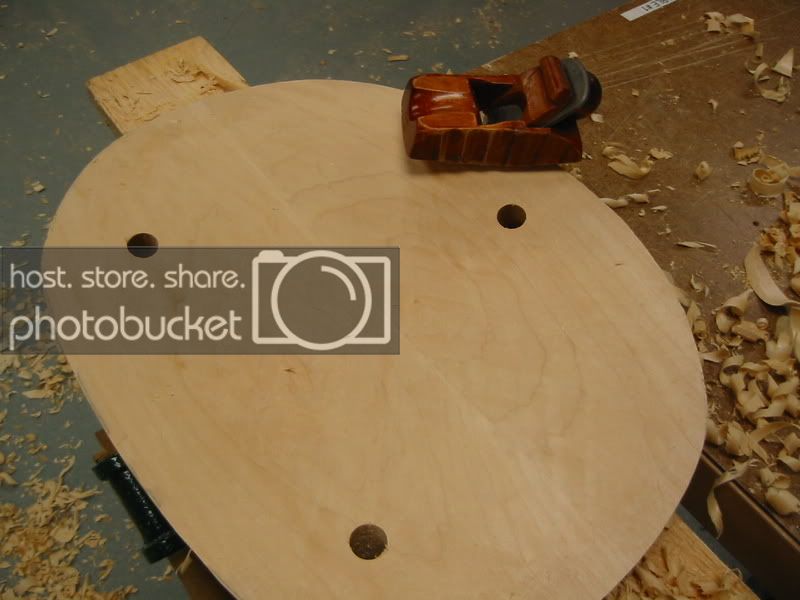
Once the legs had been used to accurately size the undercarriage the top was then cut out to rough shape on the bandsaw, we were using bass wood for the seat and cherry for the legs and stretchers.
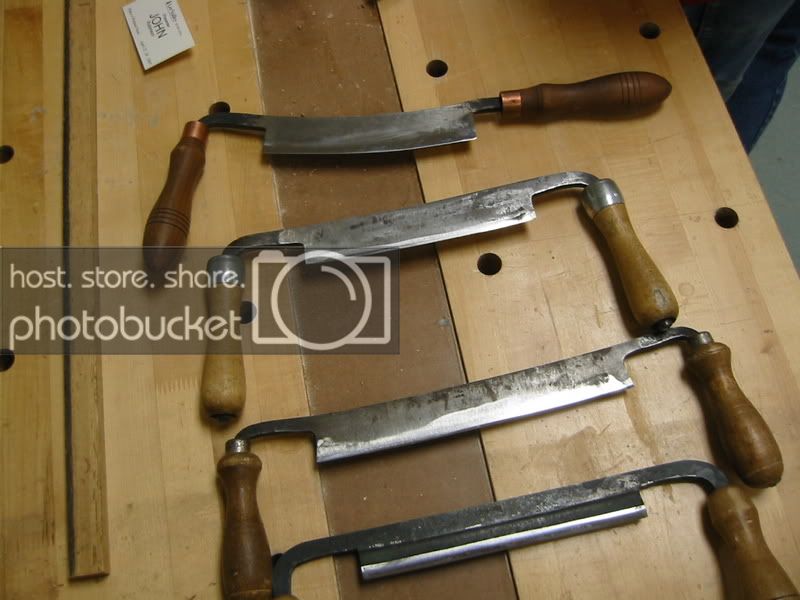
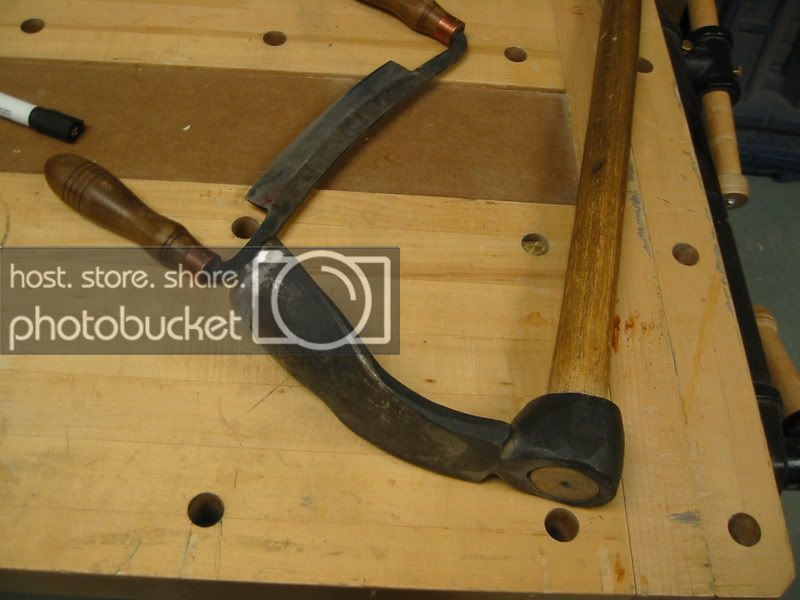
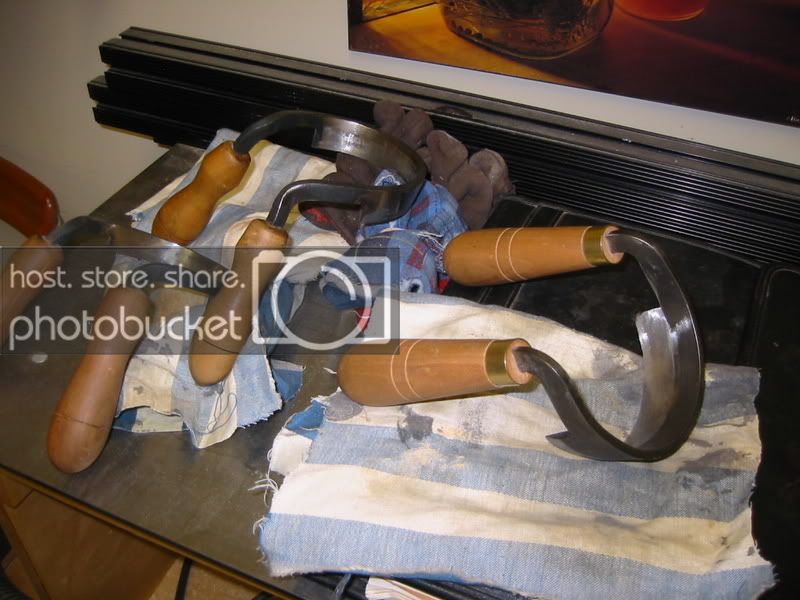
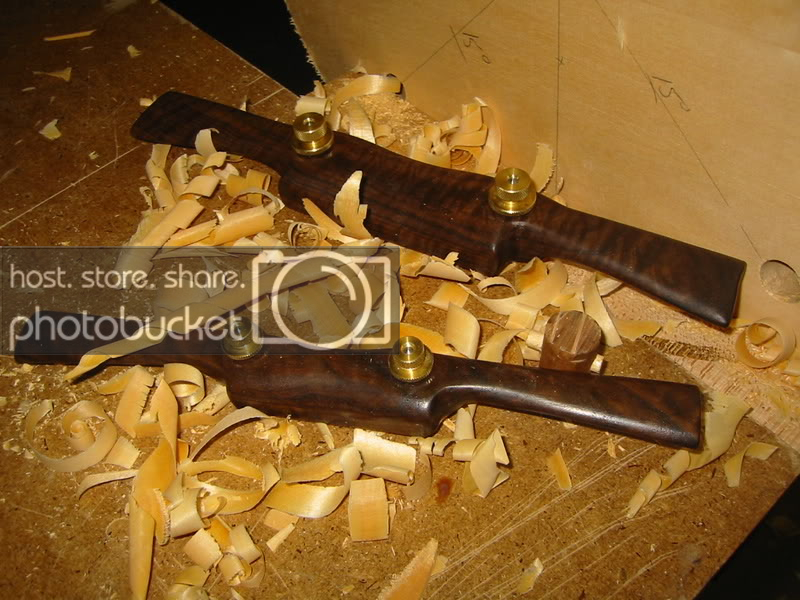
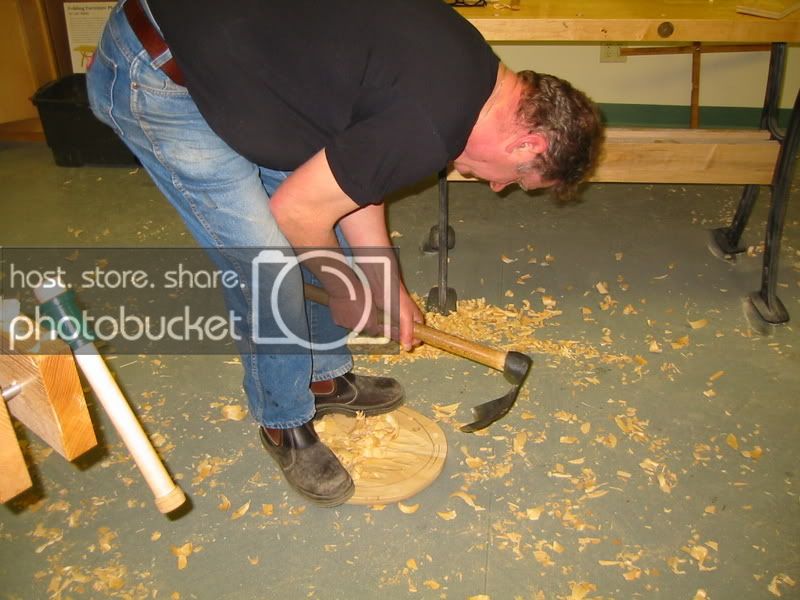
Now it was time to shape the seat, a lot of work using all hand tools, draw knives, adz, scorps, spoke shaves (the ones I made and posted here a few weeks ago) , compass plane, scorps and travishers. This process reminded me a great deal of the method that Chris Schwarz teaches Course-Medium-Fine. Working with tools that produce Course results through to tools that produce Fine surfaces, no sanding.

Once the seat was completed it was time to focus on completing the undercarriage. As for the drilling the seat we again used a brace and spoonbits.

We then used a tenon cutter for sizing the stretchers.
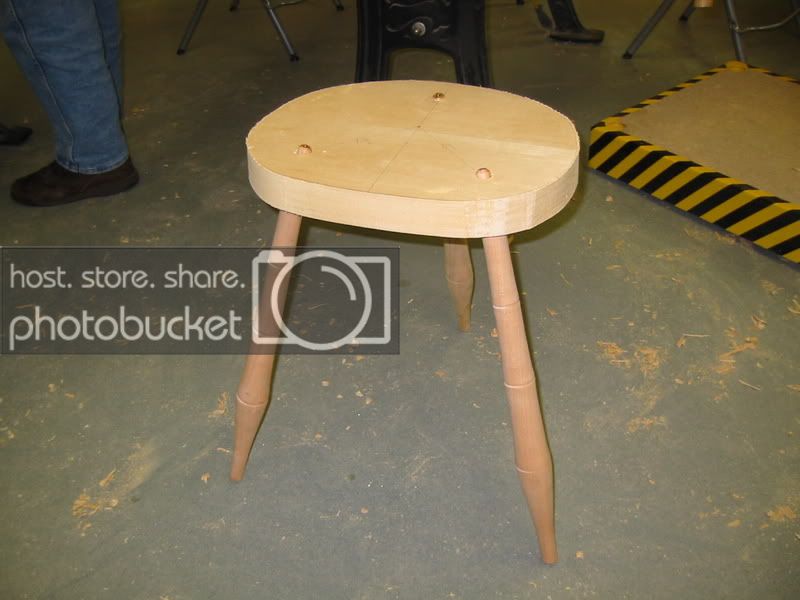
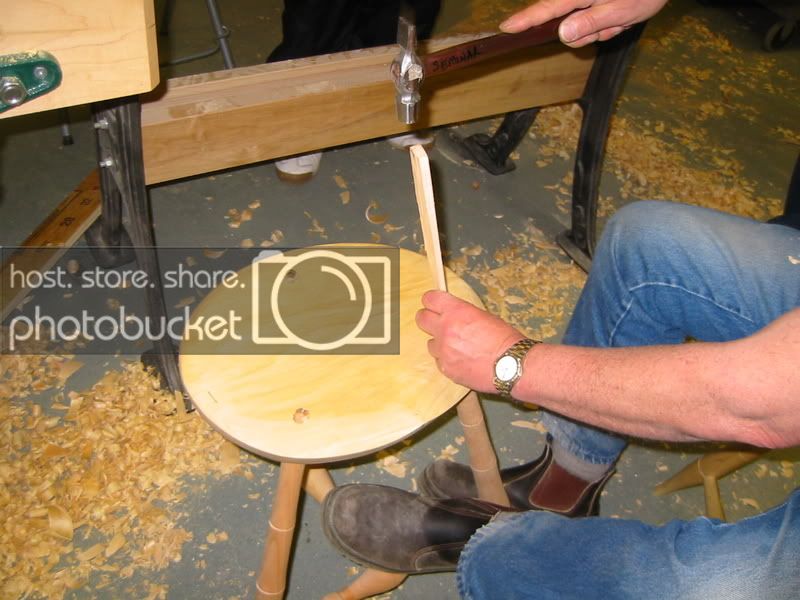
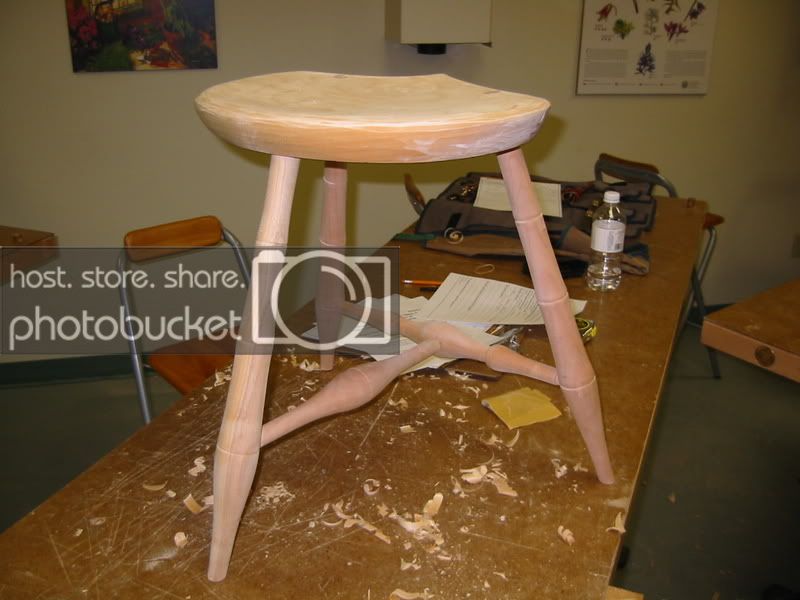
The base was then glued up and attached to the seat base.
The tenons were then wedged into the seat.
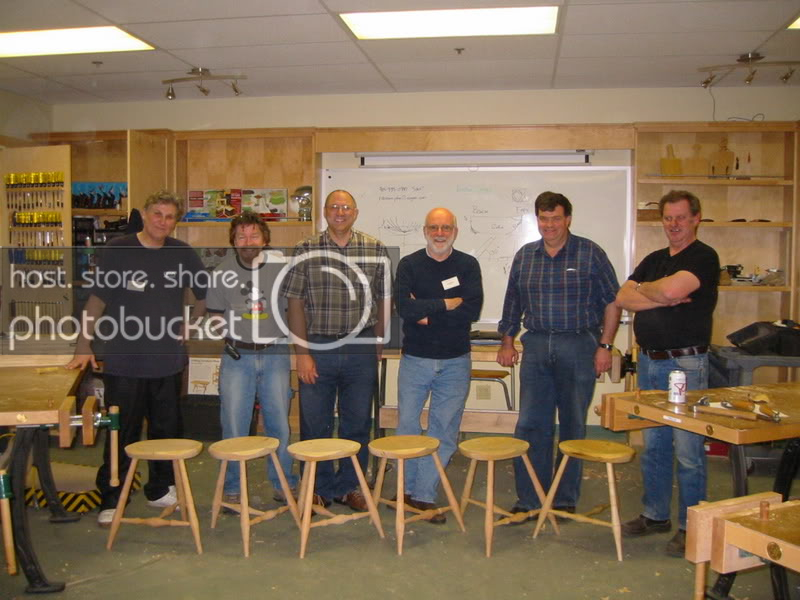
And here is the class picture, it was a pleasure to meet everyone.
I can see myself using milk paint for a final finish on my stool, John mentioned a few colour combinations that work well and give an authentic appearance.
Many Thanks to the Burlington LV staff, especially Sylvester.
The class was actually a Friday night- all day Saturday class, we were 5 in the class. For those of you who do not know of John, he’s one of the best Windsor chair makers/teachers in Canada (he does teach in the US as well). John is an excellent teacher, always patient, full of funny stories and never allows any student to get frustrated.
Making the stool is also a good first step on the path to making a Windsor chair, many similar processes and tool work. John led us through the project, step by step, leading through demonstration and carefully explaining details as needed.
We started out first by laying out our seat base, marking and locating where the three leg holes need to be positioned. We drilled through the top and then reamed through the base.
To enable some time John pre turned the legs and spindles for the class, he did say that if we had to turn them our selves that it might take an hour or so to do that.
Once we had the leg holes drilled and reamed we used the legs to capture the rake and splay angles, trying to make a symmetrical structure by measuring with a set of winding sticks and a home made measuring gauge.
Once the legs had been used to accurately size the undercarriage the top was then cut out to rough shape on the bandsaw, we were using bass wood for the seat and cherry for the legs and stretchers.
Now it was time to shape the seat, a lot of work using all hand tools, draw knives, adz, scorps, spoke shaves (the ones I made and posted here a few weeks ago) , compass plane, scorps and travishers. This process reminded me a great deal of the method that Chris Schwarz teaches Course-Medium-Fine. Working with tools that produce Course results through to tools that produce Fine surfaces, no sanding.
Once the seat was completed it was time to focus on completing the undercarriage. As for the drilling the seat we again used a brace and spoonbits.
We then used a tenon cutter for sizing the stretchers.
The base was then glued up and attached to the seat base.
The tenons were then wedged into the seat.
And here is the class picture, it was a pleasure to meet everyone.
I can see myself using milk paint for a final finish on my stool, John mentioned a few colour combinations that work well and give an authentic appearance.
Many Thanks to the Burlington LV staff, especially Sylvester.
") ]
] ]
]") ]
]