Not to discourage the last 2 methods but the key factor is you are dealing with a distinct design that needs to be dead center and not off a little bit because it will show in the final assembly. Tough to do with either one of those methods. In my opinion. I will add that part so do not take offense. Post #13 and #14
I'll also add that I didn't take offense. However, the method shown in the video has worked well for me. Even better than drilling using a collet chuck. At least the few times I've done it, it worked.
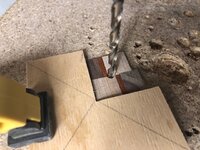
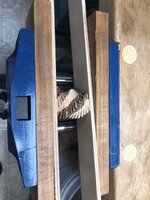
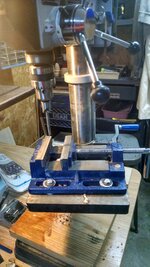
when I 1st saw the video (posted in this forum years ago), I was trying to drill some antler where I wanted some of the bark showing. And I tried a few times just eyeballing, and drilling on a drill press with limited success. Using the method described in the video made it easier with much better results. Now that is drilling a blank that is not round or straight.
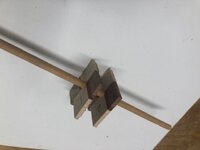
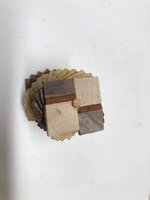
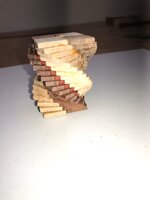
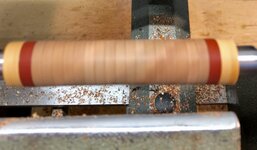
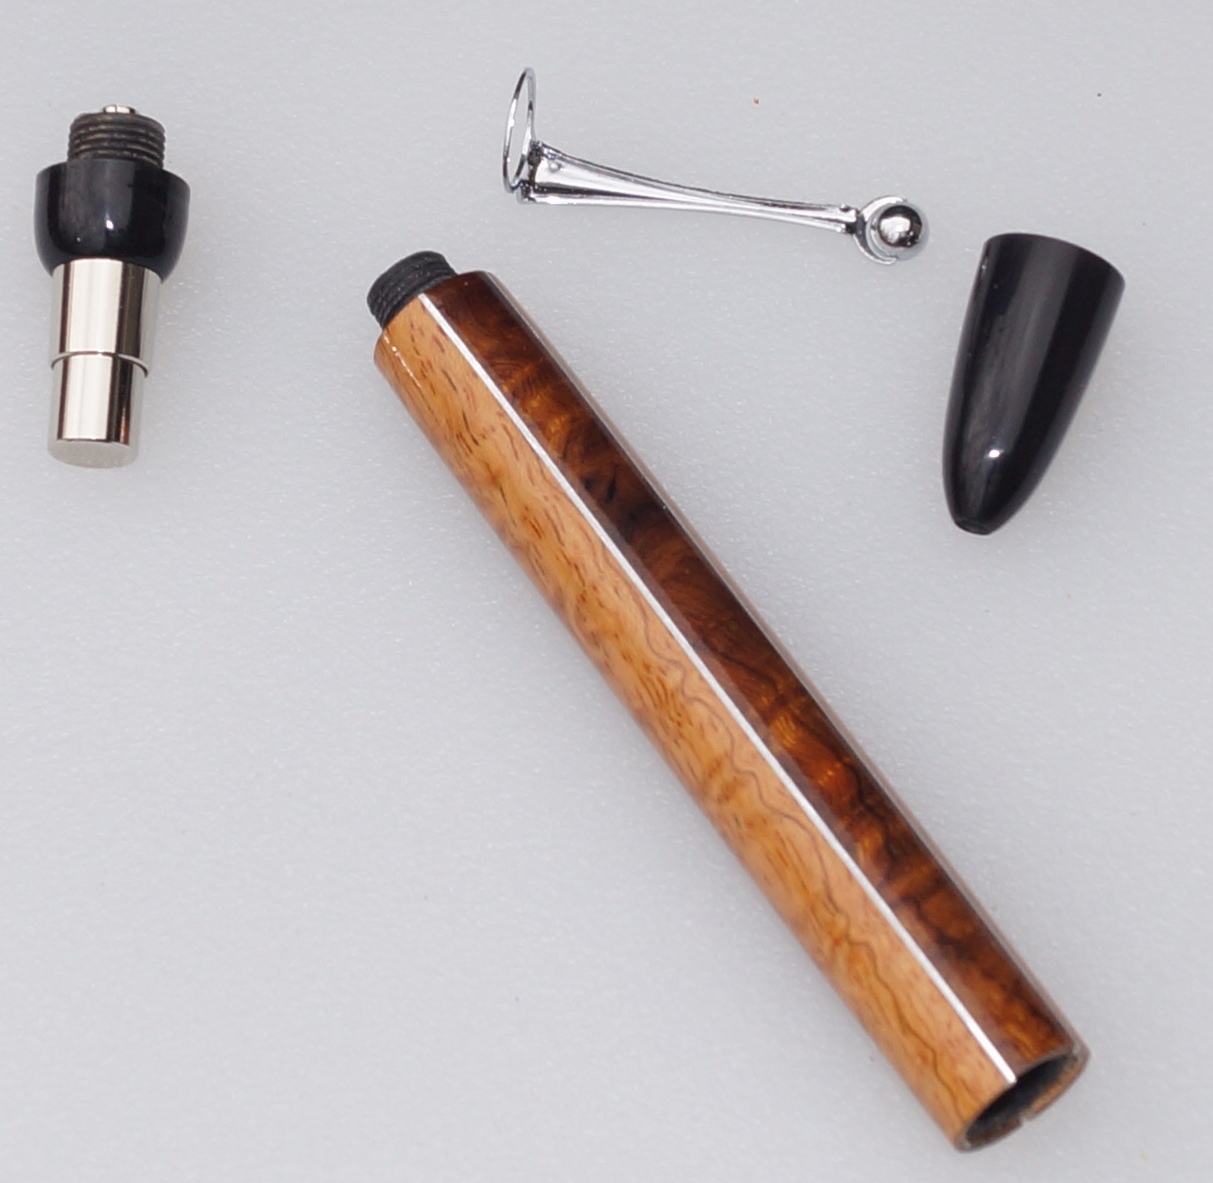
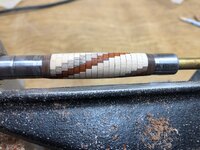
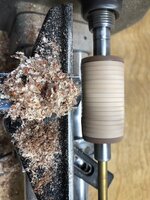
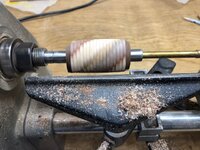
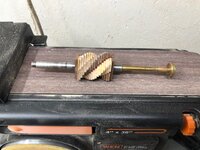
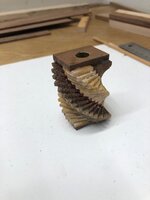
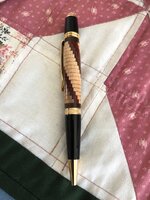
I've also used this method when I had to be dead on. Here's a segmented pen I did with aluminum, afzelia xylay, and desert ironwood burl. I was really nervous about drilling it because I knew it would look bad if it wasn't near perfect. I can't remember for sure, but I'm almost positive that I rounded the blank, then wrapped the blank with some rubber bands, then applied CA to the rubber bands to make sure they didn't stretch when drilling.
 View in Gallery
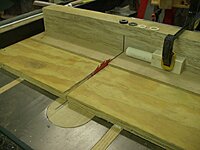
Is it the best option? I don't know since I haven't done enough of these to know for sure. I think I might try doing another like this soon to see if I can duplicate the results.