Tutorial Pen - Bulb filler

Signed-In Members Don't See This Ad
See more from soligen

soligen

Member
Joined
May 11, 2010
Messages
1,091
Location
Sterling Heights, Michigan
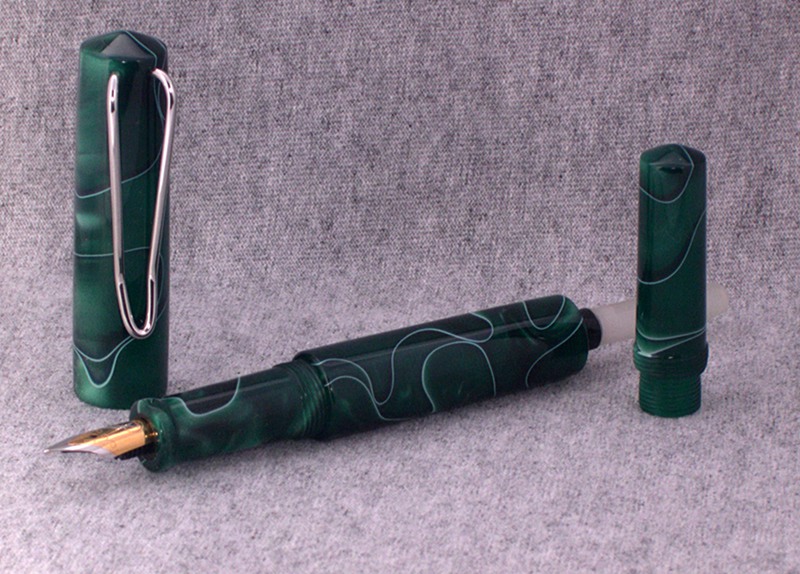
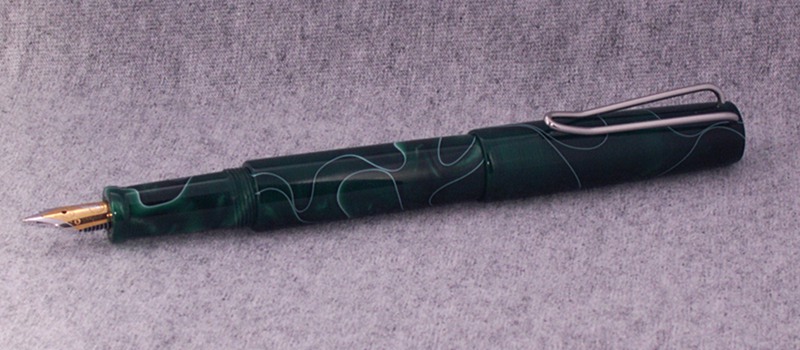
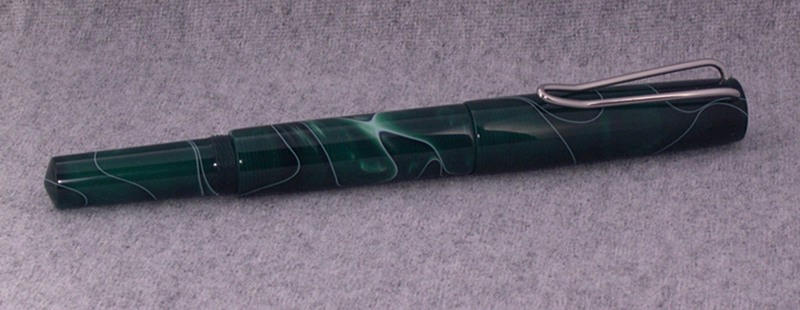
I'm working on a tutorial, and here is the teaser!

An acrylic postable bulb filler. I took tons of pictures. The first draft is up to 42 pages (mostly pictures), and I would guess 6 - 8 more pages to go.

All comments welcome.

1_DSCN1488.jpg


1_DSCN1489.jpg


1_DSCN1490.jpg
 
Signed-In Members Don't See This Ad
Looking forward to reading the tutorial. I've never seen the lower finial screw into the body, looks to be an interesting tutorial.

One thing I found helpful was to size the photos down to where two photos and their captions fit on one page. That might help reduce the pages.
 
This will be a treat. My only concern is the cap being fragile. It looks to be mighty thin with no support. Will have to see construction method before passing any kind of judgement. Looks can be deceiving.
 
This will be a treat. My only concern is the cap being fragile. It looks to be mighty thin with no support. Will have to see construction method before passing any kind of judgement. Looks can be deceiving.

If it were polyester resin, it would be too fragile (IMO) without a tube, but this material is fine.
 
This is it, i've had enough! That is one fantastic piece of work. I have been wanting to learn how to do the threads for some time now. Can someone please direct me to a good tutorial on how to make the threads for the screw on caps. Any help on this would be greatly appreciated. And once again, great looking pen. I just hope to get half that good with the threads. Really a piece of art, looking forward to reading your tutorial.

Jim
 
The totorial draft is done - 42 pages, with 86 photos. I'll do final proof reading sometime over the weekend before sending it off to Tom W for the library. But, for now, I need to let it rest.
 
Jim, here are a couple of tutorials by Texadurango (George Butcher) that explain the process of making kitless pens and how he threads:
http://content.penturners.org/library/pens/another_way_of_making_a_pen.pdf
http://content.penturners.org/library/pens/fountainpensection.pdf

and I'm sure in Dennis"s upcoming one he will have a section on threading..


This is it, i've had enough! That is one fantastic piece of work. I have been wanting to learn how to do the threads for some time now. Can someone please direct me to a good tutorial on how to make the threads for the screw on caps. Any help on this would be greatly appreciated. And once again, great looking pen. I just hope to get half that good with the threads. Really a piece of art, looking forward to reading your tutorial.

Jim
 
Very nice! Interesting design. One question, with the double thread on the back cap (the thread that screws into the barrel and the thread that receives the cap when posting), does the back cap ever unscrew when you try to unscrew the posted cap? This will only happen when the posted cap is overtightened (I don't know why people have to overtighten the cap...:confused:). I had a similar issue on one of my pens. Just wondering if you had the same problem, if so, how you solved it.

Great job!

Once apon a time I used M10 x 1 threads into the body. I did several pens that way and had this happen once when my threading was not so good.

I changed to M10 x .75 and have not had a problem since.

I guess it _could_ concievably happen, but very unlikely unless the user squeezes the cap to pinch the threads while unscrewing.

As you will see in the tutorial, the section is done the same way
 
Last edited:
Back
Top Bottom