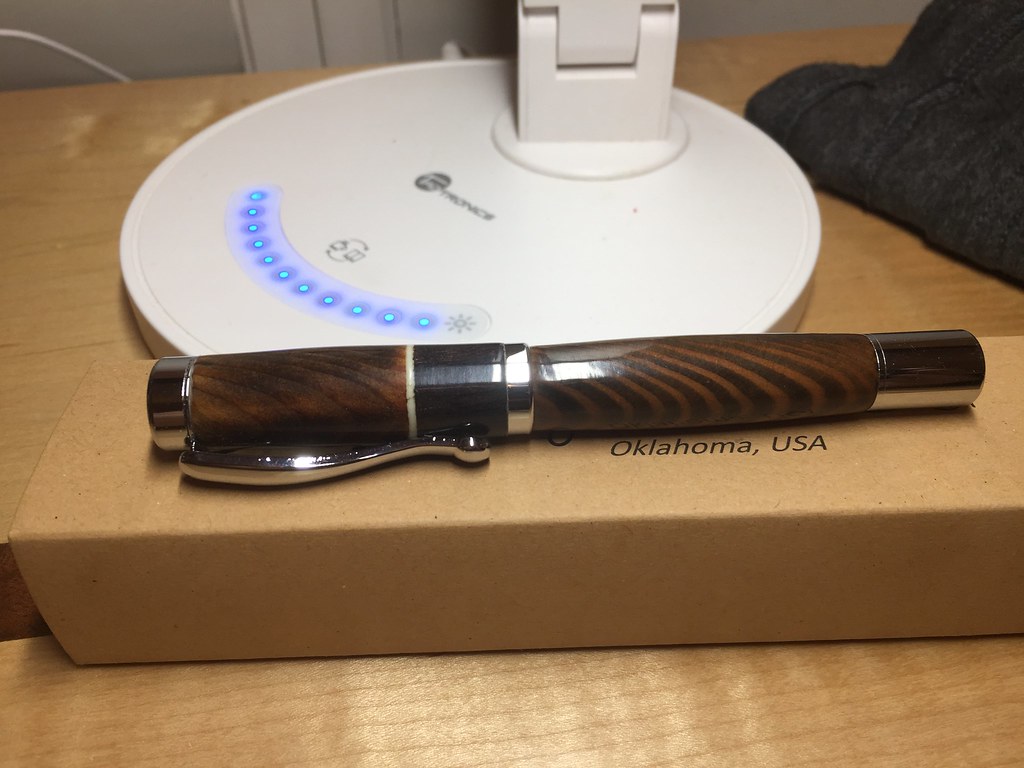
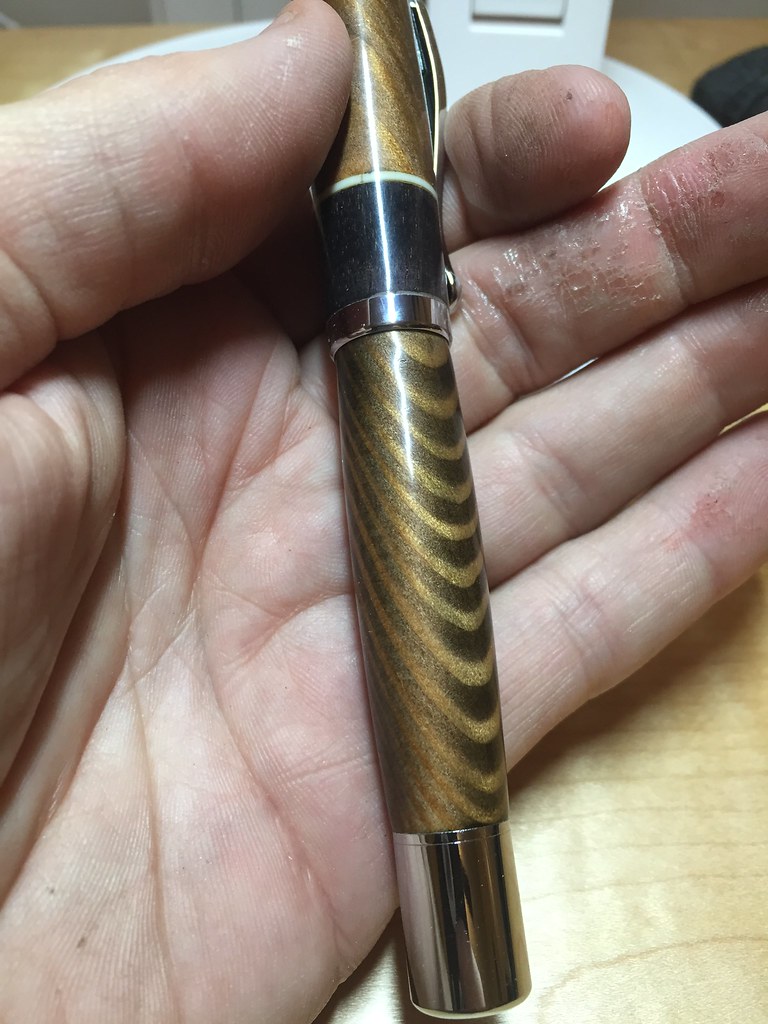
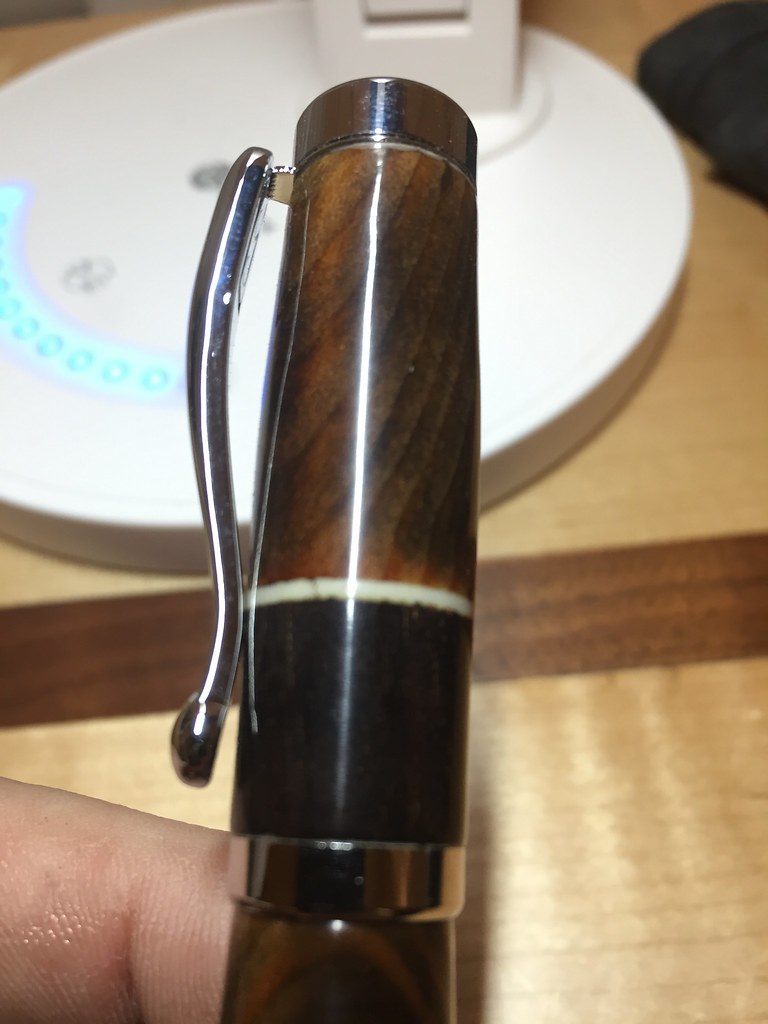
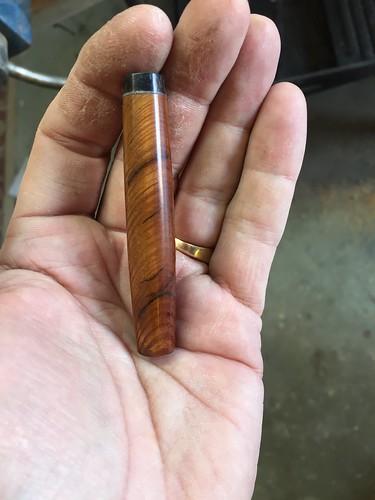
I was able to get 2 more pens turned this weekend, and I think I've got my technique down, at least for this particular plank of wood. It reacts very nicely to the aging solution. I've found that I do have to put some accent rings on the ends, though, because every blank ended up with blowouts at the ends because of the angled grain.
The bad news — I really don't like the Cortona pen kits at all. I'm not a fan of how they go together. I was very careful not to trim the brass tube when squaring the ends, and I still ended up with tubes that were too short, causing a gap at the tip assembly. Also, I just don't think the design will hold up over time with the tip assembly simply pushing in by hand rather than it having a section that's permanently inserted into the tube.
So for now, it's back to finding an acceptable twist pen kit for the right price.

 .
.