qquake
Member
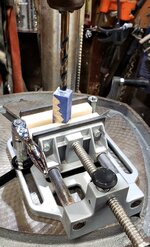
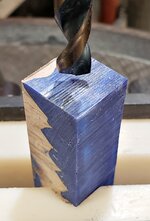
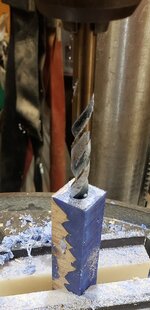
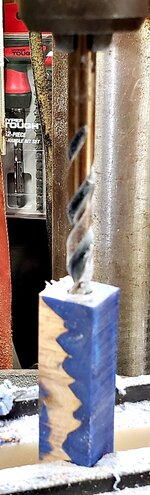
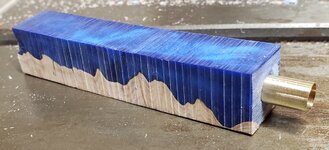
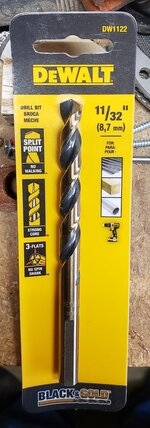
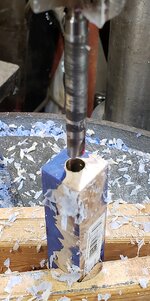
To those of you that have made them, how do you drill the blanks? It looks like the body is about 5" long. But the 11/32" bit I have is only a little over 5". Any tips or tricks?

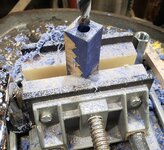
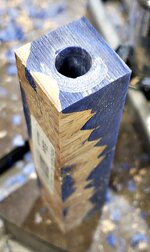
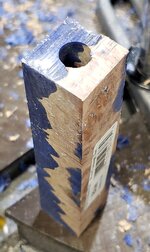
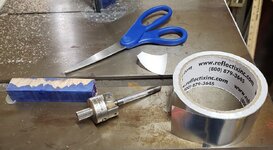
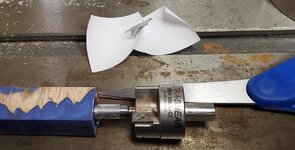
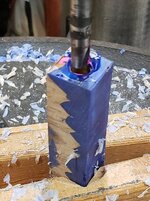
I dont know how you square your blanks but I use a machinist vise with a center punch sized just smaller than the ID of the tube clamped in the vise against a miter gage that is set perpendicular to my belt grinder. I position the set up so that all I have to do is apply downward pressure on the blank that is mounted over the center punch and lightly sand the end until the brass tube just appears. turn the blank around and repeat.Another issue though, is squaring the ends. Woodcraft says Pen Mill Pilot Shaft Letter "O", which I believe will be smaller than the ID of the 11/32" tube. I guess I can wrap it with aluminum tape to make it snug.
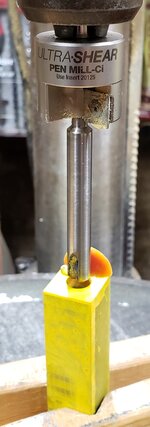
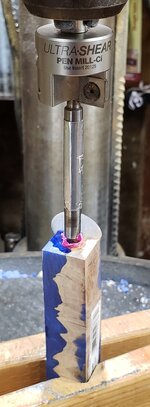
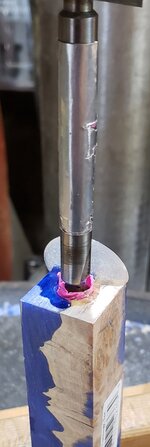
I use a Woodpeckers Ultra-Shear Pen Mill.I dont know how you square your blanks but I use a machinist vise with a center punch sized just smaller than the ID of the tube clamped in the vise against a miter gage that is set perpendicular to my belt grinder. I position the set up so that all I have to do is apply downward pressure on the blank that is mounted over the center punch and lightly sand the end until the brass tube just appears. turn the blank around and repeat.
This method does not require the punch to be exactly the size of the ID, just that it be square to the sanding belt.
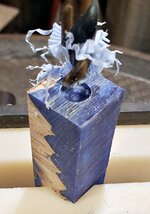
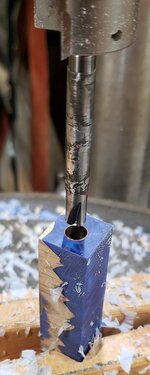

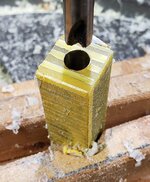
I use two-part epoxy on all pens.I've done a handful of Rockler long wood pens that have a four inch tube. The last few I've drilled (on the lathe) from both ends. They did not meet up perfectly, but were close enough. I did a little work to make it right. I glued the tube in using epoxy and that filled any gaps.
Me tooI use two-part epoxy on all pens.
When I first started turning pens, I used CA, because that was what was recommended. Didn't like it. I've also tried Gorilla (polyurethane) glue. Didn't like it. I've been using epoxy ever since.Me too
I ordered an extra long norseman bit.I've done a handful of Rockler long wood pens that have a four inch tube. The last few I've drilled (on the lathe) from both ends. They did not meet up perfectly, but were close enough. I did a little work to make it right. I glued the tube in using epoxy and that filled any gaps.
")