Stars and Stripes pen question

Signed-In Members Don't See This Ad

Geophyrd

Member
Joined
Jun 7, 2010
Messages
84
Location
Yardley, PA
I'm getting ready to build my first stars and stripes pen and I have a question.

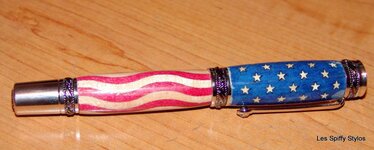
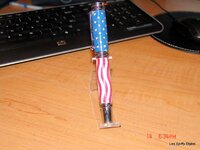
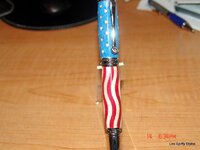
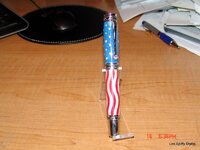
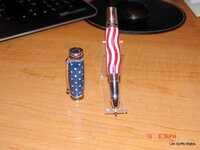
I've noticed that the blues and reds of the stars and stripes pen are a little faded. I'm wondering if coloring them with permanent market would darken the tones, lock in the red so that it doesn't bleed into the white and generally enhance the final pen.

Here's my question....thoughts?
 
Signed-In Members Don't See This Ad
They will darken some when you put on a finish. As far as the colors bleeding, if you're finishing with CA start with a very thin coating to seal the wood. after that, you shouldn't have a problem with bleeding.
 
Howard....I am working on 3 of the stars and stripes from Kallenshaanwoods. The red stripes do look a bit faded but they will brighten up once you have put your finish on. Seems like forever to get all those stars in place. Darrell Eisner
 
I agree that the marker isn't necessary. When you applly the CA finish it really darkens the colors and it ends up looking much more beautiful that you would have expected.

~Jim
 
Ditto what they all said. Your finish will darken up the red & the blue.

Use a scraper or skew in scraping mode (or skew if you're good with the skew) or a carbide tool like the Woodchuck as your finish cut to minimize sanding, and think about either thin CA or sanding sealer as a sanding sealer prior to sanding, so you don't embed red or blue sanding dust into your white parts.

Yes, sticking the white stars in takes a lot of patience and good eyesight!
 
I built the State of Israel pen (which auctioned off for $200 at a charity auction at a synagogue to which I donated it). The triangles in the corner of the star took a lot of patience and there was only 6 of them. When I was trying to put them in, I kept dropping them and after finding, I had to look close to make sure I wasn't looking at breadcrumbs or something. The final pen did look awesome though.

It was a Sierra pen so I took note of that and for the Stars and Stripes, I'm making it from a Majestic. That ought to maximize the size of the stars at least.
 
Well, finished the Stars and Stripes pen

Making the blanks only took an hour or two. But I spent almost three trying to finish it and really not happy with the result.

Once turned, I put two coats of thick CA and about 10 coats thin CA. As you can see (assuming I can figure out how to upload pics here), some of the color in the blue came out a little splotchy and the top coat came out with white patches. I think when I pulled the bushing off, they cracked the finish on the tubes. Sigh.
 

Attachments

  • DSC05870.jpg
    DSC05870.jpg
    40.8 KB · Views: 309
  • DSC05873.jpg
    DSC05873.jpg
    52.9 KB · Views: 311
  • DSC05874.jpg
    DSC05874.jpg
    41 KB · Views: 307
  • DSC05876.jpg
    DSC05876.jpg
    51.8 KB · Views: 263
  • DSC05878.jpg
    DSC05878.jpg
    50.3 KB · Views: 277
A light color variation in either the blue or red is to be expected from the dyeing process. White patches near the ends are mostly due to probably cracking as you separate the bushing. I've been lucky with no cracking (knock on wood!), because I think I try to let each CA layer cure completely, then, 'crack' the tube loose from the bushing and reseat. (I also wax the bushing before finishing, and make sacrifices of cheese to Chthulu, etc.). I've also tried the 'exacto knife blade at the bushing line on the lathe with the lathe running,' but I prefer sacrificing to Chthulu...

The one time (mind you, my lifetime # of pens is < 50, and lifetime CA finish < 30) I had a splotchy finish (on Leopardwood) was when the weather was viciously cold, and I was in a hurry, so I put on another coat before the previous coat had stopped being tacky. As the next coat hardened, I saw a splotch develop. Had to let everything harden, then, sand back down to nearly bare wood, and refinish. Ick!
 
I cheat on these. I toss all of those tiny stars and when I get close to final dimensions, I pack the star holes with spackling. This seems to keep the blue, "bluer" AND saves considerable time in poking loose and gluing all the tiny stars in place.
 
I have two thoughts.

For your next pen......... AFTER you sand the blank and are ready to apply the CA, wipe on a liberal amount of Mylands sanding sealer and let it dry for a minute before applying the ca. It will bring those dull faded looking colors to life and really make them pop. As far as fading, I have made dozens of these kits and never had any issues or concerns about fading.

I agree, the seperated CA does look pretty bad, looks like you have your own "daily user". Perhaps to keep this from happening again, you might look into "turning between centers", at least for your finishing steps. I don't use bushings anymore when applying CA so there is no chance of cracking the finish as you indicated. Plus.... as a side benefit, when you apply the ca without bushings, some of the ca rolls over the edge thus sealing the end grain from moisture.
 
Back
Top Bottom