fxk3760
Member
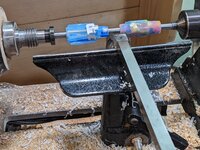
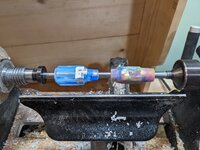
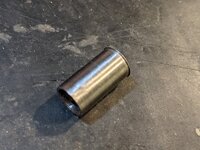
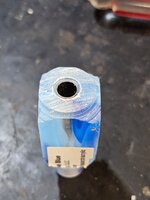
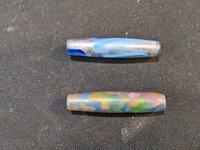
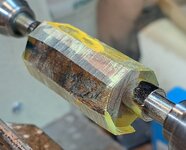
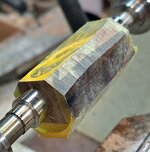
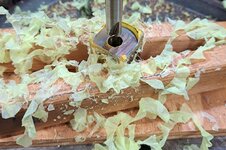
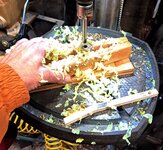
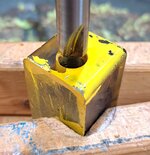
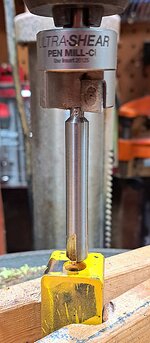
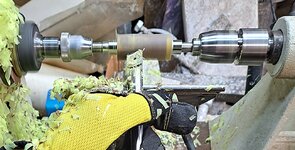
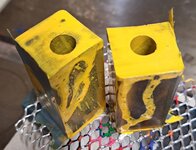
Hello, I am brand new to this forum and have been trying to find threads that may answer my problem, but so far I can't. I am trying to turn a slim line pen with "acrylic material". I realize there are many types and am not sure what I have. I bought them at Woodcraft. I am using a pen mandrel with a live center mandrel saver. No matter how tight I make my tailstock, the material will stall as soon as I touch a tool to it. I am running the spindle at 2500 rpm. I am using carbide tooling. I have a square and round cutter. I also have the same in a negative rake. All of them do the same. I barely touch the material and the material stops but everything else continues to turn. I tried to sand the corners and that helped a little but not enough. If I tighten the tailstock too much, then the bushings start to deform. When it stalls out, it starts to melt the end of the blank. I had one blank get so warm that the tube came out. I use a sander to square the ends and I checked with a square and they look pretty square. I can turn wood with the same setup and I have no issues. Maybe a stall if I am too agressive, but other than that the wood turns great. About ready to give up on acrylic but there are so many beautiful pens that I want to keep trying. I watched You Tube videos and everything looks so easy. Please help. Thanks.