
pianomanpj
Member
Most of the time, when inserting and gluing tubes into the blank, the exact depth isn't real critical. However, that isn't always the case with laser inlay kits. I like to be able to determine precisely how the inlay will be centered on the tube when glued and trimmed. Moreover, if I'm doing a batch of several of one type of blank, then repeatability is a must.
"Introducing the amazing Precision Tube Insertion Tool! It slices, it dices, it..."
Nevermind. It inserts brass tubes at a precise depth. :biggrin:
View in Gallery
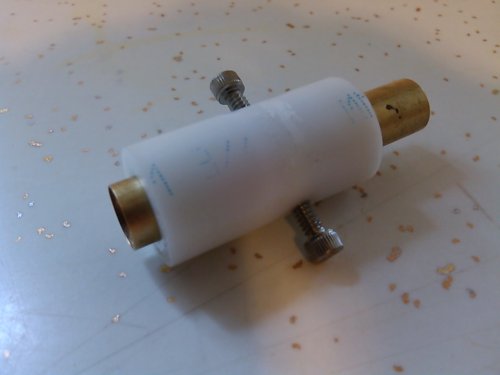
In a nutshell, it allows me to preset the exact depth that I want to insert the tube into the blank.
The key features:
- Two thumbscrews: one to hold tension so I can adjust the the depth of the tool with one hand, the other to lock it in place.
- The tool is the exact diameter as the tube being inserted
- The tool allows "squeeze out" to push into the tool for easy cleanup
- The tool is made from brass and Delrin, which cleans up easily (when using epoxy)
Caveats:
- The blank must be square beforehand. (They almost always are, but sometimes I give them a quick touch-up before proceeding.)
- Works with only one size tube; other sizes would be required (Fortunately most inlays I need this for are for just the Sierra-sized blank)
- May not work well with CA (Has not been tested)
So briefly (and pictorially), here's how it works...
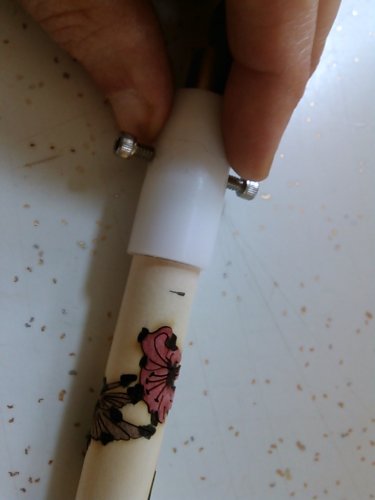
After ensuring that at least one end is square, I make a pencil mark on the blank where I would like the end of the tube to be. Then, holding the tool to the end of the blank, I extend the "insertion brass tube" to the pencil mark and lock it down with the thumb screws.

View in Gallery
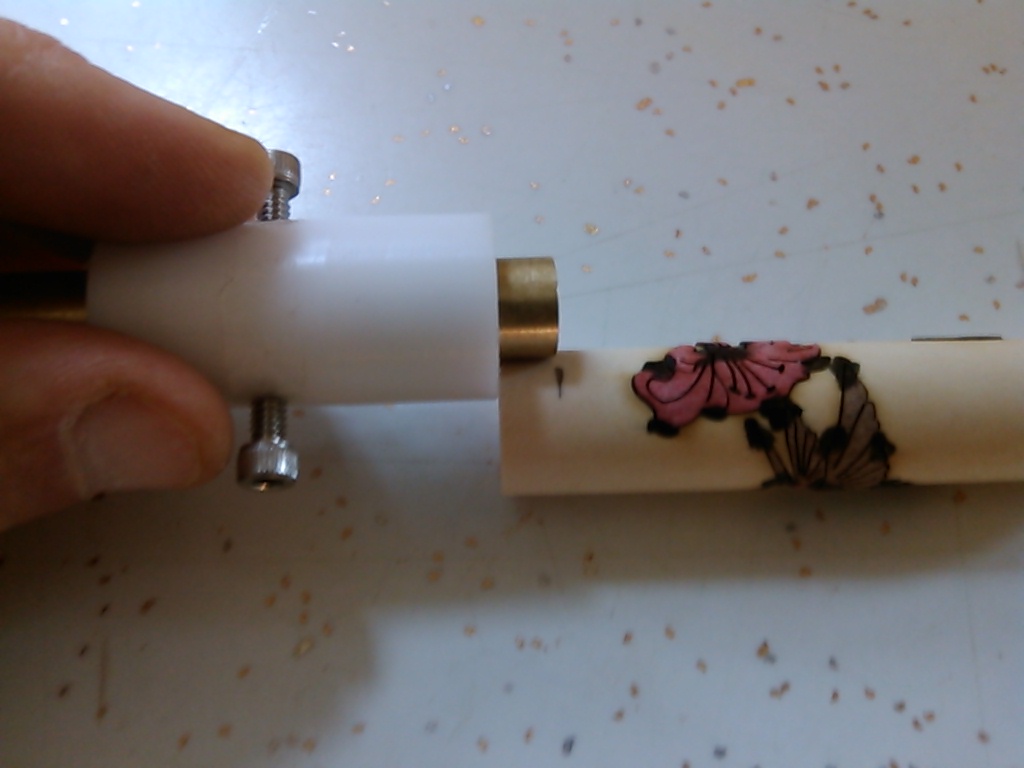
Coat the brass tube (plugged at the opposite end with base wax) with epoxy and insert it into the blank by hand...

View in Gallery
... and push it home with the Precision Tube Insertion Tool! The tool will come out easily (I give it a little twist as I retract it), and wipes off neat as can be on a paper towel. I actually loosen the thumb screws to push the brass portion out of the Delrin first to really be able to clean it well.
View in Gallery
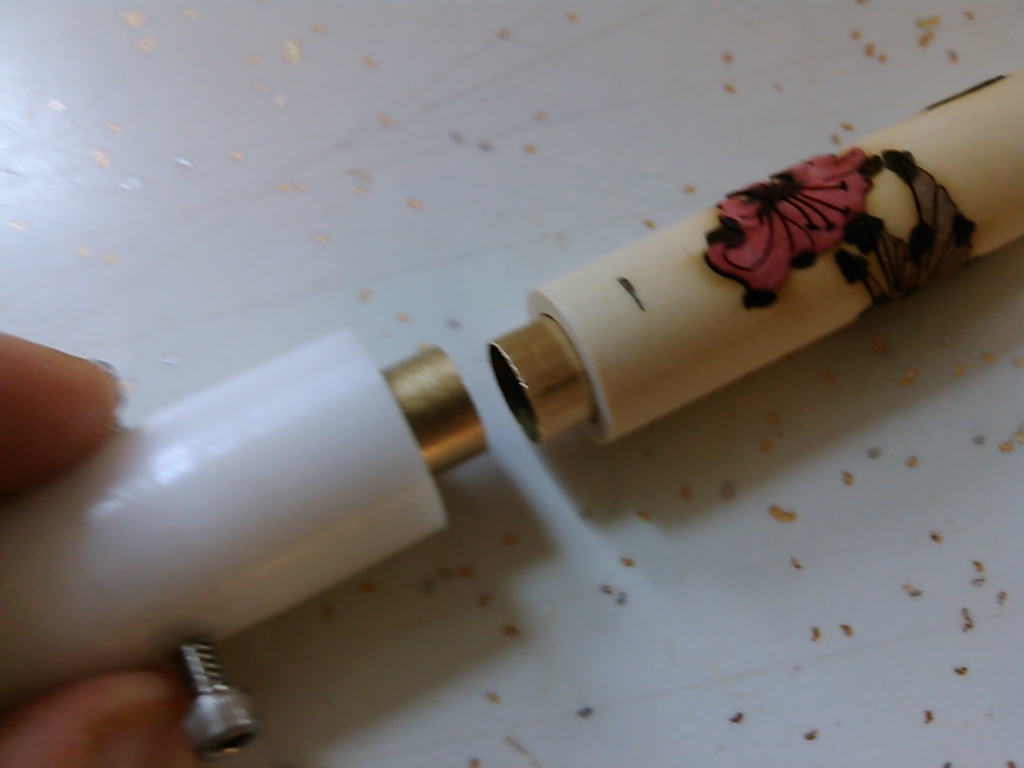
Presto! The tube has been inserted to the precise depth! (And since I have not patented this little gem, I expect to see cheaply-made knock-offs in all the major catalogs by spring... )
)

View in Gallery
"Introducing the amazing Precision Tube Insertion Tool! It slices, it dices, it..."
Nevermind. It inserts brass tubes at a precise depth. :biggrin:

View in Gallery
In a nutshell, it allows me to preset the exact depth that I want to insert the tube into the blank.
The key features:
- Two thumbscrews: one to hold tension so I can adjust the the depth of the tool with one hand, the other to lock it in place.
- The tool is the exact diameter as the tube being inserted
- The tool allows "squeeze out" to push into the tool for easy cleanup
- The tool is made from brass and Delrin, which cleans up easily (when using epoxy)
Caveats:
- The blank must be square beforehand. (They almost always are, but sometimes I give them a quick touch-up before proceeding.)
- Works with only one size tube; other sizes would be required (Fortunately most inlays I need this for are for just the Sierra-sized blank)
- May not work well with CA (Has not been tested)
So briefly (and pictorially), here's how it works...
After ensuring that at least one end is square, I make a pencil mark on the blank where I would like the end of the tube to be. Then, holding the tool to the end of the blank, I extend the "insertion brass tube" to the pencil mark and lock it down with the thumb screws.
View in Gallery
Coat the brass tube (plugged at the opposite end with base wax) with epoxy and insert it into the blank by hand...
View in Gallery
... and push it home with the Precision Tube Insertion Tool! The tool will come out easily (I give it a little twist as I retract it), and wipes off neat as can be on a paper towel. I actually loosen the thumb screws to push the brass portion out of the Delrin first to really be able to clean it well.

View in Gallery
Presto! The tube has been inserted to the precise depth! (And since I have not patented this little gem, I expect to see cheaply-made knock-offs in all the major catalogs by spring...
)
View in Gallery