Pin head Zen part 2

Signed-In Members Don't See This Ad
See more from Ruby pen turning

Joined
Jun 28, 2010
Messages
1,830
Location
Pineville, Louisiana
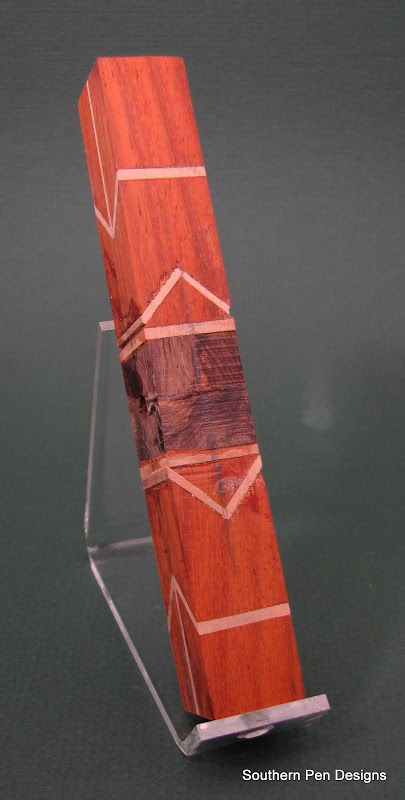
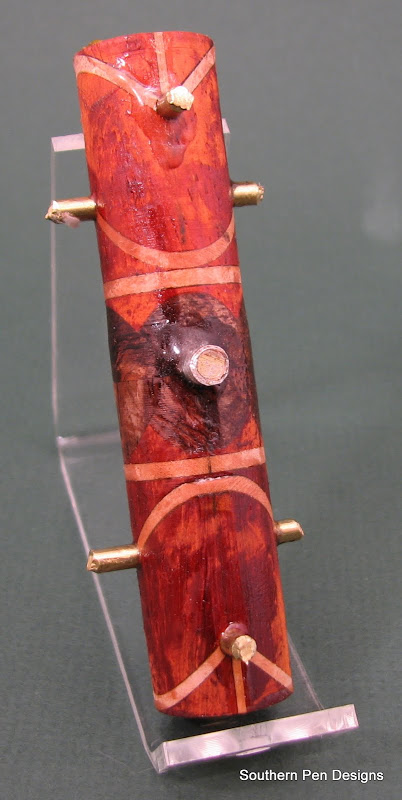
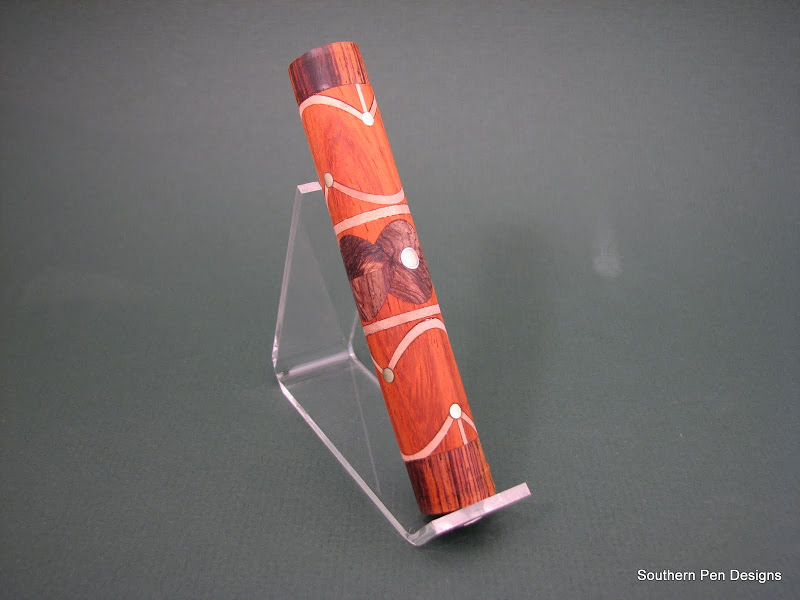
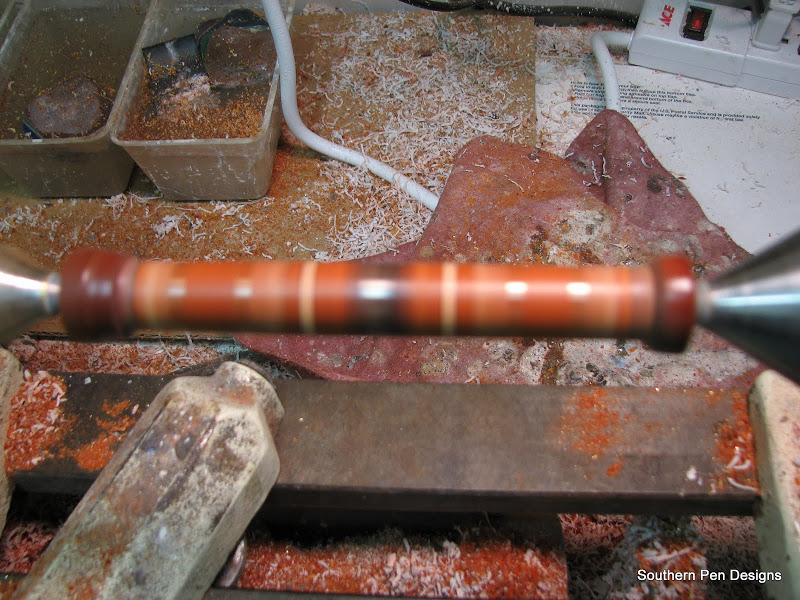
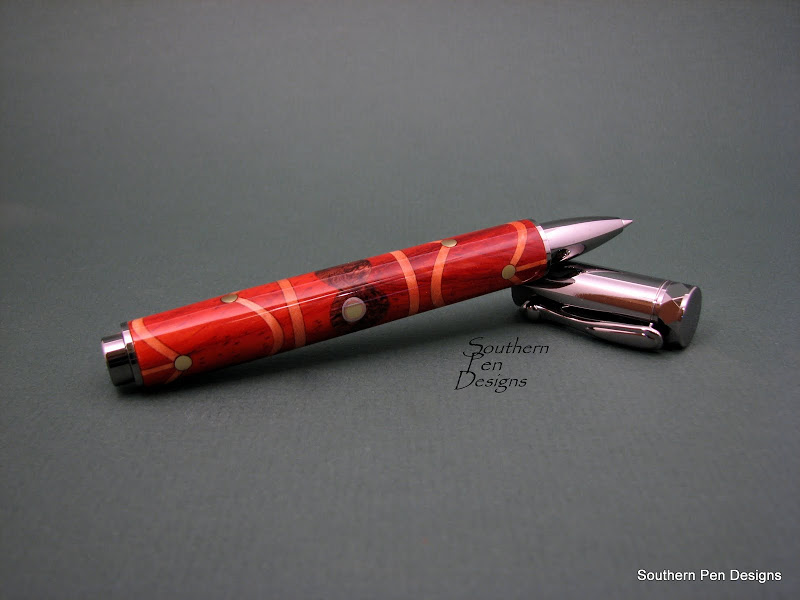
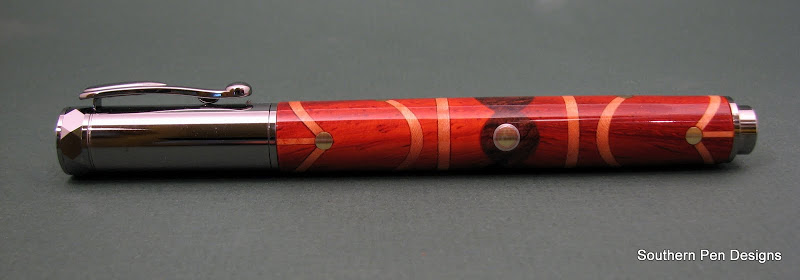
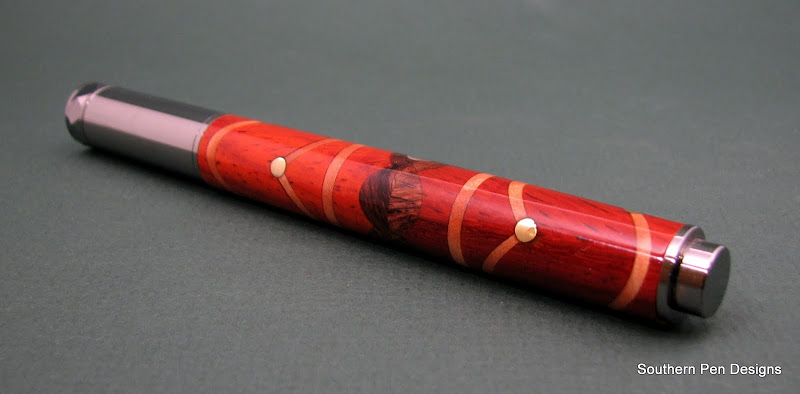
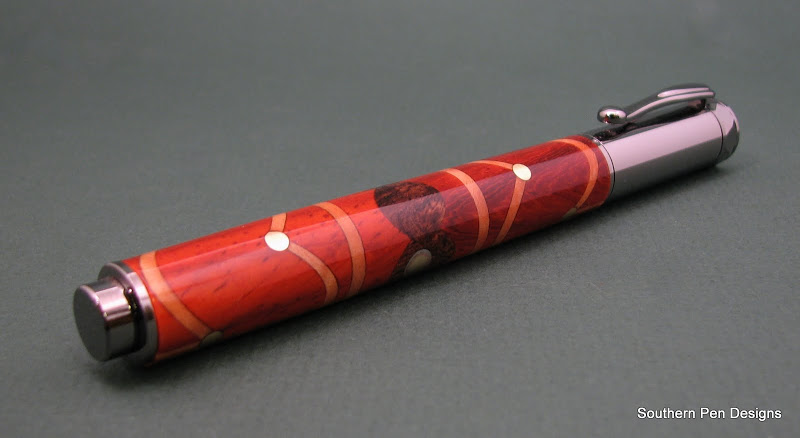
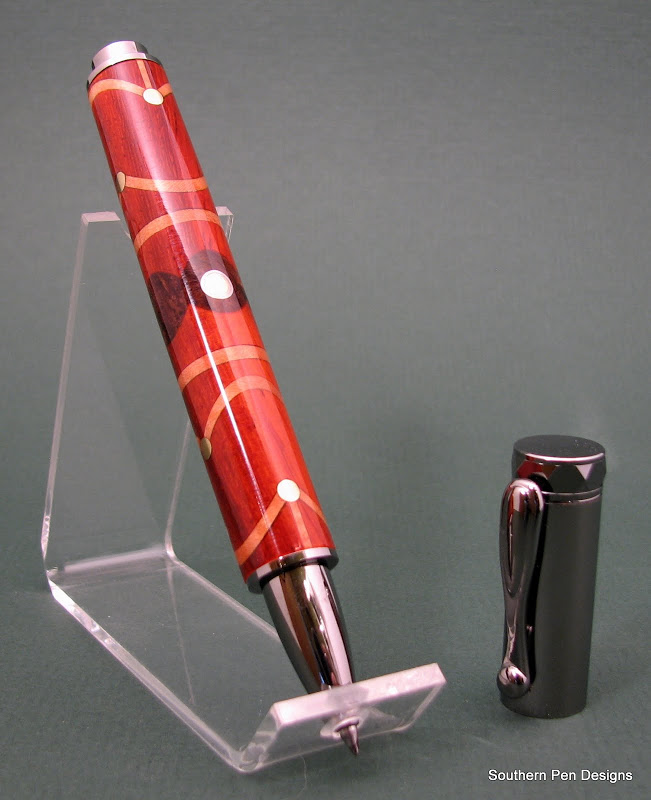
These are some of the steps to making this pen. Everything looked good and did go good accept for one brass rod that popped out two time. The second problem is that I cannot seem to get a hole to drill in the center of a blank to save my life. ( This is not the 1st pen I did not hit center) Third thing was the caps I glued on the ends had center holes in them already and those are what I used (not thinking) One was not centered and caused a wobble after cutting it off and gluing between centers. (barely noticeable on the finished pen. The blank was sanded through several grits sandpaper then fine steel wool. It has around 15 coats CA sanded then sanded again through all the pretty pads and finally polished with Novus.
Comments critiques welcome. Thanks for looking Brian K.
IMG_8159.JPG

IMG_8161.JPG

IMG_8163.JPG

IMG_8165.JPG

IMG_8168.JPG

IMG_8169.JPG

IMG_8170.JPG

IMG_8171.JPG

IMG_8167.JPG
 
Signed-In Members Don't See This Ad
SUPER COOL! having a look at the segmented blank prior to turning adds value to the effort. Such a cool concept and design...winner all the way:biggrin:
 
Amazing job...even with the before picutes I can't figure out how you got the cool patterns and shapes! It really is a talent to be able to picture it in your mind and then create it!
 
LOVE the design! Looking at the first pic to the second. How did the (what looks perfectly square all the way around) HRB pieces end up as scallops?
 
LOVE the design! Looking at the first pic to the second. How did the (what looks perfectly square all the way around) HRB pieces end up as scallops?
If you are familiar with the way scallops are made, they were made the same way, on the ends of the blank. Then I cut the blank in half and butt the two scallops together which made it look like there was just a block of HRB in the center of the blank.
 
Amazing job...even with the before picutes I can't figure out how you got the cool patterns and shapes! It really is a talent to be able to picture it in your mind and then create it!
When you have an angle on a square blank it becomes rounded when the blank is turned. Also as wood is turned away the now round angle will become shorter. Make sense?
 
The pen looks terrific. But what has really gotten to me is the colors on this one and your last couple. I don't consider myself to be a fan of red. But the last few have been very rich and vibrant color combos. Thanks.

Mike
 
LOVE the design! Looking at the first pic to the second. How did the (what looks perfectly square all the way around) HRB pieces end up as scallops?
If you are familiar with the way scallops are made, they were made the same way, on the ends of the blank. Then I cut the blank in half and butt the two scallops together which made it look like there was just a block of HRB in the center of the blank.

Ok, thats what I was thinking but when I saw the "block" of HRB I was thrown off. Thanks for clearing that up!
 
Wow. That second pic looks like some sort of tribal weapon but the finished pen is top notch. Thanks for sharing.

I think i see the local Ness Monster in your mm water......
 
The pen looks terrific. But what has really gotten to me is the colors on this one and your last couple. I don't consider myself to be a fan of red. But the last few have been very rich and vibrant color combos. Thanks.

Mike
The wood is just regular Paduak that I like to use just for that reason of giving a lot of contrast without a lot of wood grain. Logwood is better yet but it leave a nasty purple on your hands for days + it is not so easy to get.
 
That is really a great looking pen!! But tell the truth. When you posted "Part1", you had already turned the pen, right??:rolleyes: Just kidding.

But there is no way I'd have posted a part 1 pic without knowing the end result. Too many of my "PROJECTS" don't come out as planned.

Translation: They become kindling.
 
Back
Top Bottom