robutacion
Member
Hi peoples,
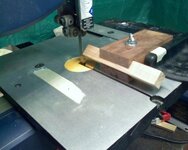
Following what I mention on a recent thread about saving fragile blanks in particular but, applicable to any pen blanks regardless if they are wood, acrylic or a combination on both, saving at the same time your tools from constant sharpening, by removing the square corner of the blanks before turning them.
This can also be and advantage to do in blanks that are going to be stabilized/harden as the amount of solution used is proportional to the volume of wood to stabilize so, taken those corners away, you will save hardener also.
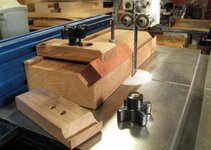
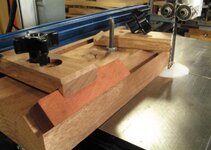
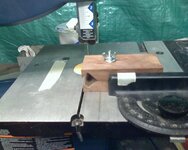
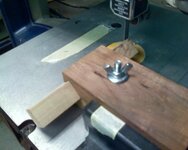
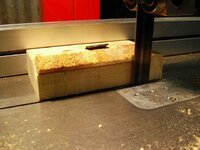
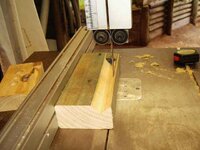
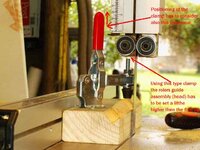
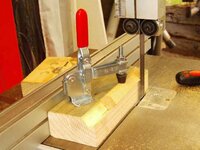
The first jig was made using a piece of "bad" pine that I had laying around (cracks needed gluing) and a small piece of thin tempered metal, salvaged from an old copy machine, a couple of screws and a little time.
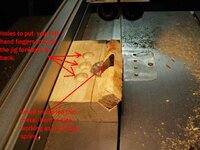
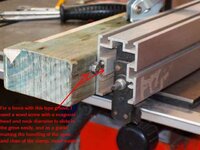
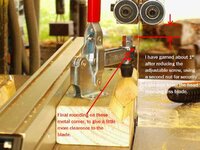
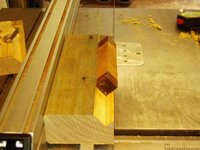
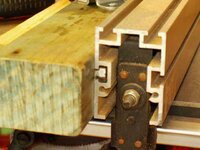
The second one is a improved version of the first one. A bit safer and more effective if the blanks are not all the same thickness. Both jigs were made to accommodate the 21mm square blanks that I cut as the preferred size.
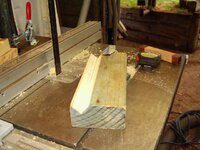
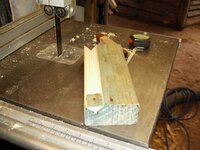
The V groves were made in the bandsaw, I suggest that you do it on the table saw if you have one, as is a lot safer to do but if you have to use the bandsaw, be very careful and take it easy, the cut is a little tricky to do but, perfectly doable!
The rest is very much self-explanatory following the pics which some will contain some info to point out areas of interest!
Try to make one and put it in use, you will be amazed how much simpler and safer things will become, particularly with the fragile blanks and or very hard and splintery woods!
Good luck and enjoy...!:wink:
PS: I forgot to mention, this same jig works perfect with any table-saw too...!
Cheers
George
Attachments
-
 timber preparation 1175_(1).jpg44.2 KB · Views: 1,273
 -
 timber preparation 1225_(1).jpg53.4 KB · Views: 1,240
 -
 timber preparation 1226_(1).jpg51.1 KB · Views: 1,090
 -
 timber preparation 1227_(1).jpg47.4 KB · Views: 1,178
 -
 timber preparation 1174_(1).jpg48.1 KB · Views: 1,754
 -
 timber preparation 1236_(1).jpg43.7 KB · Views: 1,190
 -
 timber preparation 1234_(1).jpg56.5 KB · Views: 1,236
 -
 timber preparation 1233_(1).jpg51.6 KB · Views: 1,363
 -
 timber preparation 1229_(1).jpg50.5 KB · Views: 1,419
 -
 timber preparation 1228_(1).jpg44.6 KB · Views: 1,163
 -
 timber preparation 1238_(1).jpg47.1 KB · Views: 1,200
Last edited:

