sorcerertd
Member
I've been working on this for way too long. I'm sure some will remember my looking for opinions on the stripe placement a while back. I kept it relatively simple. There was a lot of practice work done on scrap wood first because this is an expensive piece of wood. This is my first time using decals and I printed a lot of them in different shades. I'm still not happy with the decal edges and the color match of them to the stripes, but I'm tired of messing with it. For what it's worth, I used Photoscape 3.7 (the free one) to print the decals. You can set the exact size in mm, which was extremely useful.


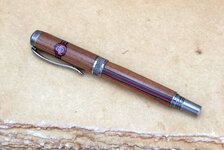
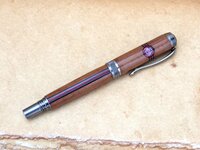
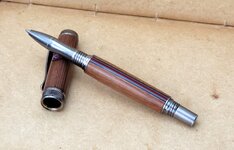
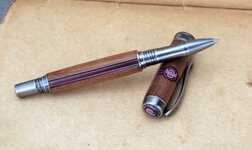
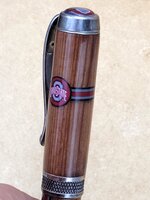
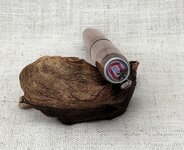
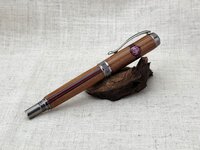
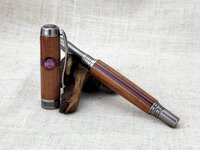
- The blank is from the "The Shoe" OSU Stadium, purchased from Stadium Blanks. it is well stabilized with CA as it just soaked it up readily when I glued up the "inlay". That's good, because it is pretty chippy old pine.
- The stripes are layers of sold color card stock .
- The logos are obviously decals, as is the finial. It was good on the top with a few layers of Krylon clear coat, but after cutting them, the ink bled at the sides when soaking. I did several trial runs, and ended up just soaking for maybe 30 seconds in room temp water to keep the bleeding to a minimum. I tried to touch up the edges a little with a fine point sharpie before finishing. There's still a little white showing, though. I had to use white back paper due to the white in the logo. It looks pretty good in hand, but you can see what I mean about the decals in the larger than life pictures.
- For the finial, I had a piece of scrap Rhinoblank already stuck on some scrap wood that I had used for a finial previously, so I smoothed the end out and turned it down to size. Then I cut the end of it about as thin as cardstock with a small parting tool, with just a little stem holding it in place. After setting the decal, it was domed it with UV resin (first time using that, also) which set exactly as is with no additional polishing. Finally, I cut it off by the stem with a utility knife. The nub fits right into the hole where I drove the original finial out.
- The finish is GluBoost. I lost track of how many layers of medium I used so I could level out the surface from the decals. I wet sanded through the grits of Zona paper, having scraped the cap finish even first.


