JBCustomPens
Member
I have read the numerous tutorials about the one-piece slimline pen, but never have I seen a tutorial, or much less a one-piece slimline pencil! It is slightly different, and does present a few new challenges, but I think that the new look is very appealing, and is a much better fit. I hope that someone can learn and put to use the information set forth in this tutorial.
List of materials needed:
5/8"x 5/8" x 5" blank minimum
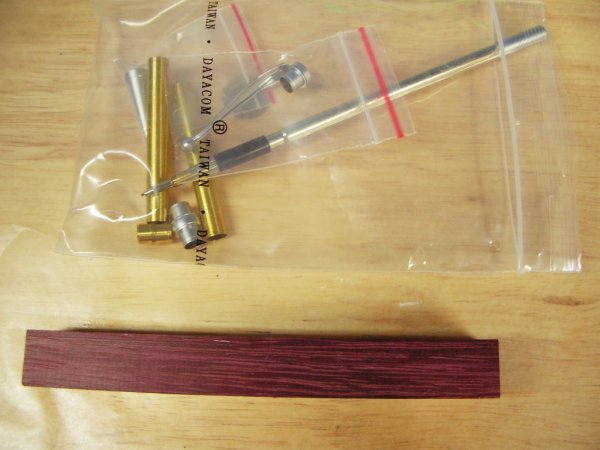
Complete slimline pencil kit
Glue/ Adhesive
Standard pen making supplies (tools, lathe, etc.)
Chop saw/ table saw/Radial arm saw or band saw
Grinder/Tool Sharpener
Drill press or lathe drilling supplies.
It is much easier if you have a live and dead center as well.
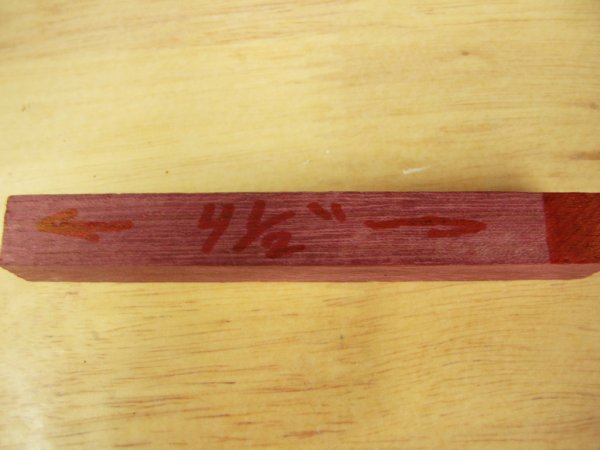
Step 1: Here we select our blank that we are going to use. I am going to use a 5/8" square piece of purpleheart. It is very important that the blank be long enough for both slimline tubes AND the slimline pencil centerband! A five inch blank should be plenty of material.
Also, I select my finish for my pencil kit, which will be satin silver.
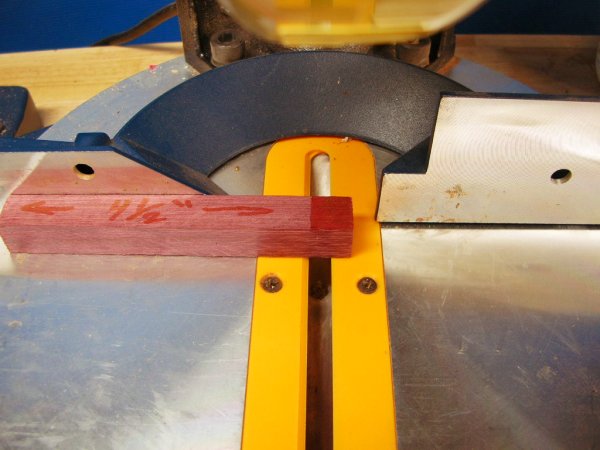
Next, measure out 4 ½" inches on the blank, and cut with your choice of tool., for me it is a chop saw. Remember, the wood after cutting ahs to be 4 ½", so give yourself some room for error.
Take the centerband coupler, and take it to the lathe, and mount it up between centers. There are other ways to do this, but this is my way.
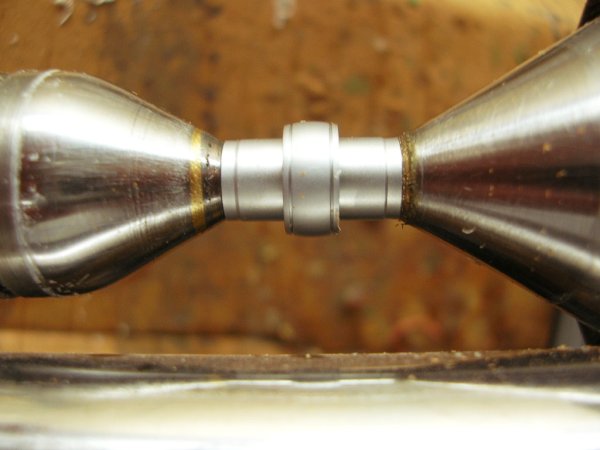
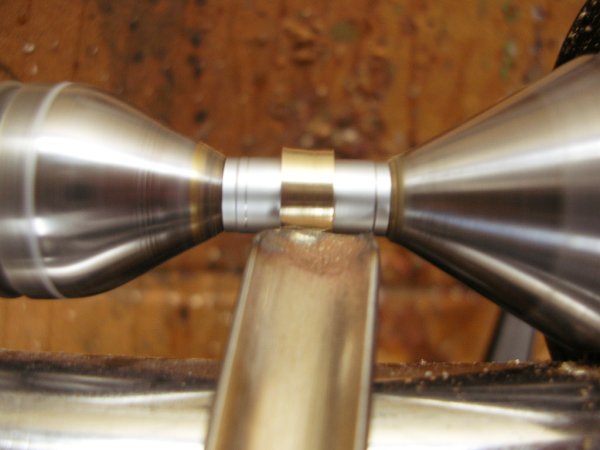
Turn the piece down until all sections of the centerband are flush with each other. You may wish to sand the piece with some 220 grit lightly as to get rid of any left over shavings.
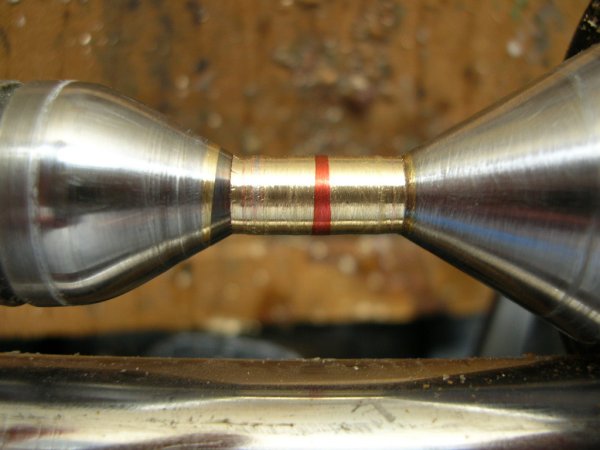
Now, here is the precision part. Mark with a Sharpie the middle of the centerband, and then press it into one of the tubes with a generous amount of glue. Then, do the same to the other side.
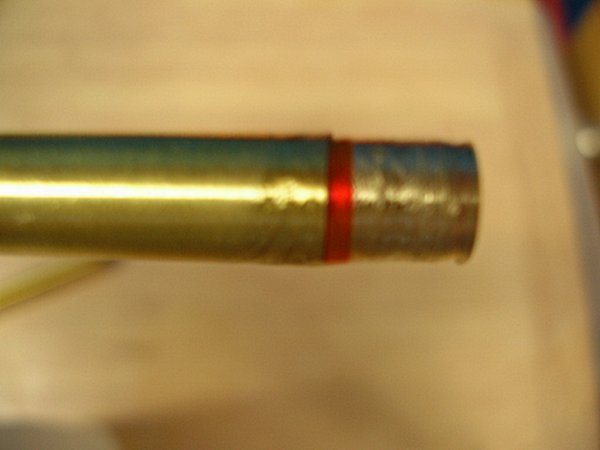
After this is done, you should not be able to see any of the centerband anymore, just two tubes that are connected.

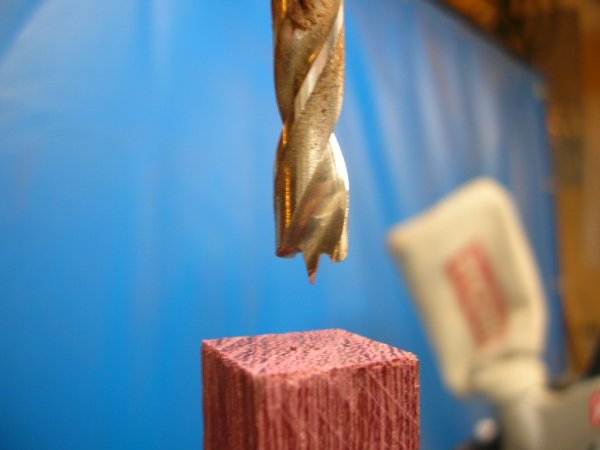
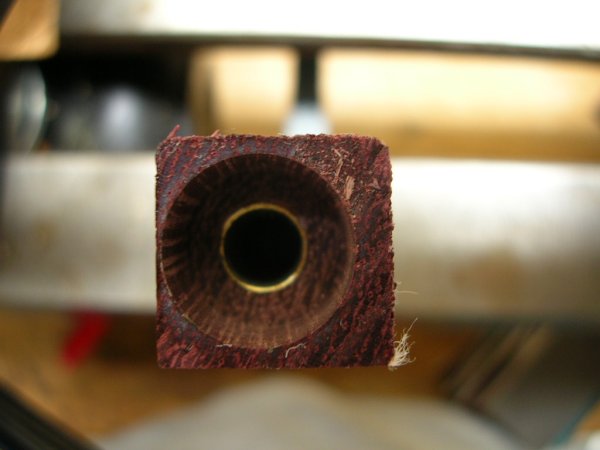
Drill your blank with your standard 7mm drill bit, and glue in the elongated tube. Make sure to use enough glue, and to give it plenty of time to dry.
Trim the ends with your choice of trimming device, whether a barrel trimmer, sander, etc. But make sure the ends are flush with the tubes. This is very important.
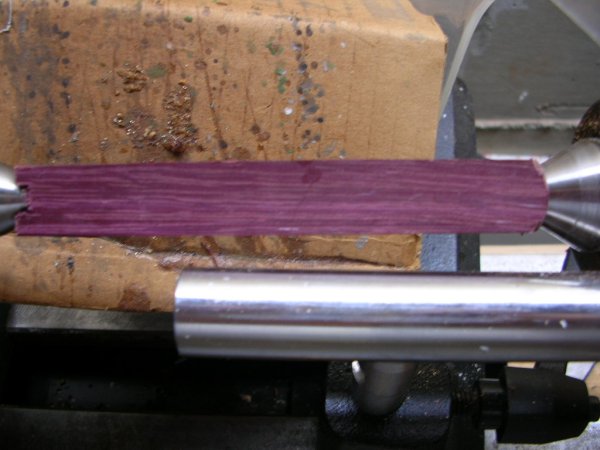
Mount this up as any other pen, whether on a standard pen mandrel, or between centers. It is your choice.
Turn the pen down to finished size, and then apply finish as with any other pen. Remember, this is not a turning tutorial!

Now, using a pen press or some other device, press in the nib coupler, then the cap/clip assembly. Insert the pencil mechanism and screw on the nib. No picture for this one. I figured since it is the same as putting a regular pencil together, you can refer to the kit instructions.
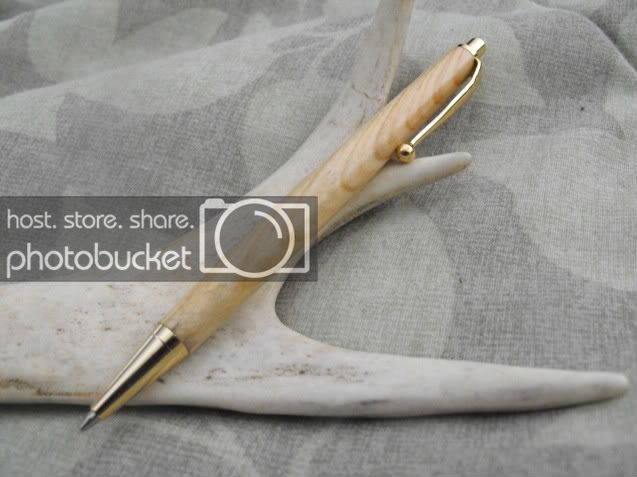
And with that, we are done!!!!! Sit back and admire your new one piece slimline pencil. It is kinda nice that the wood is interrupted, huh?

I hope that this tutorial has helped someone learn a simple modification to a slimline pencil, just like the one-piece slimline pen helped me! Things like these are what make pen turning fun, modifying and stretching the boundaries. If you have any questions about this, feel free to pm me.
List of materials needed:
5/8"x 5/8" x 5" blank minimum
Complete slimline pencil kit
Glue/ Adhesive
Standard pen making supplies (tools, lathe, etc.)
Chop saw/ table saw/Radial arm saw or band saw
Grinder/Tool Sharpener
Drill press or lathe drilling supplies.
It is much easier if you have a live and dead center as well.
Step 1: Here we select our blank that we are going to use. I am going to use a 5/8" square piece of purpleheart. It is very important that the blank be long enough for both slimline tubes AND the slimline pencil centerband! A five inch blank should be plenty of material.
Also, I select my finish for my pencil kit, which will be satin silver.
Next, measure out 4 ½" inches on the blank, and cut with your choice of tool., for me it is a chop saw. Remember, the wood after cutting ahs to be 4 ½", so give yourself some room for error.
Take the centerband coupler, and take it to the lathe, and mount it up between centers. There are other ways to do this, but this is my way.
Turn the piece down until all sections of the centerband are flush with each other. You may wish to sand the piece with some 220 grit lightly as to get rid of any left over shavings.

Now, here is the precision part. Mark with a Sharpie the middle of the centerband, and then press it into one of the tubes with a generous amount of glue. Then, do the same to the other side.
After this is done, you should not be able to see any of the centerband anymore, just two tubes that are connected.
Drill your blank with your standard 7mm drill bit, and glue in the elongated tube. Make sure to use enough glue, and to give it plenty of time to dry.
Trim the ends with your choice of trimming device, whether a barrel trimmer, sander, etc. But make sure the ends are flush with the tubes. This is very important.
Mount this up as any other pen, whether on a standard pen mandrel, or between centers. It is your choice.
Turn the pen down to finished size, and then apply finish as with any other pen. Remember, this is not a turning tutorial!
Now, using a pen press or some other device, press in the nib coupler, then the cap/clip assembly. Insert the pencil mechanism and screw on the nib. No picture for this one. I figured since it is the same as putting a regular pencil together, you can refer to the kit instructions.
And with that, we are done!!!!! Sit back and admire your new one piece slimline pencil. It is kinda nice that the wood is interrupted, huh?
I hope that this tutorial has helped someone learn a simple modification to a slimline pencil, just like the one-piece slimline pen helped me! Things like these are what make pen turning fun, modifying and stretching the boundaries. If you have any questions about this, feel free to pm me.