You'll need a section long enough and large enough around to achieve getting the blank you want.
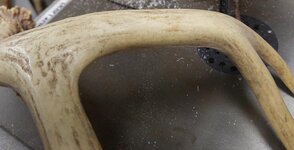
The section needs to be straight enough that you won"t reveal the brass tube inside.
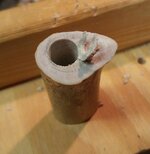
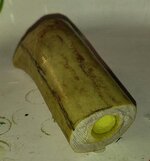
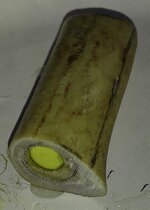
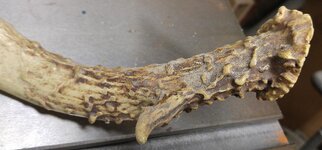
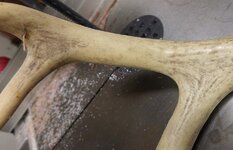
Keep in mind that antler has a "pith" to it, where you'll see the tiny marrow chambers. If you are turning a perfectly round and straight section of bone, you may likely not see any at all, especially at first, but if you keep going, you're going to get all pith and no bone.
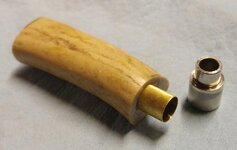
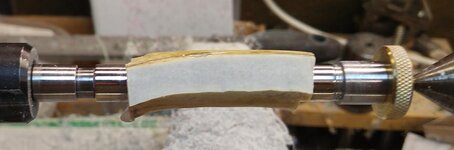
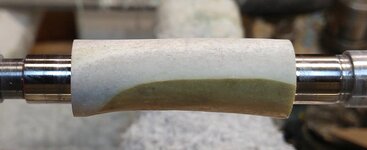
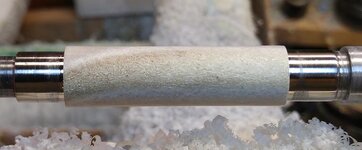
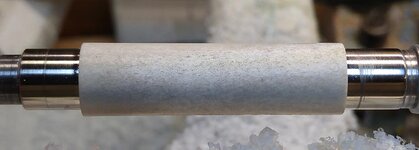
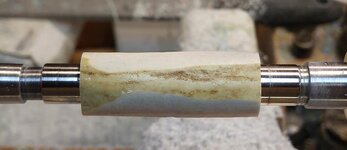
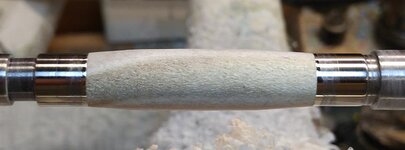
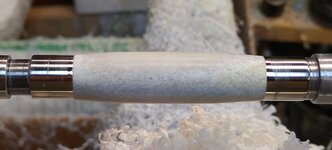
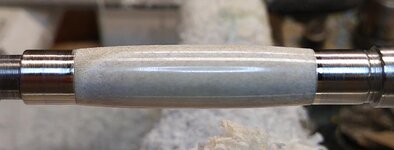
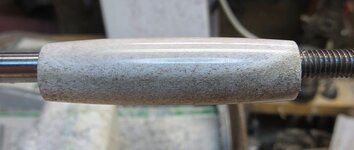
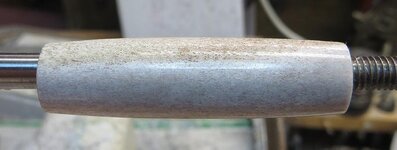
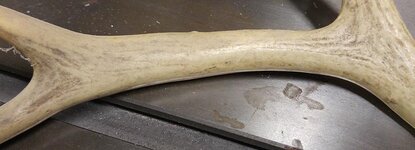
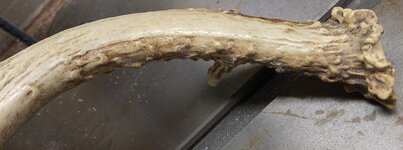
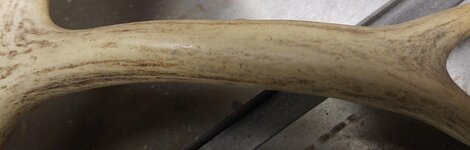
Choosing a thinner section has it's own advantages ... MUCH less likely to hit pith, and better chance of the finished pen getting to show off the "bark", meaning the outer shape/features of the bone. Just under the outer layers of the antler the bone is a light greyish color, and under that it goes to a purer cream/white color.
Thinner sections also have their own disadvantages .... MUCH greater chance of your bit wandering, especially through a curved section of bone, and popping out the side.
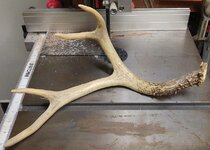
You have 2 options for sourcing the antler ... getting a whole or partial antler from a friend or as a "shed" or from a hunt that resulted in a kill. Or you can buy some online ... I do know that there is a vendor here that offers a pre-drilled section of antler for only around 7 dollars. PSI offers 1 pound of antlers/sections that may or may not have 3 or 4 pens worth of blanks in them, but they want nearly 40 dollars.
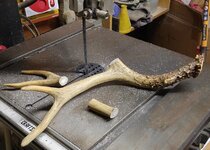
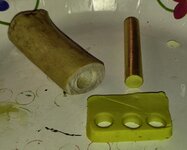
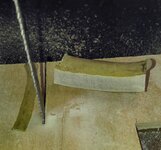
What I generally do .... is make antler pens from as many sections as I can from an antler. I use a tube to do the measuring, and I mark right on the antler with a felt tip marker. I leave a good half inch to an inch, depending on the curvature, between each section that I plan to cut, to allow me to sand it back flush and parallel at both ends in preparation for drilling. I also sand off any major knobs or protrusions to make it as generally round as possible. At this stage, making it as regular as you can around the exterior is the key, to allow you to drill as straight as possible directly down the center of your blank.
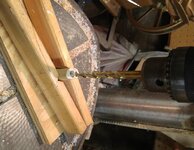
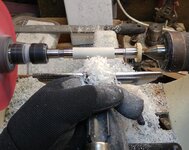
If you can chuck it on the lathe and have a hope of hitting your center line, go for it. I haven't seen enough bone that straight yet.

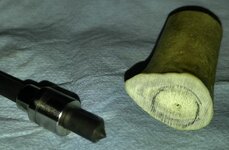
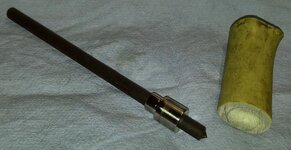
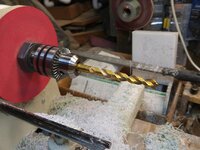
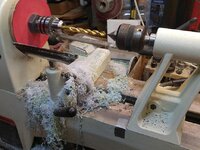
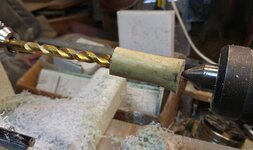
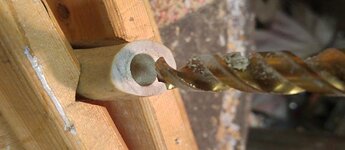
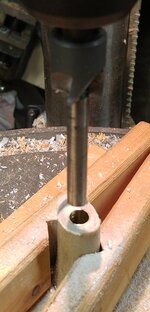
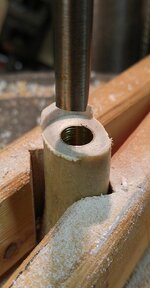
I use a drill press and a drill press vice that I have modified for my drilling needs using bone and irregular blanks. The steel jaws were replace with vinyl plates, and the original screws used, countersunk to keep them out of the way.
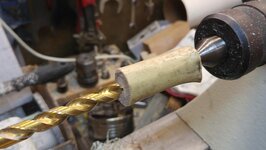
Drilling is fairly simple ... use a sharp bit, line your blank up as perfectly as you can, tighten down the vice and clamp the vice to the table, and clear the flutes (raise the bit back up out of the hole) often.
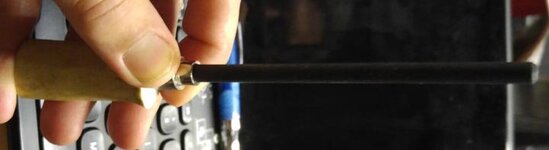
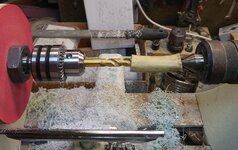
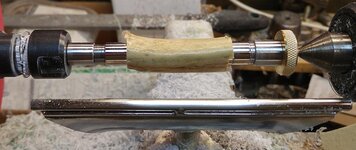
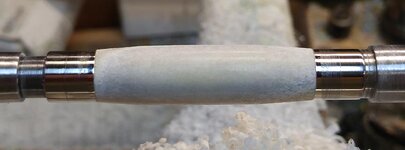
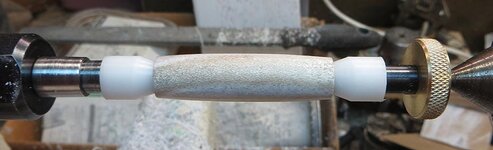
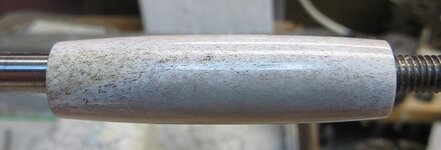
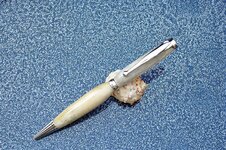
Clean your blank out with a blast of compressed air, glue your brass tube in and center it where you'ld like. Turn as normal with very sharp steel tools or go to carbide (I use carbide).
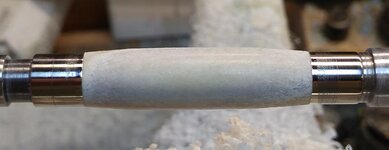
If you don't seal the pith before sanding, it WILL collect some unsightly grey/black dust from the sanding process ... it's nearly impossible to clean out. To seal, dribble some thin and medium CA over the slow spinning blank while you spread it with some kind of applicator (I use folded pieces of blue shop towels). DO THIS FIRST BEFORE YOU PROCEED WITH FINISH SANDING. Once it's good and sealed, sand it back so that you're sanding the bone again, and double check to ensure that all the pores in the bone are sealed. Proceed with finish sanding the bare antler to whatever shine/gloss you prefer to show off, and then either leave it as is for the natural finish, or go with a half dozen or more coats of CA for the protected finish.
Here is where your artistry meets God's hands. You have the power and the means to determine how much of God's work gets to be seen in that pen. Some people prefer to have perfect smooth sides around their pen, while some prefer a rougher, more natural shape to the pen that shows off where that bone came from. Some people like to see some of the pith showing, while others don't like it's appearance and will pass over one that has it. Some people like a more natural finish or even no finish at all, which will slowly yellow as it ages, while others want theirs to stay perfectly bone white (and gray) the same as the day they got it (CA finished). Some people like a matte finish, while others want a glossy finish that feels like running their hand across glass. Some people like a bulbous or more rounded appearance to the barrels, while others prefer a much straighter profile. Your choice determines if the pen sells or not, but if you're taking a consignment order, it may be best to present a variety of choices for the end result.
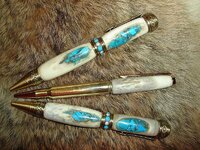
I like to just make a variety of results by taking from all parts of the antler, as much as possible. The barrels all end up looking slightly different from each other, even from the same exact antler, as some sections ended up being very big around and got turned down perfectly round, and some being thinner, ended up showing off a lot of the antler's character. You can never tell which one will end up in a random buyer's hands .... some just like what they like. I generally prefer to CA finish my antler pens, but I've had people request natural, which is CA sealed/filled in any of the pith, and then sanded back smooth and polished with micromesh/PlastX for the finish.
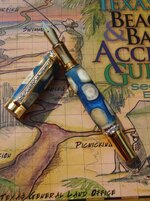
Some of my first pens were the "Deer Hunter" 30 cal bolt action pens from PSI .... I love those things, they're gorgeous. I went with the antique brass with rose gold accents. I don't mind the smell of the antler as I'm working on it .... sort of a "burn bone" acrid scent, at times. If you don't like it, use a respirator and dust collection for sure. Breathing in bone dust can't be any good for you! If the wife and family don't like the smell either, then working in mild weather so you can prop a door open with a fan is a great idea.
Most of all, have fun working with bone! I have heard that Moose antler have almost no pith, and the same with Elk and Caribou. I'm going to see about getting some Elk antler to play with soon ... Elk and Caribou are much bigger cross sections of bone. Some may be large enough that it would be possible to split the antler sections into MULTIPLE pen blanks, like splitting a log into quarters.


")