JD Combs Sr
Member
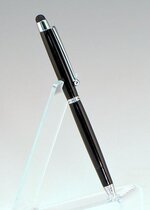
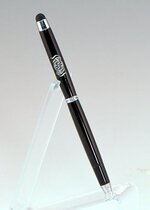
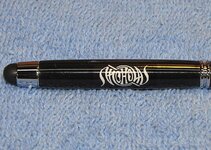
.. or how I applied a reverse printed(white letters on black background) logo decal on a black pen. I posted this pen earlier in the "Show Off Your Pens" forum but I wanted to post the details of how I applied the decal.
First the Blank: BTW most of the following is a copy-paste of a project overview I did for the customer so don't be offended if it sounds like I am talking to someone that doesn't know anything about pen making because in most of it I am.
My customer wanted a solid black stylus style pen with chrome hardware that used old 78 rpm record material as a component. (from here on I am repeating comments to my customer anything I add with this post will be in red)
[FONT="]Initially I tried to mix record shavings from your old 78 in a clear resin. The density of the black fillings was insufficient to color the resin.[/FONT]
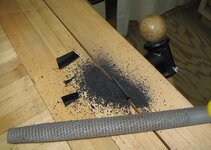
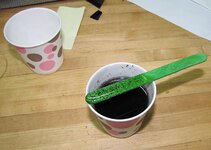
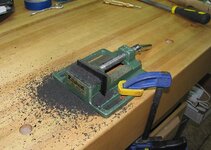
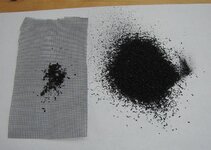
[FONT="]So I made additional filings(about two tablespoons), larger chunks were filtered out and then mixed with black Alumilite resin.[/FONT]
The resulting Blank:
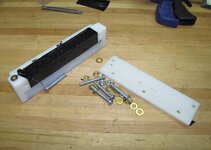
[FONT="]The blank was then cut into two pieces(barrels), one for the top and one for the bottom. It was then drilled, a brass tube was glued into the drilled hole. Each barrel was then individually turned to dimension. The lower barrel was finished and the lower components including the ink cartridge installed into it.
(I showed him a pic of the lower barrel with the nib, tranny, and refill installed here.)
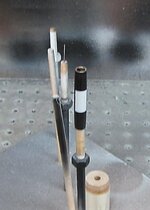
After turning the upper barrel the barrel was masked for painting of a white space to accept the logo. After the white space was dry the logo was then applied .
[/FONT]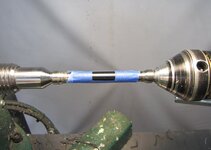
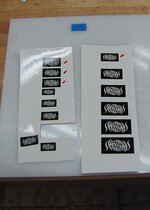
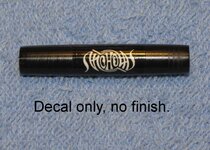
[FONT="]The logo was allowed to dry in place overnight then 15 coats of clear acrylic finish was then applied by hand and then polished to a glass like finish. After the first 6-7 coats the edges of the decal were still clearly visible so I used some 600g sand paper and sanded the edges to feather them into the black of the barrel. I applied another coat or two of CA and check for visible edges and had to do just a little additional sanding in a couple spots. Now the black of the decal is undetectable except as a blacker area around the logo. The upper barrel components were then installed and the finished barrel with logo was installed on the pen completing the process. [/FONT]
First the Blank: BTW most of the following is a copy-paste of a project overview I did for the customer so don't be offended if it sounds like I am talking to someone that doesn't know anything about pen making because in most of it I am.
My customer wanted a solid black stylus style pen with chrome hardware that used old 78 rpm record material as a component. (from here on I am repeating comments to my customer anything I add with this post will be in red)
[FONT="]Initially I tried to mix record shavings from your old 78 in a clear resin. The density of the black fillings was insufficient to color the resin.[/FONT]


[FONT="]So I made additional filings(about two tablespoons), larger chunks were filtered out and then mixed with black Alumilite resin.[/FONT]


The resulting Blank:

[FONT="]The blank was then cut into two pieces(barrels), one for the top and one for the bottom. It was then drilled, a brass tube was glued into the drilled hole. Each barrel was then individually turned to dimension. The lower barrel was finished and the lower components including the ink cartridge installed into it.
(I showed him a pic of the lower barrel with the nib, tranny, and refill installed here.)
After turning the upper barrel the barrel was masked for painting of a white space to accept the logo. After the white space was dry the logo was then applied .
[/FONT]


[FONT="]The logo was allowed to dry in place overnight then 15 coats of clear acrylic finish was then applied by hand and then polished to a glass like finish. After the first 6-7 coats the edges of the decal were still clearly visible so I used some 600g sand paper and sanded the edges to feather them into the black of the barrel. I applied another coat or two of CA and check for visible edges and had to do just a little additional sanding in a couple spots. Now the black of the decal is undetectable except as a blacker area around the logo. The upper barrel components were then installed and the finished barrel with logo was installed on the pen completing the process. [/FONT]
Last edited:

