Labels

Signed-In Members Don't See This Ad

lorbay

Member
Joined
Jul 2, 2009
Messages
3,396
Location
BC. Canada
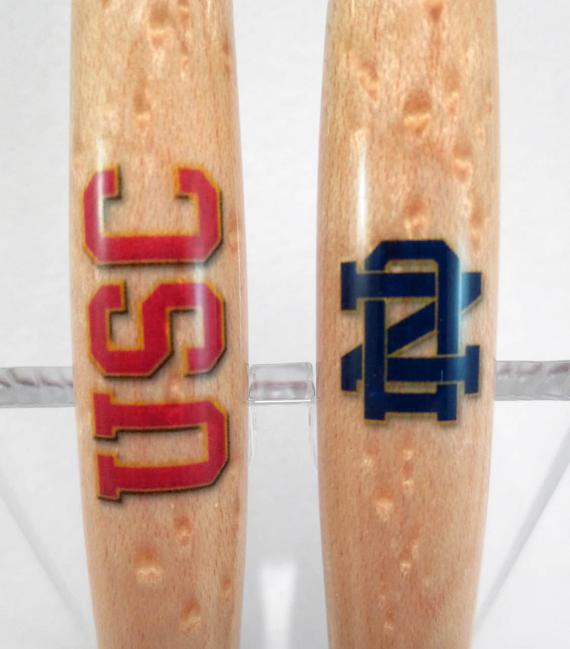
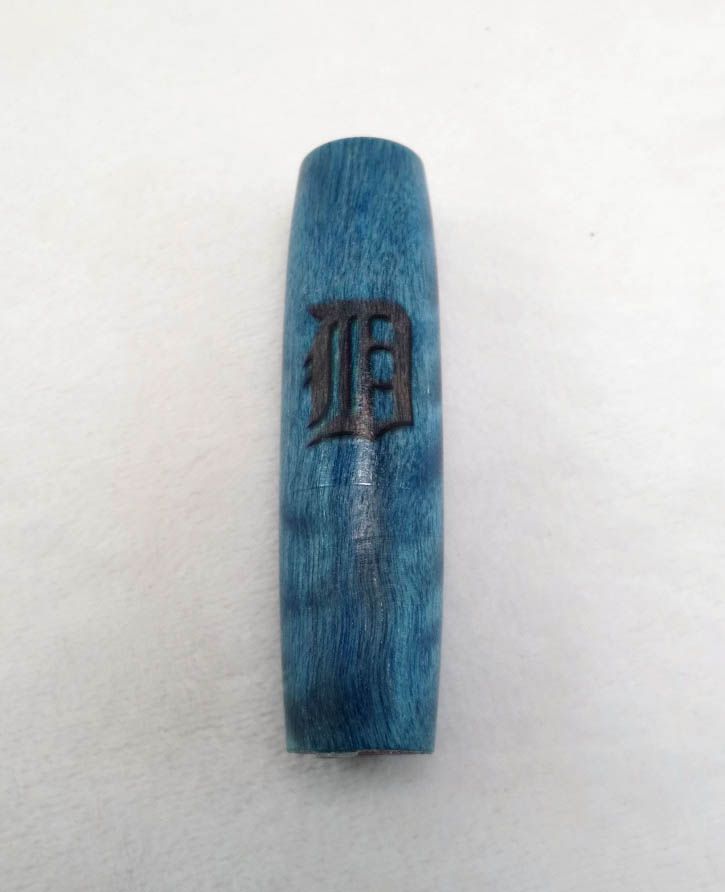
I have not done too many pens with ink jet labels on them and have not had good success on wood. I am putting a name on the pen and it seems I can always see the label in some light conditions. Here is how I do it.
Sand to 800
Apply 2 coats of ca
Sand with 800 again
Apply 1 more ca and then apply label (that has been sealed) let dry for 24
Then apply 10 to 15 ca
Then sand with 600 and them through all the MM pads.

Is this wrong.??

Lin
 
Last edited:
Signed-In Members Don't See This Ad
If you are using clear decal paper you need to apply 5 coats of thin and sand to 12000MM.

You can't leave a matte surface under the decal. You then continue your application of CA coats and final sanding to 12000MM and final polish. I use Turtle Wax Premium Polishing Compound followed by Meguiars Plastic Polish.

Some labels seem clear but compared to the finished surface that is polished they are not.

Don't know if this helps but would need more info.
 
Last edited:
Me too, not all that satisfied with the decal application. I'm wondering if, after the base coats of CA (maybe 3 or 4 thin) should I start with 2400 MM and go through the 8000 to get a gloss finish to put the decal/label on? It just may be that we can't get the perfect "disappearing decal" situation but that doesn't stop the trying does it?
WB
 
I do a bunch and have never had a problem with seeing the label. I actually have a few drying up in the shop now.

I turn and sand with 600, then do a quick sealer coat of med CA.

I do not sand this coat at all.

I then apply the clear water decal and use "Micro Sol Setting Solution"

Here's a link for that: Amazon.com: Micro Sol Setting Solution, 1 oz: Toys & Games

After that dries, I just apply a regular CA finish and sand as normal.

il_570xN.466564262_fhg8.jpg
 
For another example, here was a test label I did to see how a blue background would look.

Not so good actually, but at least you can see what the labels look like without and topical CA. This is just sanded with 600, a sealer coat of CA, and label applied.

IMG_2529.jpg
 
I was also wondering if it matters what type of clear gloss lacquer one should use to seal the decal after printing.

Lin
 
I have used Krylon Gloss Acrylic, Krylon Fixativ and the Testor Decal Bonder and prefer the Testors because it lets the decal stay more flexible.
 
Depending on what kind of picutre you are using, I've had good luck just cutting the decal very close to the image.

So what are you saying after you sealed the image you cut as much of the clear away as possible???

Exactly. Used a knife for the curves and scissors for the straight parts. My decal was about dime sized. Would probably be hard if smaller than that.
 
I do a bunch and have never had a problem with seeing the label. I actually have a few drying up in the shop now.

I turn and sand with 600, then do a quick sealer coat of med CA.

I do not sand this coat at all.

I then apply the clear water decal and use "Micro Sol Setting Solution"

Here's a link for that: Amazon.com: Micro Sol Setting Solution, 1 oz: Toys & Games

After that dries, I just apply a regular CA finish and sand as normal.

il_570xN.466564262_fhg8.jpg


I ordered the Micro Sol but have a question. Is this applied before or after applying the decal? The reason I ask, the instructions on the bottle says to apply Micro Set first, apply the decal, and then the Micro Sol. Just wandering how some of you do it. :rolleyes:
 
I think you are putting too much CA down under the decal. I typically only use 1 coat of thin then MM to get a good surface. Doing this and cutting the decal close works for me.
 
Back
Top Bottom