duncsuss
Member
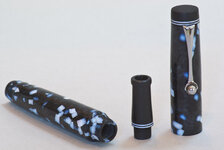
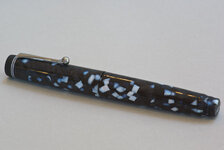
This was my first time using Invisavue material.
I found it very difficult to shape -- it chipped out frequently even when I was using freshly-honed tools, though it took threads without too much difficulty. I don't intend to buy any more of it (although I've got a few pieces left so I will most likely use it again.)
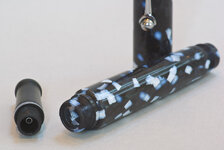
It was also my first attempt at adding "accents" using pick-guard material, which I glued to the black ebonite of the cap finial and the end of the section that meets the barrel.
Gluing with 2-part epoxy (5 minute variety) didn't work out too well, but there are a number of possible contributing factors to that. I switched to medium CA, which worked much better. However, close inspection shows there are tiny voids along the glue line, and this wouldn't be acceptable in a pen for sale. My next attempts will be using thick "gap filling" CA and another shot using epoxy, this time letting it cure 24 hours before beginning to work it.
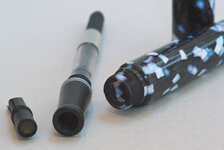
Finally -- and this one I'm really happy with the outcome -- it was my prototype of a section for Esterbrook Renew-point nibs that compensates for the fact that there is no feed tube coming out the back of the nib units.
I got some stainless steel tube and cut a piece to length, flared one end of it, and glued it into an ebonite plug turned to match the hole that receives a cartridge/converter. (The flare reinforces it against pulling out of the ebonite plug.) I drilled a small diameter hole through from the front to the back of the section, then glued the plug-and-feed-tube in.
Voila -- an Esterbrook compatible section that has a feed tube.
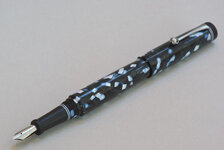
I actually like the pen overall (despite its imperfections) and I've been using it as my daily writer for the last week, loaded with Noodler's Polar Blue and using an Esterbrook #1555 (Gregg shorthand) nib.


