
FGarbrecht
Member
I just finished up several pens today that I'm not happy with because the wooden barrel is a little proud of the metal pen fittings, enough to be noticeable when you run your finger across the pen. I'm pretty new to this but I've turned a number of different style pens so far and this is the first time I've seen this to this extent. The pen kit is from PSI and I used the recommended bushing set and was very careful to turn and sand the wood all the way down to bushing level (one of them was turned a few thou below the bushing and still is too big when the pen is assembled). I'm not sure how to fix the problem at this point since the pens are assembled and I haven't been too successful with getting assembled pens apart without ruining the nice metal bits.
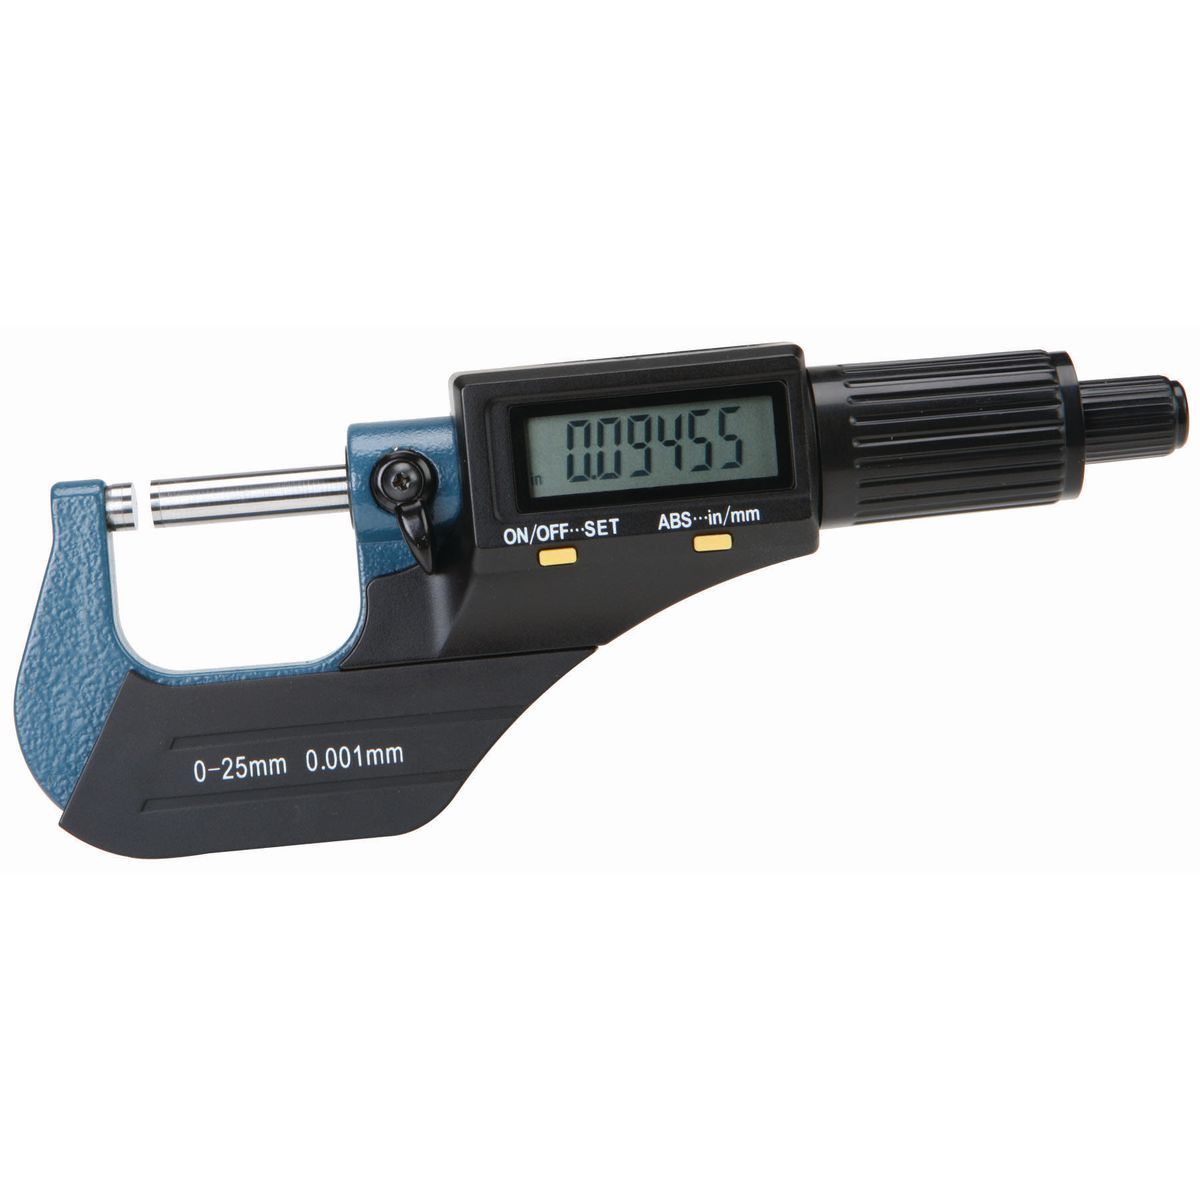
I think (from reading here) I know the answer to the sizing problem: learn to turn between centers and use a digital caliper to make sure the blank is turned to the correct size. I have the equipment, just have to learn and start doing it.
One other thought/question: how do you experienced pen makers account for the thickness of the finish (I use usually 15 coats of thin CA), or do you even need to do that?

") due to sandpaper, or the chisel nudging the bushings, therefore rendering them inaccurate for sizing. One of our early on IAP members considered bushings as "consumables", i.e. they MUST be replaced on a regular basis. Now, with TBC, they don't have to be replaced as they are not used for "sizing" but to hold the blank for a short period of time.
due to sandpaper, or the chisel nudging the bushings, therefore rendering them inaccurate for sizing. One of our early on IAP members considered bushings as "consumables", i.e. they MUST be replaced on a regular basis. Now, with TBC, they don't have to be replaced as they are not used for "sizing" but to hold the blank for a short period of time.