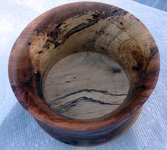
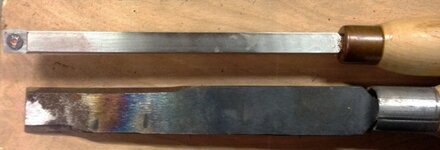
I got a Woodchuck Bowl Pro tool from Ken Ferrell a couple of months ago and I had this nice piece of pecan that's been screaming "TURN ME!", so I finally gave it a shot.
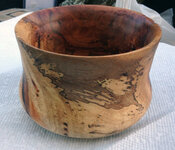
Far from perfect, but I had fun making it & I'm pretty pleased with the way it turned out. I love the Bowl Pro tool - it transformed that big plug of wood inside the bowl into a pile of shavings in short order.
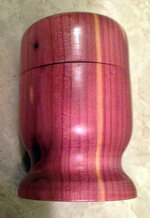
The bowl is 5" across at the top and 3" tall. This one's going to be a Christmas present for my wife.
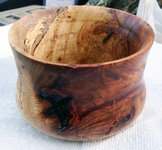
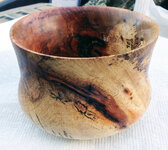
Far from perfect, but I had fun making it & I'm pretty pleased with the way it turned out. I love the Bowl Pro tool - it transformed that big plug of wood inside the bowl into a pile of shavings in short order.
The bowl is 5" across at the top and 3" tall. This one's going to be a Christmas present for my wife.

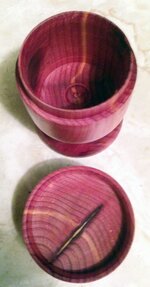

 tongue: perfectly fine for one at your early stage of lidded box turning.) you can learn to compensate by making a "pop" sound with your mouth/throat, every time the lid is pulled off. You could even take it a step further, and teach your granddaughter to do it also