In another thread, Nicole (simsonicole) asked for suggestions on how to make tea light candle holders.
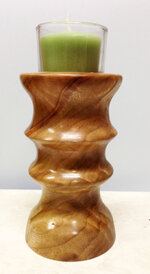
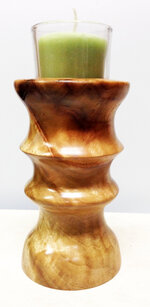
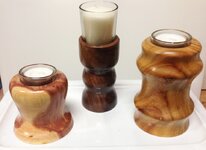
I've only made these 3 so far, so I am certainly not an expert. While I'm happy to share what I've done so far, I invite & welcome others to chime in with their suggestions & advice.
These are fun & easy to make and I'm looking forward to getting more ideas from others.
----
My basic procedure is this:
1. Drill a hole for the candle holder with a Forstner bit (either 1-7/8", 1-15/16" or 2" depending on the particular holder & depth I want it to sit) - I like to use the glass holders to keep heat & wax off the wood. You can use a smaller hole if you don't use the glass holders.
2. Mount the blank between centers & turn it round. I also give it the basic shape at this time & put a small tenon on the bottom end (about 1/4" long & about 1.5" in diameter)
3. Mount the blank in my jaws chuck using the tenon that I cut in step 2 (using the tail stock to align the blank while I'm mounting it in the jaws).
4. Pull back the tail stock & finish off the top end and finalize the shape. Sand & finish the blank while it's mounted in this manner.
5. Reverse the blank by using the jaws chuck inside the top opening (again use the tail stock to align the blank properly). Trim off the tenon & make the bottom slightly concave so the candle holder will sit level & steady.
I'll probably refine & revise this procedure somewhat as I make more of these, but that's how I made these first 3.
Edgar
Attachments
Last edited: