How to Cut a Blank Diagonally

Signed-In Members Don't See This Ad

JonathanF1968

Member
Joined
Oct 7, 2018
Messages
146
Location
Massachusetts
How would you cut a blank diagonally?

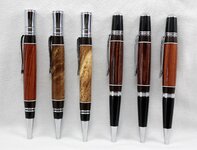
Here's my thought. I want to take two different pieces of wood (i.e., blanks), cut them both diagonally, and then glue them together to make one blank that is both types of wood. Sort of like segmenting, except it's just to big segments.

The wood I want to use is rosewood and either maple or apple; the pen is for a friend of mine who has ties to both New England and Brazil, and I want to make one of wood from both places. I haven't done any segmenting, but my thought is to keep it super simple so that you can see the wood grain and not be distracted by patterns, which I am likely to screw up on my first foray!

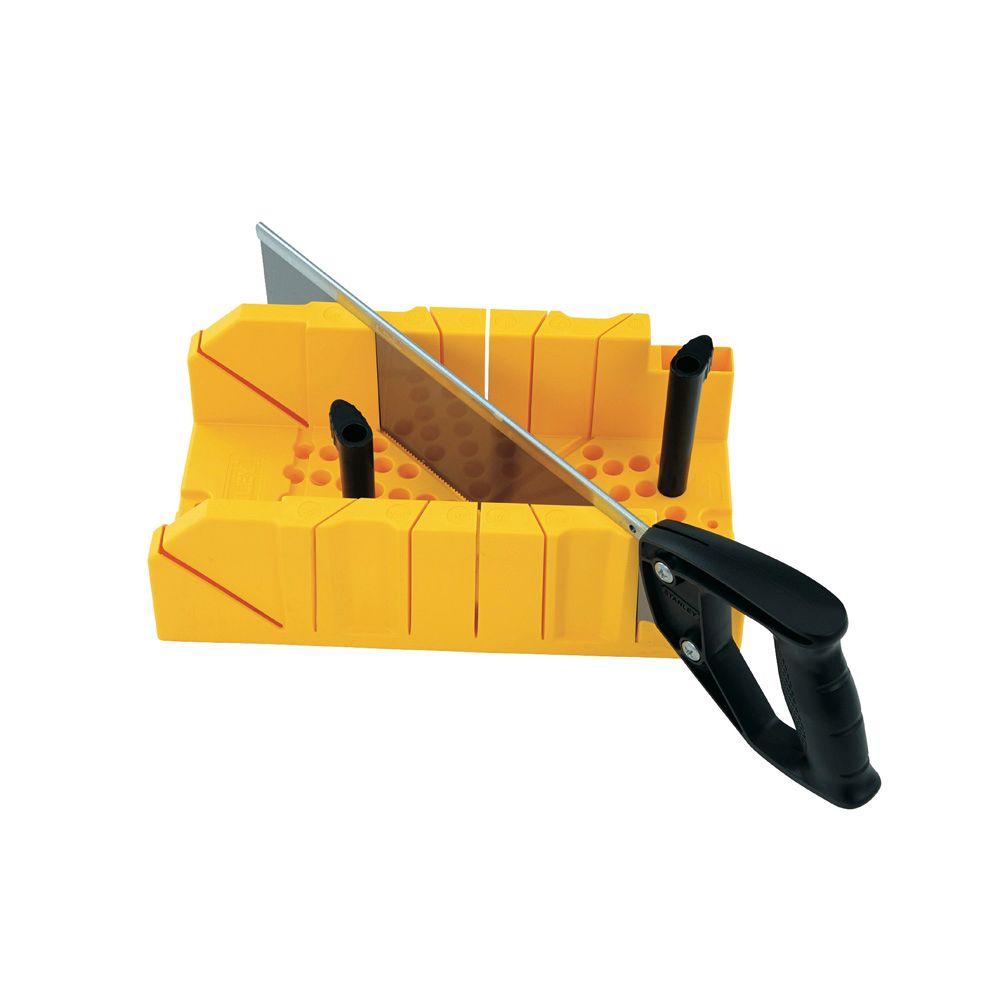
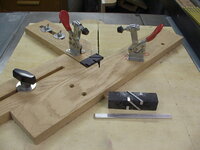
So, how to cut the blanks. I have a compound miter saw (which I use for most of my blank making) and also a table saw, but I think the miter saw will be a better tool for this. It is going to be thin enough that I will need some sort of jig or other support to hold it in the right spot against the fence.

Alternatively, I could use the table saw at a 45 degree angle, but the blank is a little small for this kind of fussy work, and my table saw doesn't seem to give as clean a cut, so some sanding of the glued edge would be required to get a tight fit. Maybe on the belt sander, if I decide the table saw is the way to go.

Any tips? I haven't done anything like this before. Assuming Titebond is the glue of choice, and maybe wrapping it with gauze or perhaps duct tape before drilling would be helpful?

--Jonathan
 
Signed-In Members Don't See This Ad

greenacres2

Member
Joined
May 2, 2017
Messages
1,690
Location
Northwest IN
I built a jig for my band saw sled—but sounds like you don't have a band saw. Neither miter saw nor table saw sound appealing to me for a full length diagonal, but either should be good for 45 degrees.
 

cjester

Member
Joined
Nov 26, 2015
Messages
157
Location
Illinois
How about a hand saw? You can get the little plastic miter boxes with a back saw included for $15 many places. Here's one from Home Depot, although you should be able to find one at nearly any home/hardware store:

If the table saw isn't cutting cleanly, might be time for a new blade. You can make yourself a sled for handling small parts.

I won't use my power miter saw on anything small anymore. I don't have a good way to clamp something as small as a pen blank on both sides, but if I don't the blade will send one of the pieces flying. It's great on the big stuff it's made for.
 

bsshog40

Member
Joined
Oct 2, 2018
Messages
2,374
Location
Omaha, Tx
I made a sled for my tablesaw. Bought me a thin kerf blade. Using that, I can cut pen blanks all the way down to 1/8" thick. I don't use clamps, but I'll take 2 pieces of wood to set on each side of my pen blank. Will use them to support the sides of the blank while cutting.
20190921_173934.jpg
 

chartle

Member
Joined
Mar 13, 2015
Messages
1,287
Location
Pgh, PA
I second use a sled and and a way to clamp down the blank. Keeps your fingers away from the blade and makes a better cut.
 

magpens

Member
Joined
Feb 2, 2011
Messages
15,911
Location
Canada
Jonathan,
Your question interests me. . But it is not clear if you want to make the cut as a 45-degree "cross cut" or if you want to make a diagonal cut from corner-to-corner of the 5-inch long blank.

The 45-degree cross-cut should be easy enough to do on either your miter saw or your table saw.

But a corner-to-corner cut going "lengthwise" would require a jig that you would have to construct to get the angle right and get a smooth cut.

Or course, you can choose whatever angle you like to suit both your own inclination and to suit the blank length for your chosen pen kit.

Please keep us posted.

EDIT: . I see that "chartle" in his post above has assumed that you want to cut in a different way than I had thought of. . His method will yield two "halves" that, when glued together, will result in a segmentation no different from gluing two flat pieces together, as I see things. . I have done precisely what he is suggesting. . I have even taken it a step further and glued together 4 pieces each of a different wood species. . You can even go beyond that and make it 8 pieces with a very similar cutting procedure and yet another jig. . In my procedures, the glued join lines are all longitudinal (parallel to the axis of the final segmented pen blank).
 
Last edited:

mark james

IAP Collection, Curator
Joined
Sep 6, 2012
Messages
12,752
Location
Medina, Ohio
I do have a "few" thoughts.

I have made pens for my wife for gifts to friends in Brazil. Brazilian woods!

Monkeypod
Brazilian Rosewood
Brazilian Tulipwood.

These are easy segmenting (really!). Drill, tube a main blank. Turn down to the tube in equal distances from the ends to the tube. Glue on a veneer. Glue on an end cap of another regional wood.

The six pens below are from Brazilian woods.

I have some blanks of each of these species, PM me if you want any.

I also have diagonal cut Brazilian Rosewood blanks!!!

Have fun!
 

Attachments

  • IMG_0463.jpg
    IMG_0463.jpg
    299.5 KB · Views: 277

jttheclockman

Member
Joined
Feb 22, 2005
Messages
19,148
Location
NJ, USA.
Yes you would need to clarify the diagonal thing. To me double sided tape on a sled and good to go. If cutting corner to corner. I would work some clamping system in too.
 

John Eldeen

Member
Joined
Apr 3, 2019
Messages
419
Location
Sacramento, CA
Yes you would need to clarify the diagonal thing. To me double sided tape on a sled and good to go. If cutting corner to corner. I would work some clamping system in too.
A sled like you have posted pics of for you angle cut would probably be the simplest thing for this cut. If you have a picture handy.
 

jttheclockman

Member
Joined
Feb 22, 2005
Messages
19,148
Location
NJ, USA.
A sled like you have posted pics of for you angle cut would probably be the simplest thing for this cut. If you have a picture handy.
I would use a sled similar to this and place double sided tape on each side of the saw blade kerf. now line up corners of the blank on top and bottom of the kerf.. add some clamps and good to go. Can do the same on a bandsaw if you do not want such a wide kerf.
 

Attachments

  • IMGP0970.JPG
    IMGP0970.JPG
    309.1 KB · Views: 212

Dehn0045

Member
Joined
Mar 19, 2017
Messages
1,533
Location
US
This style is an option. I used a table saw to cut 45 degree pieces, but basically any saw that makes a clean straight cut should do. Also the angle isn't critical. I glued up with medium CA and then soaked with thin CA for good measure. The thin strips are gift card - I like the look of having a thin strip between the larger segments. After glue-up I used a belt sander to roughly square to make drilling easier. This style is a pretty easy beginner segment - cut angle doesn't matter, drilling angle doesn't matter, fairly easy to turn... You can use aluminum instead of gift card, but that makes drilling a little more difficult due to heat build up.
IMG_20170507_184114.jpg
 
Top Bottom