
Lew
Member
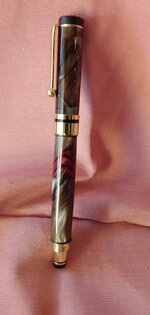
I need some advice on how to turn segmented pens. I have been trying my hand at segmenting and have been ok with pretty standard stuff--rings, knots, scallops and things of that sort (photo attached of one of these; forgive the quality of the photo)--but when it comes to building up a blank out of small pieces especially all wood, I have a problem in turning. Although use a sharp spindle roughing gouge and skew, I inevitably get large chunks that fly off, most times beyond my ability to patch them up.
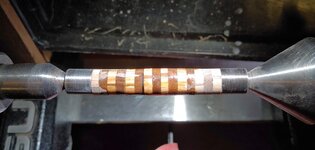
So, I followed the advice of Roy Quast and George Valentine on this site and tried turning with just sandpaper, but I find that the end result is not really perfectly round but lopsided and I don't know how to correct that problem. The second photo shows how lopsided the blank is (the shiny stuff is epoxy with walnut sanding dust added to fill some gaps).
How do I go about turning something like this to get a decent result? Or is it just a matter of patience and learning? I really don't want to blow up dozens of blanks to get to the point where I know what I'm supposed to be doing. That's why I'm asking for help here. Thanks in advance for all the help.

")