Nice looking tool! I really like the shape of your handle and the accent rings. It sounds like I've gone down the same path as you with broken taps, ferrules, and such. Here is where the "build my own tools" path has taken me so far:
Taps:
I have not broken another tap since someone put me on to Tap Magic. For me it really was like magic. (Previously I used 3-in-One oil and it seemed like I broke a tap almost every time I tried to cut threads).
Drilling:
Instead of drilling I route a dado or half-round hole in two pieces of 1x2 then glue them together which gives me a perfectly centered and straight hole to receive the tool after the handle is turned. (Before that none of my holes were perfectly centered, straight with the axis, or as deep as I would have liked - I hated it! - another side benefit is that 1x2's are usually more readily available and are less expensive than 2x2's).
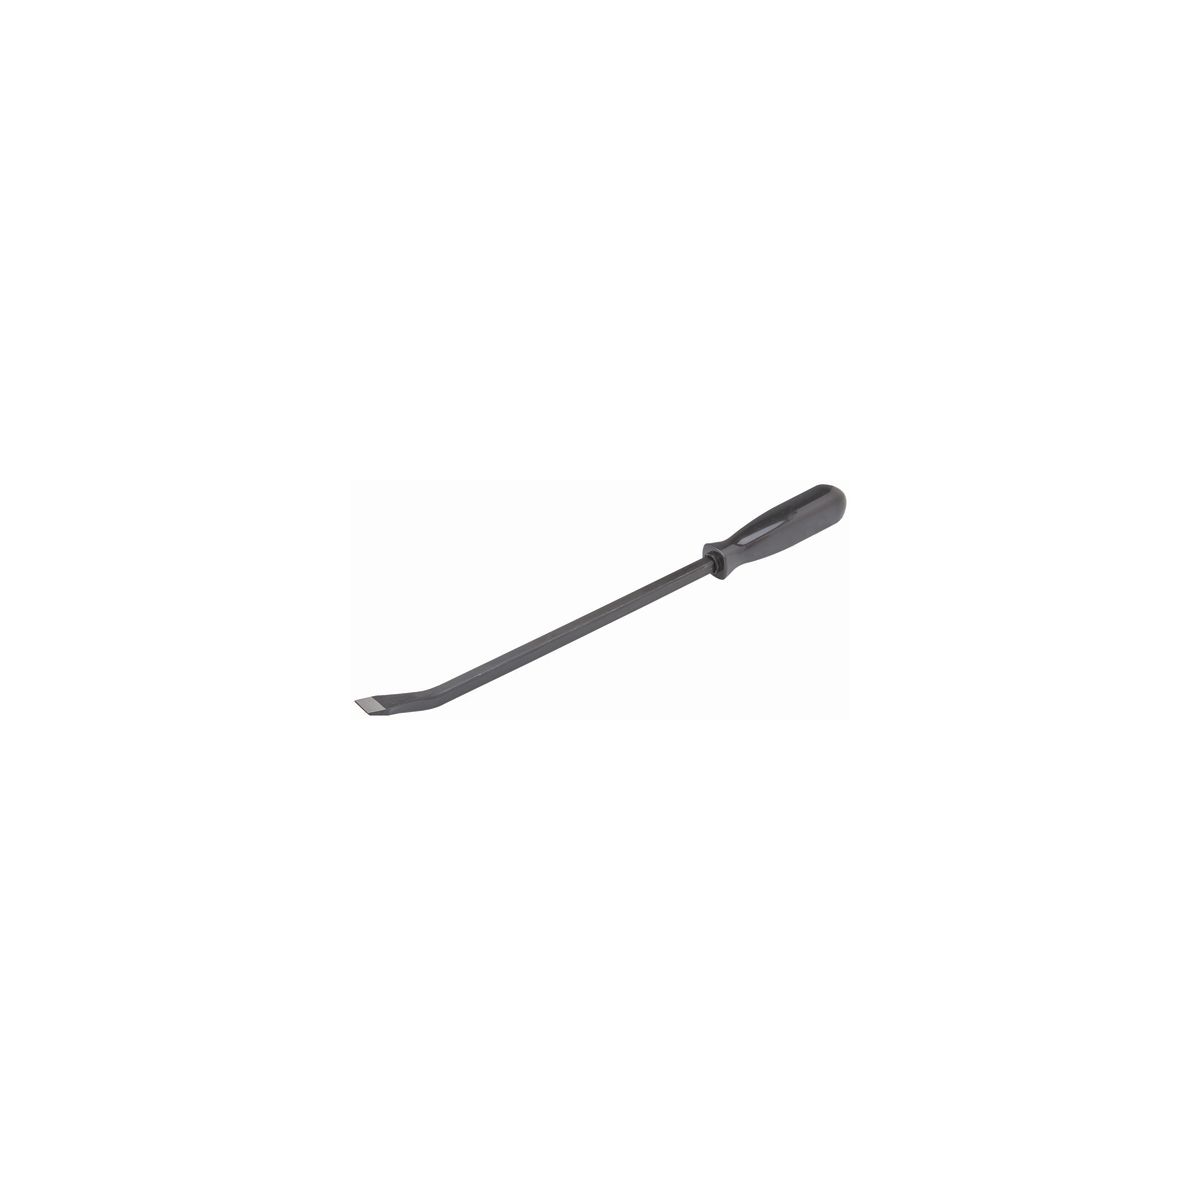
Ferrule:
I started out using copper pipe, until I came across 3/4-inch Stainless Steel PEX Crimp Ring Sleeves at our local Menards store. They are flared on one end and rolled in on the other end which in my opinion gives them a more "professional" finished look.
Handle Material & Weight:
I have always used Hickory for my handles simply due to price and availability for me. Although Hickory is a fairly heavy wood, I prefer more weight towards the back of my handles, so I glue in a stack of 0.38 caliber lead bullets on the back end to make the handle heavier in my right hand. (Personal Preference).
Tool Material:
I use 3/8-inch mild steel bar stock and 3/8-inch hex rod from McMaster-Carr for the shaft materials. The bar stock is for standard carbide scraping tools and the hex I use for tools that address the work at an angle for more of a shear cut. I wipe some cold gun bluing solution on them to give them more of a black-oxide look, but it turns out kind of blotchy. I still need to work on a better solution.
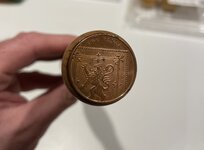
The Back End:
To address the ugly hole on the back end of the handle where I put the weights in, I first fill it with epoxy, then I apply a printed label covered with a glass cabochon I got from our Hobby Lobby store. It helps me identify the tools when they are in my foam lined pvc pipe tool holders which are attached to the side of my lathe.
For me there is an added level of satisfaction whenever I make something using the tools I have made over those I have bought. I'm sure you will find more gratification when you use yours too. - Dave
PS Here are a couple of pictures that show the ferrule and labels/cabochons on the most recent batch of tools I have made.
View attachment 346144
View attachment 346145