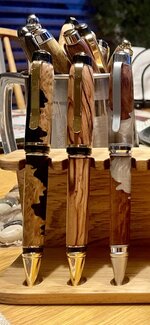
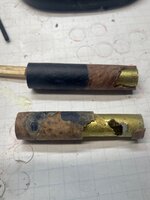
Admittedly still a rookie, having turned only 50 or so pens, I've stumbled on to fusion blanks. Absolutely love the finished product. My challenge is I have blown out at least 3 of the 6-7 I've tried. In fact the last one literally ripped out a section of the brass tubing along with the blank at about 85% complete.
Besides the frustration, these are relatively expensive blanks. I'm using an easy wood CI R2 chisel (newly sharpened) and have been experimenting between 1500-2000 rpm. My cuts have been excruciatingly light. Never in a hurry. At the first sign of trouble I patch with CA glue/activator. I also use a mandrel saver if that makes any difference? Appreciate any thoughts or ideas others might have. Thank you.
Besides the frustration, these are relatively expensive blanks. I'm using an easy wood CI R2 chisel (newly sharpened) and have been experimenting between 1500-2000 rpm. My cuts have been excruciatingly light. Never in a hurry. At the first sign of trouble I patch with CA glue/activator. I also use a mandrel saver if that makes any difference? Appreciate any thoughts or ideas others might have. Thank you.