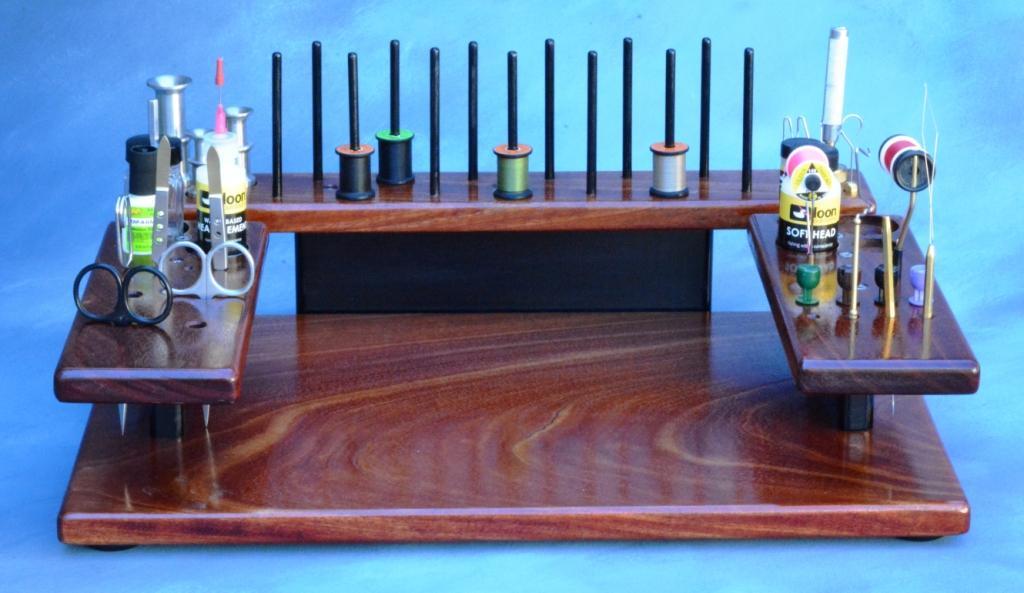
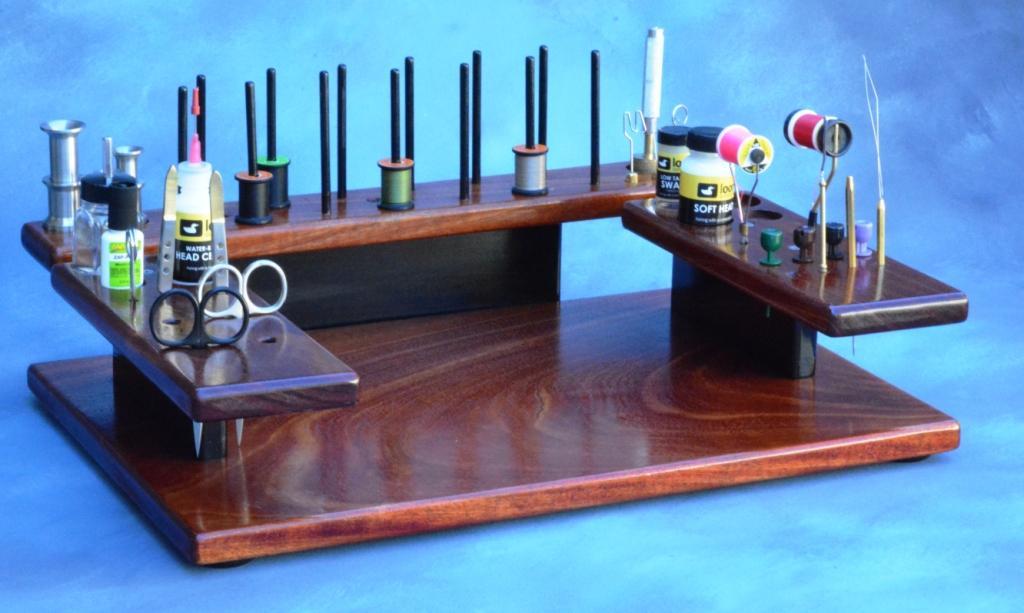
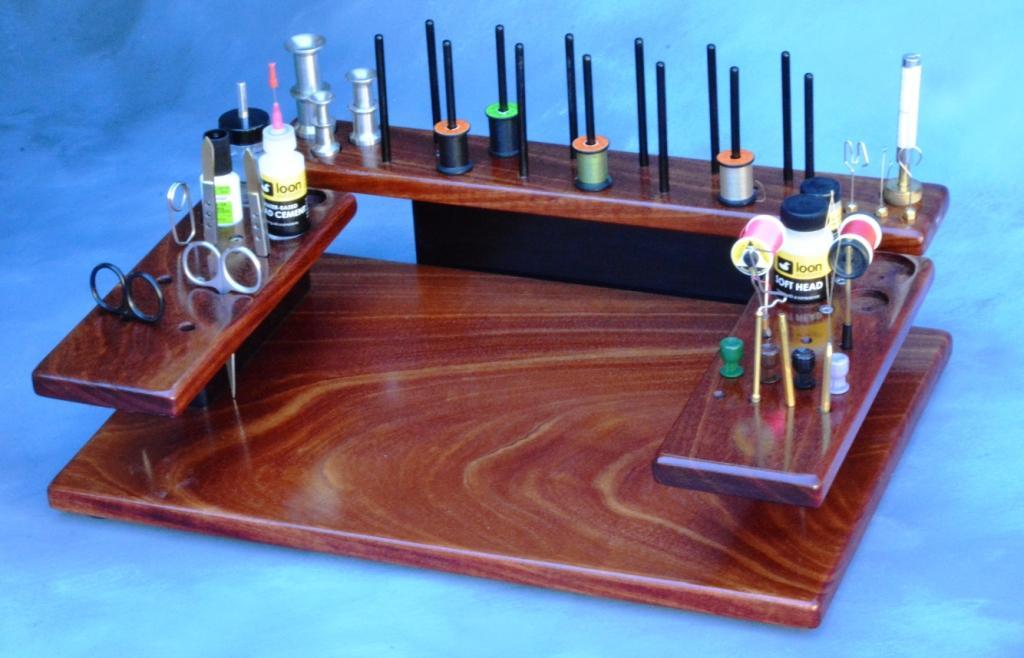
Beautiful tying station! Much nicer than any of the commercial ones out there. As a fly tyer myself, I find that I never have enough room for all the stuff I get spread out on my tying desk. If you make any more tying stations in the future, there are a couple of additional features you might consider adding.
1. A small rounded depression to place beads for bead head flies. These beads seem to roll around on my desk like they're possessed. I took a large serving spoon and cut the head off off with about an inch of handle left. I then mounted it under one of the extension arms and swing it out when I need it.
I could make one out of wood and mount as you suggest. How big (diameter) should I make the depression? How deep too?
2. A strip of magnetic tape to hold hooks. Most of the time, tyers will tie up multiple flies of the same pattern at one sitting and we take the correct number of hooks out of the package at the beginning of the tying session. I debarb the hooks and line them up on the magnetic tape to keep them from dropping into the carpet when they are a pain to find (sometimes literally).
How about a couple of neodymium magnets near the end mounted flush?
3. A strip of cork or dense closed-cell foam to the end on one of the extension arms to place finished flies to allow the head cement to dry as he ties the next fly.
Cork!
Thanks again
Mark
Again, outstanding job on a tool that will give your friend a lifetime of service. Thanks for sharing your beautiful work.
Jim Smith


")
