First use of Doctor's Woodshop Pens Plus

Signed-In Members Don't See This Ad
See more from egnald

egnald

Member
Joined
Jun 9, 2017
Messages
3,061
Location
Columbus, Nebraska, USA
Greetings from Nebraska.

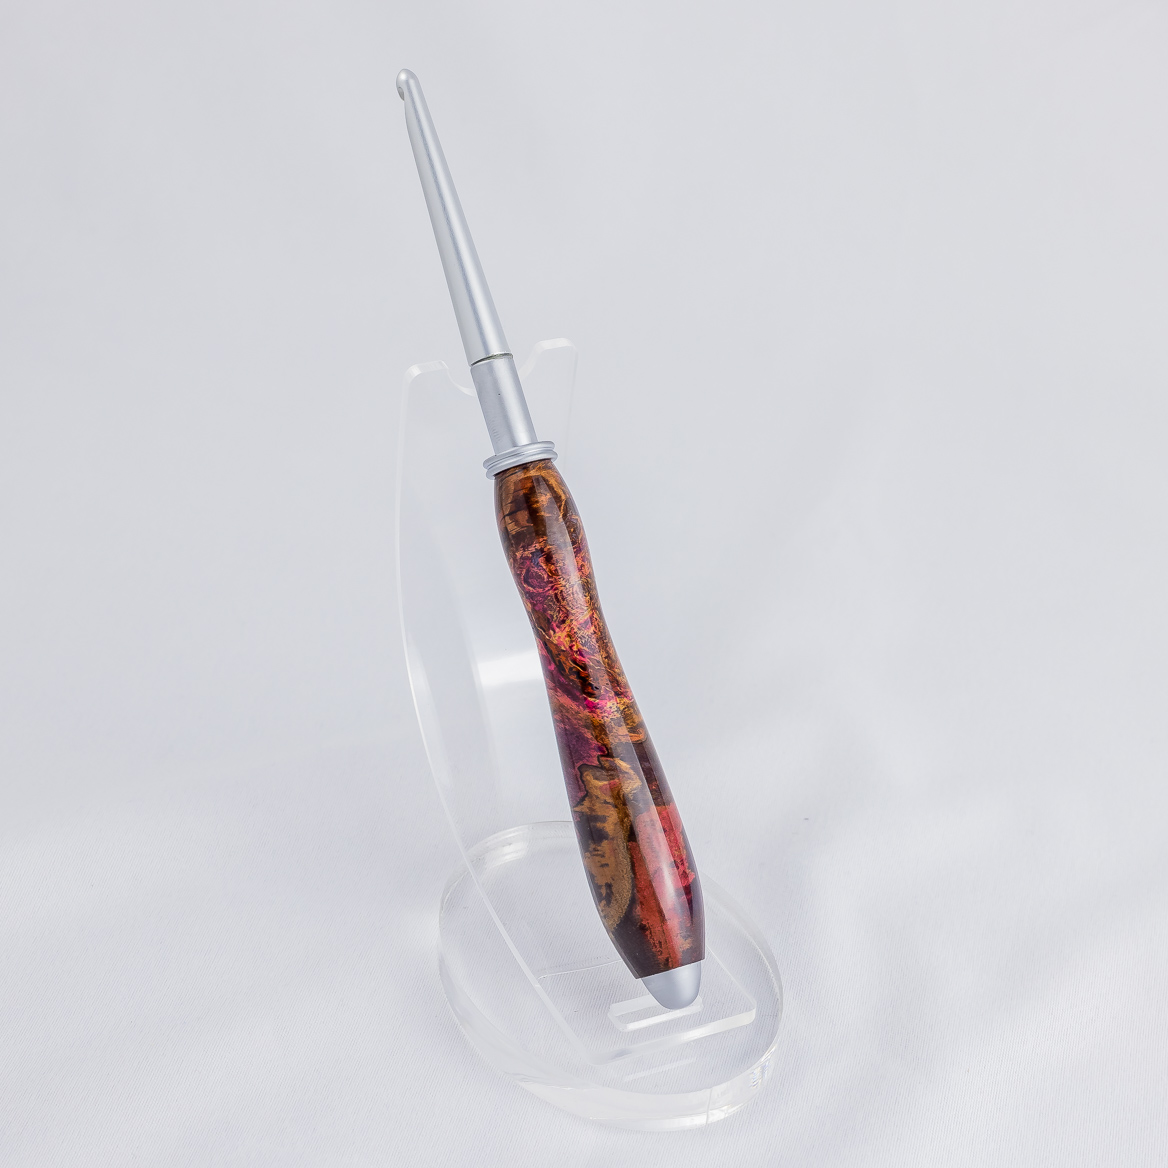
My Doctor's Woodshop Pens Plus and Walnut Oil arrived today so I threw together a gold Secret Compartment Keychain using Padauk to try it out on. I followed the Doctor's instructions and wet sanded it using the Walnut Oil up to 7000 grit followed by three coats of Pens Plus.

It definitly developed a nice shine. Perhaps not quite as glossy as CA, but different as the open grain of Padauk was not filled in. It surprized me a little because I thought maybe wet sanding with the Walnut Oil might fill the grain with sanding dust, and maybe it did, but it doesn't look like there was too much. It certainly leaves the finished product with a more definite "wood" appearance than the pens I've done with CA.

I think I might prefer it over CA, but I need to make a few pens now with some different woods like Ironwood, Olive, and maybe Cocobolo to see how the finished product works. It will also give me a chance to carry the keychain around to see how it holds up under normal use.

A picture of each side follows - Dave

PS The first thing I did was to replace the standard caps on the bottles with Yorker caps. (They were caps from a 3-pack of 8 oz squeeze bottles from Harbor Freight).

IMG_2453 Cropped.jpg
IMG_2454 Cropped.jpg
 
Signed-In Members Don't See This Ad

magpens

Member
Joined
Feb 2, 2011
Messages
15,913
Location
Canada
@egnald

Thanks for this thread, David.

I'll be following . . with great interest . . your work with Pens Plus. . I hope you will continue to report your progress with it.

I would like to try it myself and use it instead of CA which has been my "go-to" up till now.

Trouble is . . for me . . that I don't know where to buy Pens Plus in Canada, and not sure if it can be mailed in from a US supplier.
 

jrista

Member
Joined
Aug 12, 2021
Messages
2,222
Location
Colorado
Looking pretty good, Dave! Glad you are giving this a try. Regarding filling grain with sanding dust...in my experience, that does not happen on long grain, it happens more on the endgrain pores. For the piece you photographed there, I don't think I would expect the long grain grooves to be filled. I don't know why, exactly, they don't fill in, but that has been my experience. The few cases where I have noticed some grain filling were endgrain blanks (where you have endgrain on two sides of the blank). I honestly didn't actually like the result, as the sanding slurry was either lighter or darker than the wood itself, and it actually made the pores much more visible...

Regarding shine. You can DEFINITELY get a PP finished item shiner than that. It can be totally glass-like, if you want it to be. It took me a while to hone the technique for getting that. My first...oh, number of PP finished pens and other items looked like your photo here, with more of that satin shine, vs. a glassy reflective shine.

Right now, to achieve that truly glass-like look, I dry sand grits from 400-2000 (I would go higher, but 2000 is the highest standard grit I can find, and I've never quite liked how micromesh works on wood... I do have Zona paper now, and I've fiddled with that a bit, not yet certain if it is doing an optimal job on wood or not.) I will then further burnish the blank with a very soft piece of paper towel, which tends to give it just a bit more shine than the 2000 grit sandpaper itself. The wood alone tends to look like your photos, before I add the walnut oil and Pens Plus. I'll do two coats of oil. That usually involves wiping the first coat of oil on, and letting it soak in a bit (which, due to the very high grit sanding, takes a little bit of time...when I sanded to only 800 grit the wood soaked up the oil much more readily; I've found that is NOT desirable with Pens Plus!) Once it has soaked in, I'll friction polish just the oil in, just about burning my fingers hot. Put on another coat of oil and friction polish it in as well. Let that sit for a bit, then wipe off the excess oil (usually lathe on, with a new dry piece of paper towel.) Then I let the blank sit for a while. Lately, a while has usually meant 12-24 hours, as that is just about how long it takes me to get back to it all. I'll then finally use Pens Plus. The first coat is relatively "liberal" (but still, its not a lot of finish, just enough to really coat the entire blank in a thin layer, lathe off to start). Once the blank is coated in PP, I turn the lathe on and friction polish, again till my fingers just about burn off. I keep the lathe on, let this first coat dry (around 45 seconds or so), put a tiny dab of PP on my paper towel and friction polish that in. Most of my focus with this second coat, and a third or fourth if I apply one, is around the ends of the blank, where the end grain might soak up more of the finish and leave you with a more dull finish (like in your photos). There is a balance between pressure and heat here...you want enough friction to generate heat, but too much pressure and you are all but guaranteed to get horizontal streaks in the finish that can be tough to get rid of. I am still not perfect at finding that balance, but I do know that you don't want to use too much pressure here. Very high RPM and a lot of back and forth movement of the paper towel across the length of the blank helps create the necessary friction with moderate pressure.

You should end up with a very sharp highlight, and if you bring something bright/white up near the bottom of the blank, you should see it reflected pretty clearly. If you are getting that, then make sure you remove the blank from the lathe WITHOUT touching the finish. It may feel dry, but I had problems with dulling of the finish and fingerprints until I stopped touching the blank right off the lathe, and let it dry for at least several hours before touching it. I always figured the high heat of friction polishing should basically cure it all, but IME that hasn't been the case. Hands-free removal of the blank and letting it sit untouched for at least several hours (most of the time, this ends up being overnight for me, but I think "several" is really all that should be required most of the time) makes sure that the chemistry of this finish does its job, and gives you that DURABLE and very shiny, fingerprint resistant finish in the end.
 

wmillman

Member
Joined
Aug 5, 2021
Messages
57
Location
Prince Edward Island, Canada
@egnald

Thanks for this thread, David.

I'll be following . . with great interest . . your work with Pens Plus. . I hope you will continue to report your progress with it.

I would like to try it myself and use it instead of CA which has been my "go-to" up till now.

Trouble is . . for me . . that I don't know where to buy Pens Plus in Canada, and not sure if it can be mailed in from a US supplier.
Woodchuckers in Ont. carries it I think Mal, but I think they are currently out of stock.
 

jrista

Member
Joined
Aug 12, 2021
Messages
2,222
Location
Colorado
Oh, one other tip for getting glassy shine. Some times, when you let the blank dry, it might dull. I think two things can potentially lead to that. Very cold temps when applying the finish (experienced this recently with a few pens the last couple days, shop was in the low 40s even with the heater on), and potentially too thick/too much PP on the blank (also experienced this last night).

You can resolve this dulling by putting the blank back on the lathe, putting the tiniest dab of PP on a piece of paper towel, and rub it into the fibers a bit into a spot. You want only that barely "wet" with PP spot to touch the blank. Then give it a light friction polish. Usually, this will shine things up PERFECTLY, and give you that ultimate finish. Again, make sure you don't touch the blank when removing it from the lathe, and let it dry for a few hours. After that, you should have that glassy finish that gives you razor-sharp highlights and, if you have any reflective surfaces around it that can reflect, you should see them reflected in great detail (i.e. a nearby window, for example, should reflect on the side of the pen illuminated by it).
 

grpass

Member
Joined
Jan 27, 2020
Messages
103
Location
Grants Pass, Oregon
Looking pretty good, Dave! Glad you are giving this a try. Regarding filling grain with sanding dust...in my experience, that does not happen on long grain, it happens more on the endgrain pores. For the piece you photographed there, I don't think I would expect the long grain grooves to be filled. I don't know why, exactly, they don't fill in, but that has been my experience. The few cases where I have noticed some grain filling were endgrain blanks (where you have endgrain on two sides of the blank). I honestly didn't actually like the result, as the sanding slurry was either lighter or darker than the wood itself, and it actually made the pores much more visible...

Regarding shine. You can DEFINITELY get a PP finished item shiner than that. It can be totally glass-like, if you want it to be. It took me a while to hone the technique for getting that. My first...oh, number of PP finished pens and other items looked like your photo here, with more of that satin shine, vs. a glassy reflective shine.

Right now, to achieve that truly glass-like look, I dry sand grits from 400-2000 (I would go higher, but 2000 is the highest standard grit I can find, and I've never quite liked how micromesh works on wood... I do have Zona paper now, and I've fiddled with that a bit, not yet certain if it is doing an optimal job on wood or not.) I will then further burnish the blank with a very soft piece of paper towel, which tends to give it just a bit more shine than the 2000 grit sandpaper itself. The wood alone tends to look like your photos, before I add the walnut oil and Pens Plus. I'll do two coats of oil. That usually involves wiping the first coat of oil on, and letting it soak in a bit (which, due to the very high grit sanding, takes a little bit of time...when I sanded to only 800 grit the wood soaked up the oil much more readily; I've found that is NOT desirable with Pens Plus!) Once it has soaked in, I'll friction polish just the oil in, just about burning my fingers hot. Put on another coat of oil and friction polish it in as well. Let that sit for a bit, then wipe off the excess oil (usually lathe on, with a new dry piece of paper towel.) Then I let the blank sit for a while. Lately, a while has usually meant 12-24 hours, as that is just about how long it takes me to get back to it all. I'll then finally use Pens Plus. The first coat is relatively "liberal" (but still, its not a lot of finish, just enough to really coat the entire blank in a thin layer, lathe off to start). Once the blank is coated in PP, I turn the lathe on and friction polish, again till my fingers just about burn off. I keep the lathe on, let this first coat dry (around 45 seconds or so), put a tiny dab of PP on my paper towel and friction polish that in. Most of my focus with this second coat, and a third or fourth if I apply one, is around the ends of the blank, where the end grain might soak up more of the finish and leave you with a more dull finish (like in your photos). There is a balance between pressure and heat here...you want enough friction to generate heat, but too much pressure and you are all but guaranteed to get horizontal streaks in the finish that can be tough to get rid of. I am still not perfect at finding that balance, but I do know that you don't want to use too much pressure here. Very high RPM and a lot of back and forth movement of the paper towel across the length of the blank helps create the necessary friction with moderate pressure.

You should end up with a very sharp highlight, and if you bring something bright/white up near the bottom of the blank, you should see it reflected pretty clearly. If you are getting that, then make sure you remove the blank from the lathe WITHOUT touching the finish. It may feel dry, but I had problems with dulling of the finish and fingerprints until I stopped touching the blank right off the lathe, and let it dry for at least several hours before touching it. I always figured the high heat of friction polishing should basically cure it all, but IME that hasn't been the case. Hands-free removal of the blank and letting it sit untouched for at least several hours (most of the time, this ends up being overnight for me, but I think "several" is really all that should be required most of the time) makes sure that the chemistry of this finish does its job, and gives you that DURABLE and very shiny, fingerprint resistant finish in the end.
Thanks for this info, I like using pens plus but I will try your method. It has more steps to it. Nicer shine.
 

boatemp

Member
Joined
Sep 22, 2015
Messages
223
Location
NoCal
Verrry Interesting! sounds like something worth following. I'm just getting back to pens turning
Lots of new things to try! Thanks all
 

jrista

Member
Joined
Aug 12, 2021
Messages
2,222
Location
Colorado
Thanks for this info, I like using pens plus but I will try your method. It has more steps to it. Nicer shine.

Once you really get the feel for it, I think you will find that it doesn't take as many applications and as much buildup as CA. Now, its not really "done" after you are done applying, like CA would be. You do need that drying time. I used to put 8-10 coats of PP on. I'm down to 2-3, on top o the coat of pure oil. I used to try and "Build up" the PP finish...and I think I've learned that is a mistake. This is a thin finish, and building it up seems to result in either a soft, maybe even sticky finish when being applied on the lathe, or it results in a finish that dulls a bit too easily. Sanding to very high grits has reduced the dulling, almost to nothing, but sometimes even despite that, if I get too much PP on the blank, it will still dull.

So, I'm down from 8-10 coats, to just 2-3. Coats is probably the wrong term as well...there is a more liberal first coat, then all the subsequent applications are just a tiny dab of PP to wet the paper towel...the work from that point on is mostly about buffing/burnishing/friction polishing in the shine.

As a reference for the potential shininess you can achieve:

full
 
Top Bottom