egnald
Member
Greetings all,
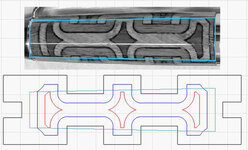
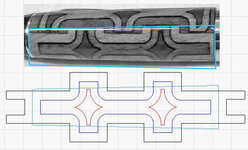
Today I made an attempt to make a segmented pen using the laser box process developed by Richard (amtechrs). I appear to be at a rough start, but I did learn a lot.
I made the segmented "box" blank using walnut, cherry, and padauk. I glued the segments together using black CA glue.
#1 The glue, I think, seeped into the wood and discolored it (especially the cherry). Next time I will use regular, clear, CA.
#2 I filled the cavity of the blank with Alumilite Clear Slow with black dye. I did it to help with drilling. I think the black Alumilite also seeped into the wood and added to the discoloration. Next time, I am going to fill with Alumilite, but just leave it clear.
#3 I sanded the blank before applying a GluBoost finish and I think some of the sanding dust got left behind in some of the voids in the lasered areas as there were some light colored dots that showed up after finishing. I only sanded with 600 and 800 grits anyway. Next time I will apply finish without sanding first.
#4 I dry sanded the GluBoost finish starting at 600 and ending at 2000 grit per the instructions in "Magic Juice" by Stadium Blanks. Magic Juice is new to me and I just received it today in a shipment from Drop Anchor Creations. The process was super easy and the shine it left behind is simply stellar. I may be done with MicroMesh and wet sanding from now on.
So, Failure taught me some lessons about making and using laser segmented blanks and just how meticulous and skilled Richard is. Success taught me a very positive lesson about Magic Juice. Anyhow, here are the pictures.
Dave
PS As always, I used Ed's Improved Fit Cigar Bushings from Exotic Blanks which provides a subtle but wonderful improvement in the fit between the lower blank and the center band.


