cdwrrtx
Member
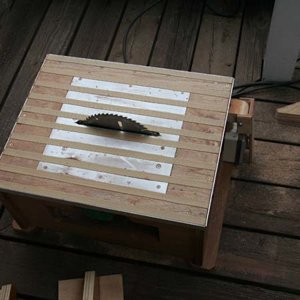
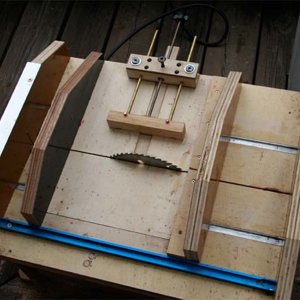
I have done a couple of segmented blanks, nothing fancy, just playing around with scraps. I worked really hard to get things lined up and square on both, only to drill and have the segments not perpendicular to the tube. I drill on the lathe.
Is there something I should do in preparing the blank to get it all in line?
Is there something I should do in preparing the blank to get it all in line?