DrD
Member
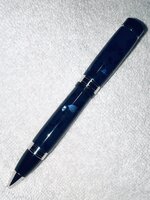
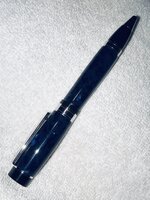
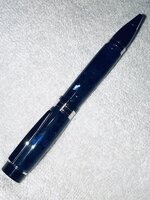
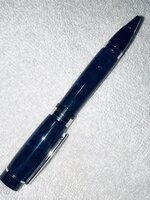
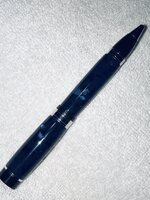
Had fun at the office today! Oops, I'm retired, so that must have been the shop. Took one of the last of my El Grande Convertible kits - works as a ball point by inserting a "Parker" style refill, or as a pencil by inserting the Schmidt pencil mechanism in place of the "Parker" refill. This kit is Platinum, and I chose a very old piece of acrylic, Deep Blue AA38.
Tried something different following shaping. Many - a few - folks on here categorically state the is no need to remove the blank from the lathe for finishing. 20+ years of turning experience says, for me, that is just not true., regardless of the "touch" on the sanding medium. SO, when I got to MM, following final shaping with 320 grit dry sanding, on the lathe @ ~ 800 rpm, I tried something different. In wet sanding with the MM pads I alternated orientation: 1st pad, horizontally off the lathe and continued with that pad until no radial ridges were evident - only horizontal ridges were seen under 6x mag. Wipe barrel dry, and put back on the lathe; sand at ~800 to 1000 rpm, lightly with next pad until no horizontal marks are evident. Next pad, off the lathe, etc etc until the last pad, then finish with MM Micro Cut and polish with soft cloth.
Look, please comment, so I can continue to try and get better.
Thanks


Last edited by a moderator:
