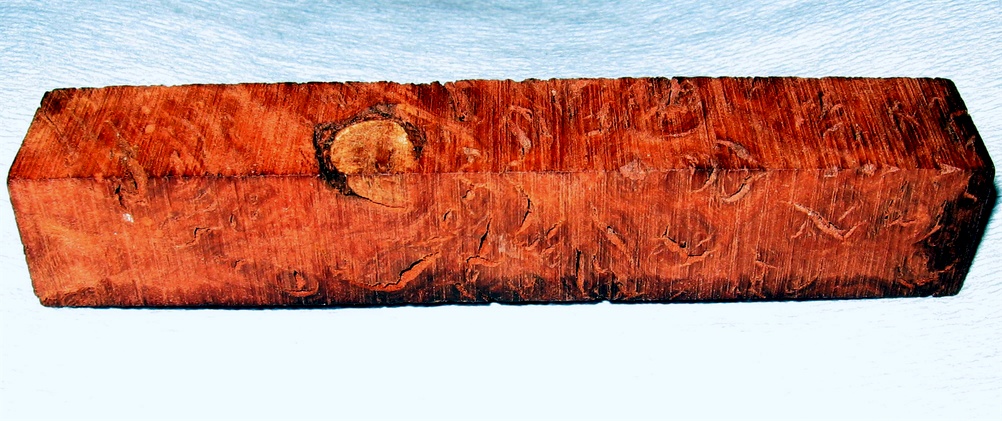
Well, I can't tell you exactly what it is but like a large percentage of burled woods, those sort of cracks are quite normal as expected. If you don't like to use CA for the fillings, the epoxy is certainly the second best option, if that still not ok with you then you have to resort to a good wood glue (PVA white).
The question you may ask is, if you have not yet turned this type of wood before, therefore never had the opportunity to collect any shavings or fine saw dust from it and store it as I backup filling material for that wood or identical colour woods (I keep a clear glass jar with shavings and saw dust from every type of wood I work with), then you don't have anything matching to fill it with.
In this case, you have 2 options;
*- cut, drill and glue your tubes and then when in the mandrel or TBC remove and collect the shavings as you get the blank from square to round then, used the shavings for the filling but before you do you need to make the shavings smaller and for that you can use one of those electric coffee grind machines, preferentially those with grinding disks instead of the blades (cheap[is] to buy), grinding it until you get very small wood particles, It will not be fine dust but will be fine enough for the fillings.
*- While the blank is still in one piece, put in on top of a news paper, grab a rasp or some coarse sand paper 40 to 60 grits and sand an amount of each surface, tapping the blank gently on its end when finished will remove most of the fine dust from any cracks the blank had, keeping it all within the news paper area for easy collection and use with the glue.
Filling the cracks while the blank hasn't been cut or worked with is recommended if the blanks is very fragile, in this case, with the filling not being able to fully reach the crack in full (most cases), this step will strengthen the blank considerably, considering that you allow the glue (filling) to dry before working it.
Sometimes, this step can be the difference between successfully making a pen out of that blank or losing it by destroying it. Is important to keep some of these shavings and fine dust until you finish the pen, after a certain amount of turning, the blank will probably require a second stage of filling, this time most of what will be filled will become part of the pen barrel as finished so the correct saw/fine dust is crucial (unless you want a contrasting effect...!).
After you done, will take little effort and space to put the left over shavings in a jar or if storage room is a problem, one of those small saleable plastic bags, is ideal to keep them until next time. A shoe type box is capable of storing many of those little bags but please, don't forget to right on the bag what type of wood that sawdust belongs to...!:wink:
Sorry for my long explanation, I though that you and maybe others could use the information..!
Cheers
George


") . when turning ,gently get the ends down close to the bushes first,this will prevent you "blowing the ends off if it lets go as you get near to size. There is no regular grain pattern to rely on for strength so be gentle and good sharp tools are your friend , even sandpaper is a "cutting tool" Keep your work area clean as you can so you may have a better chance of finding small bits that may fly out ,they can be recovered and reglued ,in burls you will rarely see a mend
. when turning ,gently get the ends down close to the bushes first,this will prevent you "blowing the ends off if it lets go as you get near to size. There is no regular grain pattern to rely on for strength so be gentle and good sharp tools are your friend , even sandpaper is a "cutting tool" Keep your work area clean as you can so you may have a better chance of finding small bits that may fly out ,they can be recovered and reglued ,in burls you will rarely see a mend