JD Combs Sr
Member
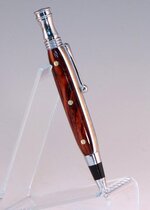
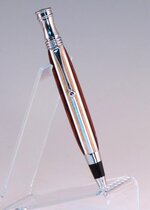
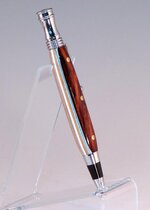
This time the hardware is a WC Chrome Retro. I made the scales from Cocobolo with aluminum and thin maple segments. As in my first one, brass welding rod was used for the rivets.
The Retro is normally a top and bottom barrel pen but the twist mechanism is driven by the finial on top so it was easy to convert it to a long barrel.
I am not real happy with my fit and finish on this one but it will make a nice carry pen. I had lots of trouble with it, similar to what Timothy Wise(AKA "wiset1") had with the one that inspired me. It de-segmented(read blew apart) several times. The epoxy didn't seem to hold like it should. It is either getting old(or maybe I am) or I I suppose I could have mixed it wrong.:redface:
In any case it separated during the drilling process twice then again when I was turning it but even though it fought me all the way it finally became reasonably good looking pen.
Lessons learned:
- Make sure the center "sacrificial material is at least as wide as the brass tube. I designed it for use on a 7mm and ended up using it on a ~10mm.
- Don't mix light and dark wood, the sanding bleeds the dark into the light.
- Only use the design for larger pens. I looks more like a knife handle the larger its circumference.
- Make sure you mix the epoxy correctly ant that it is fresh.
There is probably others but they have left my memory bank.:wink:
Anyway take a look and let me know what your thoughts are. Timothy, I am especially interested in your comments.
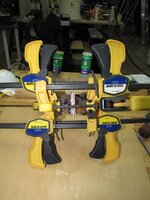
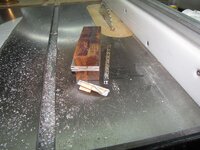
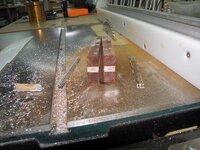
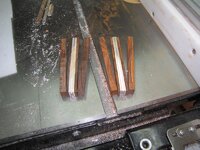
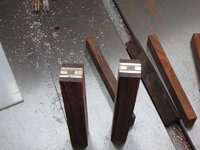
The following pics will give you an idea of the process I used. I used standard 3/4x3/4 pen blanks to make the knife blank. I figured on getting 2 2-barrel pens or 4 singles out of the setup.
Edit: forgot the finish. 1 coat of thin CA + 10 coats of medium thick. Water wet mm to 12000 then a coat of Renaissance wax(like the feel).
C&C welcomed and appreciated.
The Retro is normally a top and bottom barrel pen but the twist mechanism is driven by the finial on top so it was easy to convert it to a long barrel.
I am not real happy with my fit and finish on this one but it will make a nice carry pen. I had lots of trouble with it, similar to what Timothy Wise(AKA "wiset1") had with the one that inspired me. It de-segmented(read blew apart) several times. The epoxy didn't seem to hold like it should. It is either getting old(or maybe I am)
In any case it separated during the drilling process twice then again when I was turning it but even though it fought me all the way it finally became reasonably good looking pen.
Lessons learned:
- Make sure the center "sacrificial material is at least as wide as the brass tube. I designed it for use on a 7mm and ended up using it on a ~10mm.
- Don't mix light and dark wood, the sanding bleeds the dark into the light.
- Only use the design for larger pens. I looks more like a knife handle the larger its circumference.
- Make sure you mix the epoxy correctly ant that it is fresh.
There is probably others but they have left my memory bank.:wink:
Anyway take a look and let me know what your thoughts are. Timothy, I am especially interested in your comments.


The following pics will give you an idea of the process I used. I used standard 3/4x3/4 pen blanks to make the knife blank. I figured on getting 2 2-barrel pens or 4 singles out of the setup.


Edit: forgot the finish. 1 coat of thin CA + 10 coats of medium thick. Water wet mm to 12000 then a coat of Renaissance wax(like the feel).
C&C welcomed and appreciated.
Last edited:
