And I even liked the smell ...

Signed-In Members Don't See This Ad
See more from Kaspar

Signed-In Members Don't See This Ad
That is very well done right there! Like the grain cut in that piece, and without all the 'stuff' gogin kitless....just brings it out all the better!


What tap set you using?


Scott (awesome) B
 
M14 x .8. M10 x .75 for the nib/coupler. Used a grain alignment insert (as I call it.) Took extra time but the grain was too dramatic not to align. Really fine piece of Ebonite. It's a rollerball, but soon I will do a fountain nib for it too.
 
Thanks for the info on the taps!

Did you get them in a 'group buy' or a local shop?


Care to explain the 'grain alignment process', and what is needed to do it?


Scott (sorry to bother) B
 
Care to explain the 'grain alignment process', and what is needed to do it?

This graphic should give you the idea. It's just an additional piece made from some other section of the blank, onto which you cut the tenon for the triple start die threading. Then you thread it, and run it up into the cap. Then you align the pen and cap grains, mark the insert and glue it in.

Simple.

Well, there are some fine points, but you should be able to work it out.
 
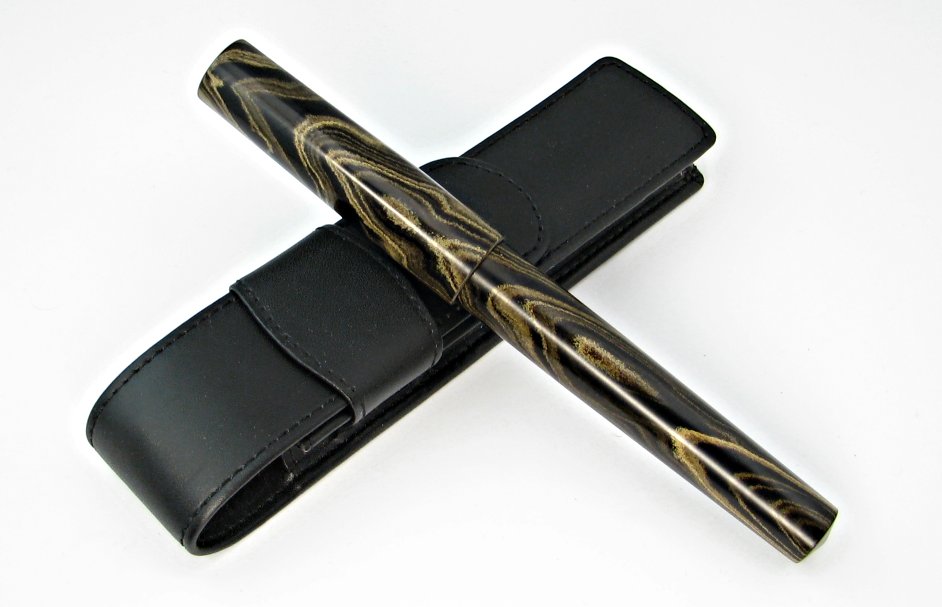
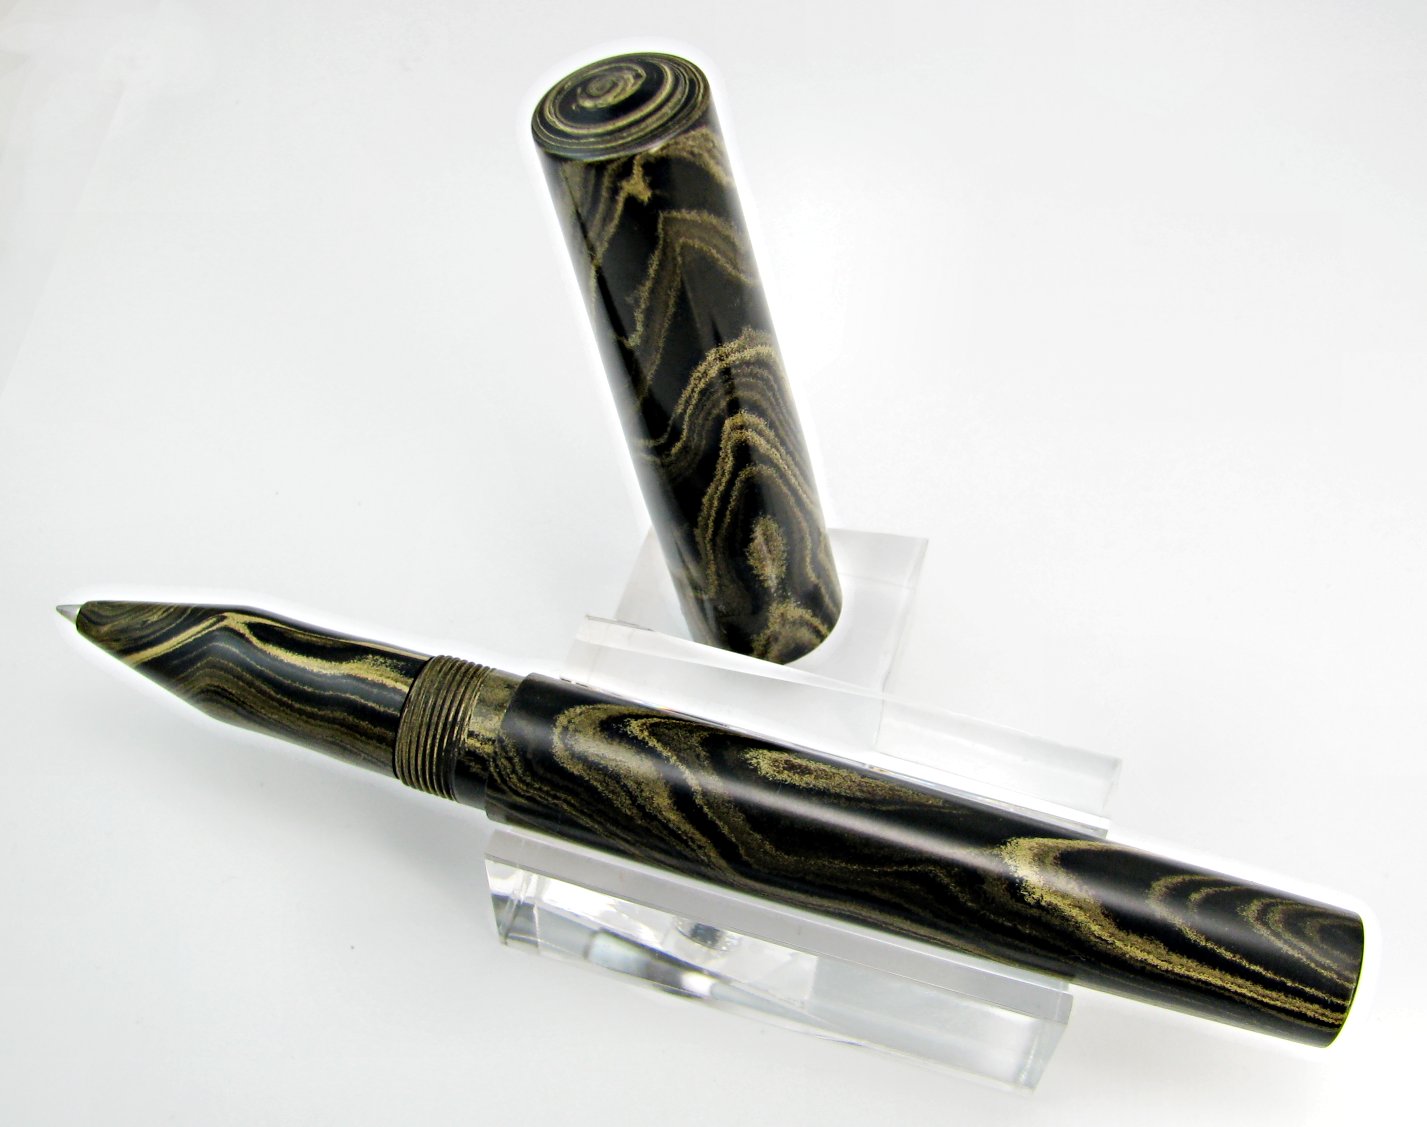
Very nice pen Kasper!! If you dont mind, i would like to help you out with your grain alignment problem. I have a very simple way to deal with this dilemma, and it doesnt use an insert so you can save that material:biggrin:

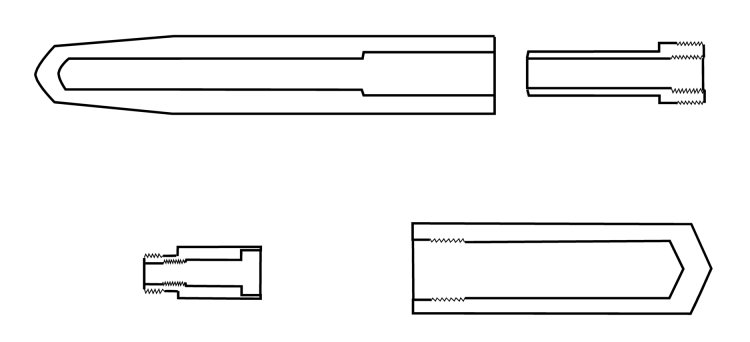
Start with whatever length blank you need to make your full pen, with no insert, in your case with this pen it would be 3 pieces. Cap, barrel and front section. Mark it out for your Cap, Barrel, Section length. I mark my section at the end of the barrel, so the cap and barrel grain alignment stays. Take a sharpie marker and draw as strait of a line the full length of the blank, from one end to the other. Write on the different sections, Cap, Barrel, Section, so you know which piece is which and that it is facing the right way and didnt get flipped over. Now you have a guide line to keep things lined up.

1) Start with the front section first. Drill it, tap it, thread it, then put it aside for now.

2) Move on to the barrel next. Drill it, tap it, thread it. Now here is where the magic begins. I not sure what length tenon you use for your barrel threads, but i make mine .25" so what i do is make my tenon .26" and what im going to do is take my front section and screw it into the barrel and see where my guide lines line up. Sometimes you just get lucky and they line up perfectly. If not, since i made my tenon longer than i wanted for its final length, i just part off a little bit on the front of the barrel tenon. What this does is allow the front section to screw in farther, thus changing its alignment. Screw the section back in and check it. If you need to go farther, just part off a little more. Do this until the lines line up. Now you have a section the lines up with your barrel.

3) Now do your cap. Drill it and tap it. Now take your barrel and screw it into your cap. Do your lines line up? Be sure to check all three thread patterns if you are using a triple start. If not, just part off a little bit on the front of the cap. Try your barrel again. Do they line up now? If not, just do this until your lines line up. In your case this would be the end. Everything would be lined up, without an insert. If you were doing a finial as well, just do the same thing. Make your finial first, cut the tenon and thread it. Now tap the cap for the finial, and screw the finial in. If it doesnt line up, just part some of until it does.

I hope this helps

Great pen either way!!!!:biggrin:

Justin
 
Thanks for the tip, truly.

My problem is I don't want to lose alignment because of material lost, out of the middle, to the tenon section itself. I hate even losing material to the kerf of the saw blade or, as I do it now, the parting tool. Taking the die tenon out of the middle throws off the continuity even more. I realize it's not much, but it annoys me enough to make the extra effort. Of course, adding another piece to the total adds to the time needed to complete it, but I'm cool with it, especially when the blank is so nice.

I make the adjustment by facing off a little bit of the cap, which allows it to turn a little further down the threading, thus perfecting alignment. That's one of those "fine points" I mentioned in the above post. I put in the insert, screwed in flush with the bottom of the cap, and mark it just to the right of "on," then remove the cap and glue in the insert, then screw the cap on, check the alignment, and, if necessary, face a few thou off the cap to get it perfect. All told, I think I lose no more than .070 out of the middle.

What I may try sometime is experimenting with the tap and die and "indexing" them, so to speak.

I'm not quite happy with the rollerball nib I did. I may make another, along with the fountain nib.
 
Last edited:
Thanks, all.

If you LIKE the way ebonite smells when turning, you MUST BE A NASCAR FAN.

It smells like fresh tires at the final pit stop.

No, not really. My nose has never worked very well. Can't smell hardly anything unless it's right under my nose, and pretty strong to boot. As a result, I suspect anything I can smell is a ... pleasant revelation, of sorts.

Except skunks. I can smell them and they stink to high heaven. Also, for some reason I can smell Irish Spring soaps and body wash. No idea why. I'm not Irish.
 
Very nice pen. But I don't get something: if it's. Triple start, than there is. I garantee that the cap will be aligned, since it can be threaded form 3 different positions.
 
Back
Top Bottom